Introduction
Welcome to the user manual for your DIGOO BB-M1 Wireless IP Camera. This guide provides detailed instructions for setting up, operating, and maintaining your device. Please read this manual thoroughly before use to ensure proper functionality and safety. The DIGOO BB-M1 is designed for home security and baby monitoring, offering 720P HD video, two-way audio, and remote control capabilities.
Package Contents
Please check the package contents carefully. If any items are missing or damaged, contact your retailer.
- 1 x DIGOO BB-M1 IP Camera Monitor
- 1 x English User Guide
- 1 x Base
- 1 x USB Cable
- 1 x Install Accessories Set
Product Overview
Camera Components
This image displays the rear view of the DIGOO BB-M1 camera, highlighting its various ports and components. Visible are the LAN port, Micro SD card slot, 5V power supply input, and the reset button. The camera lens, light sensor, microphone, and speaker are also indicated.
Pan and Tilt Functionality
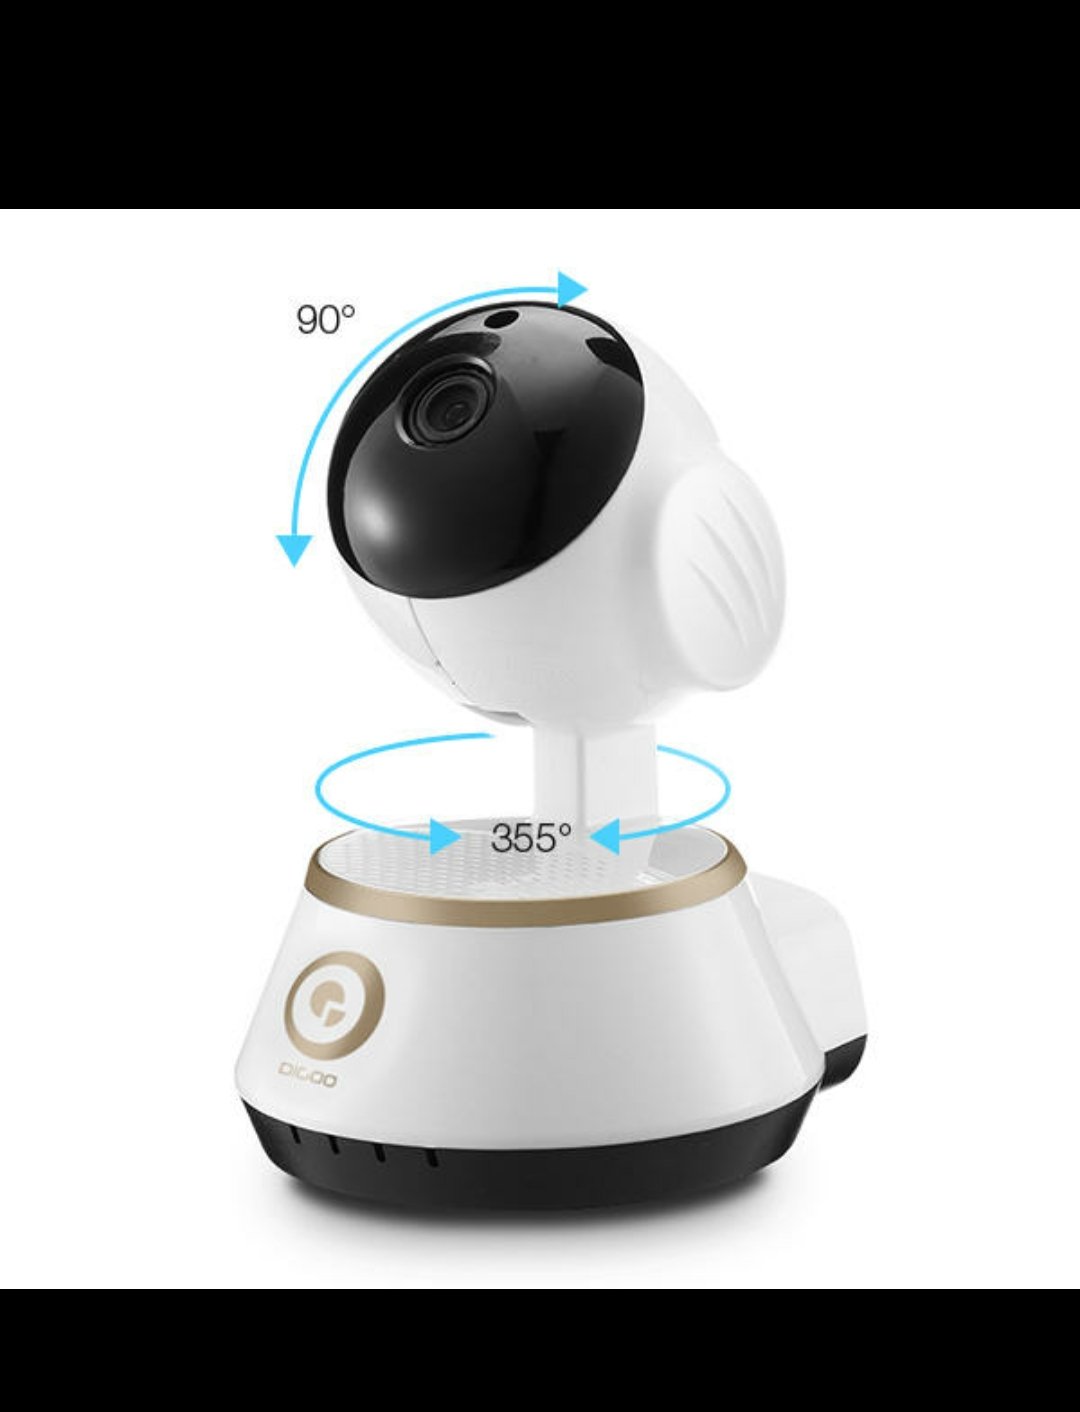
This image illustrates the pan and tilt capabilities of the DIGOO BB-M1 camera. It shows a horizontal rotation of 355 degrees and a vertical tilt of 90 degrees, allowing for extensive coverage.
Optical Lens and Night Vision

This image details the optical lens specifications, including a 3.6mm lens, F2.0 iris, and a 1/4 inch CMOS sensor. It also highlights the infrared HD night vision feature, powered by 3mm red infrared LEDs for clear viewing in low light conditions.
Setup Guide
1. Powering On the Camera
Connect the provided USB cable to the camera's 5V power input and plug it into a compatible USB power adapter or port. The camera will initiate its startup sequence, indicated by a flashing LED light.
2. Network Connection
The DIGOO BB-M1 supports both Wi-Fi and wired LAN connections.
Wi-Fi Setup
- Download the official DIGOO application from your smartphone's app store.
- Create an account or log in.
- Follow the in-app instructions to add a new device. This typically involves scanning a QR code on the camera or entering your Wi-Fi credentials. Ensure your Wi-Fi network is 2.4GHz, as 5GHz networks may not be supported.
- Wait for the camera to connect to your Wi-Fi network. The LED indicator will change to a solid color once connected.
LAN Connection
For a stable wired connection, insert an Ethernet cable into the camera's LAN port and connect the other end to your router. The camera should automatically connect to the network.
3. Mounting the Camera
The camera can be placed on a flat surface or mounted to a ceiling or wall using the included base and installation accessories. Ensure the mounting location provides a clear view and is within Wi-Fi range if using a wireless connection.

This image shows the DIGOO BB-M1 camera mounted upside down, typically for ceiling installation. This demonstrates the camera's versatile mounting options.
Operating Instructions
Remote Monitoring
Access the live video feed from your smartphone using the DIGOO application. You can view the camera's perspective from anywhere with an internet connection.
Pan and Tilt Control
Within the mobile application, use the on-screen controls to remotely adjust the camera's horizontal (pan) and vertical (tilt) angles to cover different areas. Swipe gestures on the live view typically control movement.

This image demonstrates how to remotely control the camera's pan and tilt functions using a mobile application. A smartphone screen shows directional arrows, indicating the ability to move the camera view up, down, left, and right.
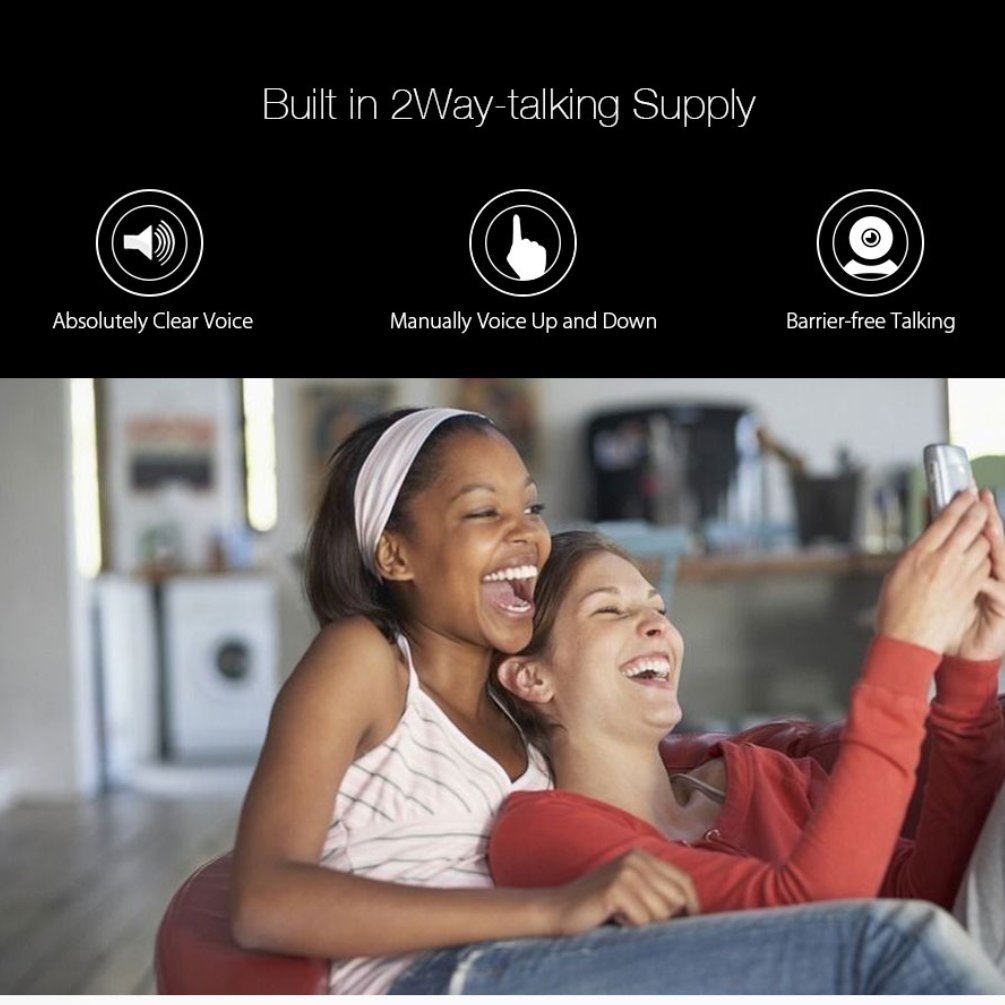
Two-Way Audio
The camera features built-in two-way audio, allowing you to listen to the environment around the camera and speak through its speaker using your smartphone. Activate the microphone icon in the app to speak.

This image highlights the two-way audio communication feature of the camera, enabling users to interact remotely.
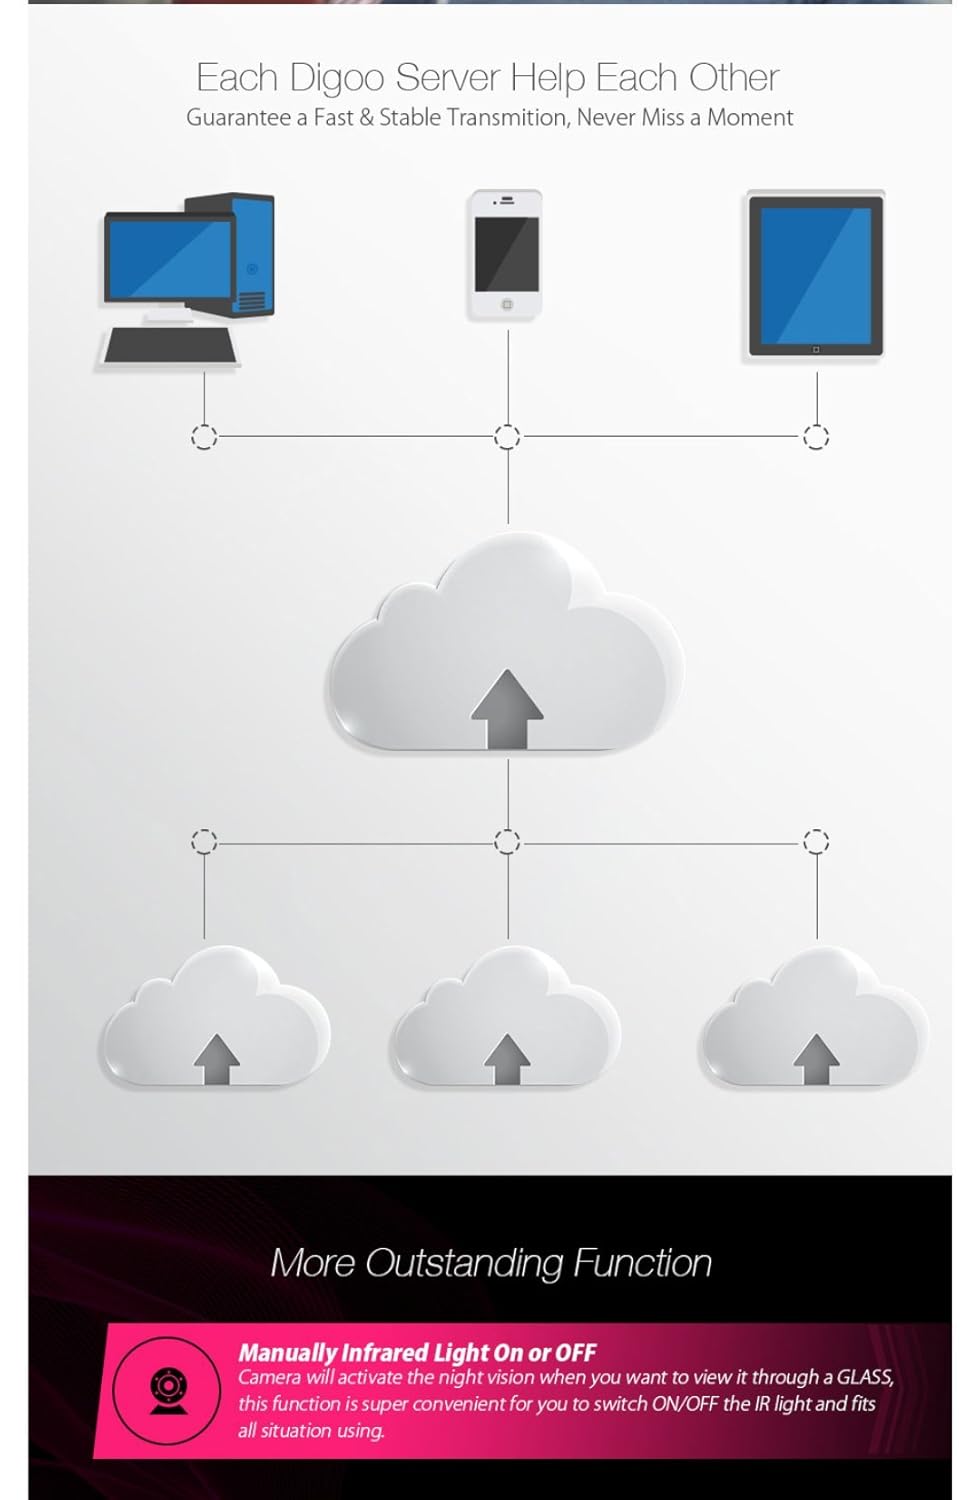
Night Vision Activation
The camera automatically switches to infrared night vision in low-light conditions. You can also manually control the infrared light through the application if needed, especially when viewing through glass to avoid reflections.
Advanced Features
Local Storage (TF Card Recording)
Insert a Micro SD card (up to 64GB, SDHC/SDXC) into the designated slot for local video recording. The camera supports continuous recording or motion-triggered recording. Configure recording settings within the mobile application.
This image illustrates the TF card recording capability, showing a Micro SD card being inserted into the camera. It also depicts the estimated recording durations for different card sizes (16GB, 32GB, 64GB) and hints at cloud storage options.
Cloud Storage
The DIGOO BB-M1 supports cloud storage services for secure off-site video backup. Refer to the DIGOO application for subscription details and setup procedures.
Motion Detection and Alerts
Configure motion detection settings in the application to receive alerts on your smartphone when movement is detected within the camera's field of view. Adjust sensitivity levels to minimize false alarms.
ONVIF Support
The camera supports the ONVIF protocol, allowing integration with compatible Network Video Recorders (NVRs) and other surveillance systems for broader compatibility and management.
Maintenance
Cleaning
Gently wipe the camera lens and body with a soft, dry cloth. Avoid using harsh chemicals, abrasive materials, or excessive moisture, as these can damage the device.
Firmware Updates
Periodically check the DIGOO application for available firmware updates. Keeping your camera's firmware up-to-date ensures optimal performance, security, and access to new features.
Resetting the Camera
If the camera experiences persistent issues or you need to reconfigure it, you can perform a factory reset. Locate the reset button (typically a small pinhole near the ports) and press and hold it for several seconds (usually 5-10 seconds) until the indicator light changes or you hear a prompt. This will restore the camera to its default settings.
Troubleshooting
Camera Not Connecting to Wi-Fi
- Check Wi-Fi Band: Ensure your Wi-Fi network is 2.4GHz. The camera may not support 5GHz networks.
- Verify Password: Double-check that the Wi-Fi password entered is correct.
- Signal Strength: Move the camera closer to your Wi-Fi router to improve signal strength.
- Reset Camera: Perform a factory reset and try the setup process again.
No Video Feed
- Power Check: Ensure the camera is powered on and the indicator light is active.
- Internet Connection: Verify your internet connection is stable on both your camera and viewing device.
- Restart Devices: Restart the camera and your router.
Two-Way Audio Not Working
- App Settings: Check microphone and speaker settings within the mobile application.
- Device Volume: Ensure your smartphone's volume is turned up.
- Obstructions: Verify there are no obstructions blocking the camera's microphone or speaker.
Specifications
| Video Capture Resolution | 720p |
| Colour | WHITE |
| Wireless Communication Technology | Wi-Fi |
| Frame Rate | 30 frames per second |
| Flash Memory Type | SDHC, SDXC (up to 64GB) |
| Alert Type | Motion Only |
| Light Source Type | Infrared |
| Video Capture Format | AVI |
| Photo Sensor Technology | CMOS |
| International Protection Rating | IP65, IP67 (Note: Product description states 'Not Water Resistant' for general use, but IP ratings suggest dust/water resistance for specific components. Refer to product packaging for exact environmental use.) |
| Control Method | Voice (via app), Mobile App |
| Special Feature | Night Vision, Two-Way Audio, Pan/Tilt |
| Indoor/Outdoor Usage | Indoor, Outdoor (Refer to IP rating for specific outdoor conditions) |
| Compatible Devices | Smartphone (Android, iOS) |
| Power Source | USB (5V) |
| Connectivity Protocol | ONVIF, Wi-Fi |
| Controller Type | Android (via app) |
| Mounting Type | Surface Mount, Ceiling Mount |
| Package Dimensions | 14.28 x 8.71 x 8.71 cm |
| Item Weight | 300 g |
Warranty and Support
For detailed warranty information, technical support, and customer service, please refer to the documentation provided at the time of purchase or visit the official DIGOO website. Keep your purchase receipt or proof of purchase for any warranty claims.


