Introduction
Thank you for choosing the Weller WP 80 Soldering Iron. This manual provides essential information for the safe and efficient use, setup, operation, and maintenance of your soldering iron. The WP 80 is designed for professional soldering applications and is compatible with Weller WD1 and WD2 soldering stations, as well as WR rework stations. Please read this manual thoroughly before operating the device.
Safety Information
Always observe the following safety precautions to prevent injury or damage to the equipment:
- Electrical Safety: Ensure the soldering station is properly grounded. Do not operate the soldering iron with wet hands or in damp conditions. Disconnect power before performing any maintenance or changing tips.
- Heat Hazard: The soldering iron tip reaches very high temperatures. Always use a heat-resistant stand when the iron is not in use. Do not touch the tip or heating element. Allow the iron to cool completely before storing.
- Fume Safety: Soldering produces fumes. Always work in a well-ventilated area or use a fume extractor to avoid inhaling harmful fumes.
- Personal Protective Equipment (PPE): Wear safety glasses to protect your eyes from solder splashes. Consider wearing heat-resistant gloves.
- Proper Use: Use the soldering iron only for its intended purpose. Do not use it to burn, cut, or melt materials other than solder.
- Children and Pets: Keep the soldering iron and all related equipment out of reach of children and pets.
Product Overview


Setup
- Unpacking: Carefully remove the Weller WP 80 Soldering Iron from its packaging. Inspect for any visible damage.
- Station Compatibility: Ensure you have a compatible Weller soldering station (e.g., WD1, WD2) or WR rework station. The WP 80 is designed to work exclusively with these Weller power units.
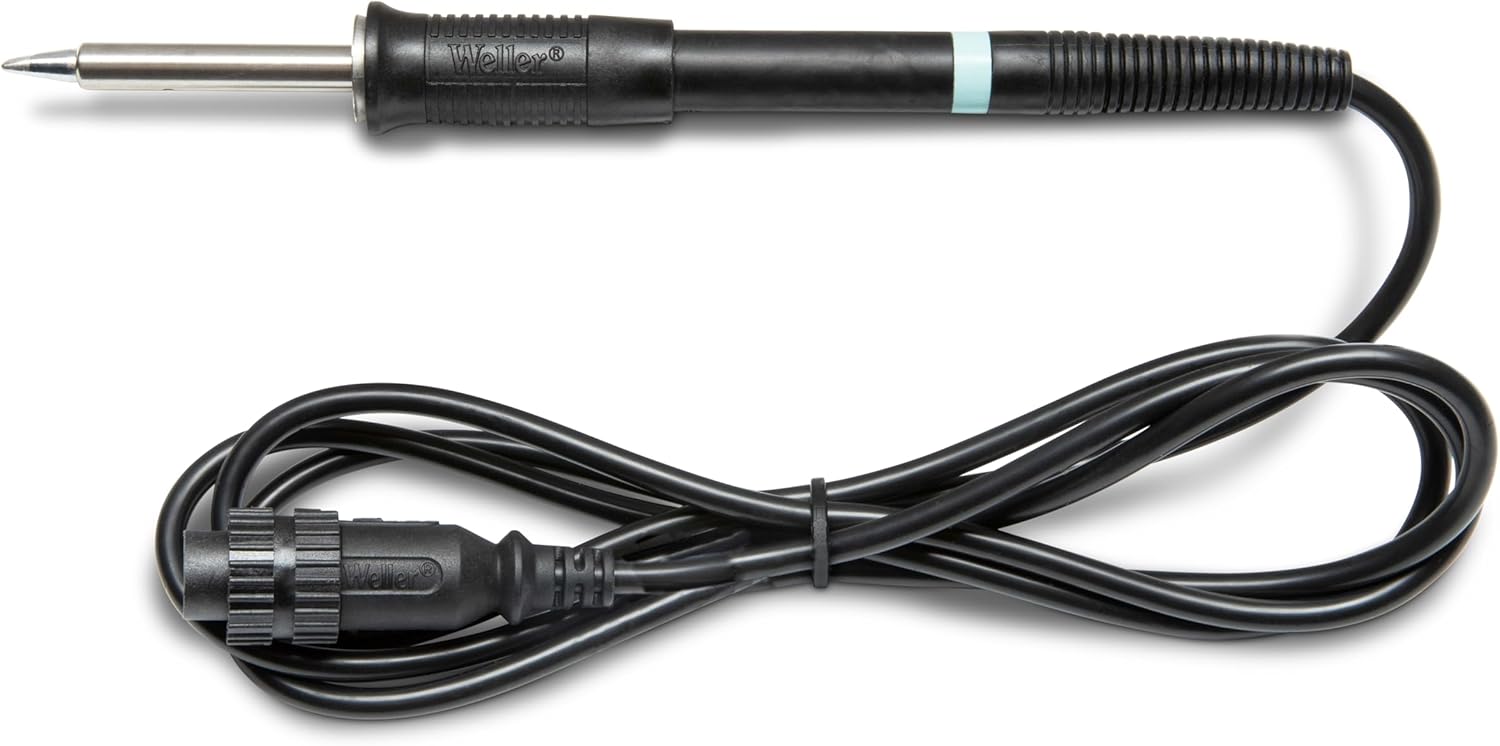
- Connecting the Iron: Locate the multi-pin connector on the soldering iron's cable. Align the connector with the corresponding port on your Weller soldering station. Gently push and twist (if applicable) until it is securely seated. Do not force the connection.
- Tip Installation: The WP 80 uses LT series tips. Ensure a suitable LT series soldering tip is properly inserted into the heating element assembly. Refer to Figure 4 for visual guidance on tip installation.
- Power On: Once the iron is securely connected and a tip is installed, you may power on your soldering station. The station will typically display the set temperature and the current tip temperature.
Operation
Follow these steps for effective and safe soldering:
- Temperature Setting: Set the desired soldering temperature on your Weller soldering station. The optimal temperature depends on the type of solder, components, and application. Consult your solder's specifications for recommended temperatures.
- Tip Tinning: Once the iron reaches the set temperature, clean the tip using a damp sponge or brass wool. Immediately apply a small amount of solder to the tip. This "tinning" process protects the tip from oxidation and ensures efficient heat transfer.
- Soldering Technique:
- Place the clean, tinned tip against both the component lead and the PCB pad simultaneously to heat them evenly.
- Apply solder to the junction of the tip and the workpiece, not directly to the iron tip. The heat from the iron will melt the solder, allowing it to flow smoothly.
- Remove the solder once enough has flowed to form a good joint.
- Remove the soldering iron. Allow the joint to cool and solidify without disturbance.
- Resting the Iron: Always place the soldering iron back into its designated safety stand when not actively soldering.
- Power Off: When finished, turn off the soldering station and allow the iron to cool completely before handling or storing.

Maintenance
Regular maintenance ensures optimal performance and extends the lifespan of your Weller WP 80 Soldering Iron:
- Tip Cleaning: Clean the soldering tip frequently during use with a damp sponge or brass wool. This removes excess solder and oxidation, maintaining efficient heat transfer.
- Tip Tinning: Always re-tin the tip after cleaning and before storing the iron. A tinned tip is protected from oxidation.
- Tip Replacement: Replace the soldering tip when it becomes pitted, corroded, or no longer holds solder effectively. Ensure the iron is cool and disconnected from power before changing tips.
- Handle Cleaning: Wipe the handle and cable with a clean, damp cloth. Do not use abrasive cleaners or solvents.
- Cable Inspection: Periodically inspect the power cable for any signs of damage, fraying, or cuts. If damage is found, discontinue use and have it repaired by qualified personnel.
Troubleshooting
| Problem | Possible Cause | Solution |
|---|---|---|
| Iron not heating up. | Not properly connected to station; Station not powered on; Faulty heating element. | Ensure cable is securely connected. Check if soldering station is powered on. If problem persists, contact Weller support. |
| Solder not melting or poor heat transfer. | Tip is oxidized/dirty; Incorrect temperature setting; Worn out tip. | Clean and re-tin the tip. Increase temperature on the station. Replace the soldering tip. |
| Tip turns black quickly. | Insufficient tinning; Too high temperature; Using incorrect solder. | Ensure proper tinning after cleaning. Reduce temperature if too high. Use appropriate solder for the application. |
Specifications
- Model Number: T0052918099N
- Brand: Weller
- Compatible Stations: WD1, WD2 Soldering Stations, WR Rework Stations
- Compatible Tips: LT Series Tips
- Power Source: AC (via soldering station)
- Color: Black
- Material: Iron (referring to the tool's primary function/material of heating element)
- Item Weight: 6.2 ounces (approx. 0.39 Pounds)
- Item Length: 35.3 Centimeters
- Country of Origin: Mexico
- UPC: 037103304421
Warranty and Support
For warranty information, technical support, or service inquiries regarding your Weller WP 80 Soldering Iron, please refer to the documentation provided with your Weller soldering station or visit the official Weller website. Keep your purchase receipt as proof of purchase for warranty claims.
You can also visit the Weller Store on Amazon for more product information and accessories.


