Introduction
This manual provides detailed instructions for the installation, operation, and maintenance of your Vivitar LB-60 Wireless Smart Multi-Colored LED Bulb. Please read this manual thoroughly before use to ensure proper functionality and safety.
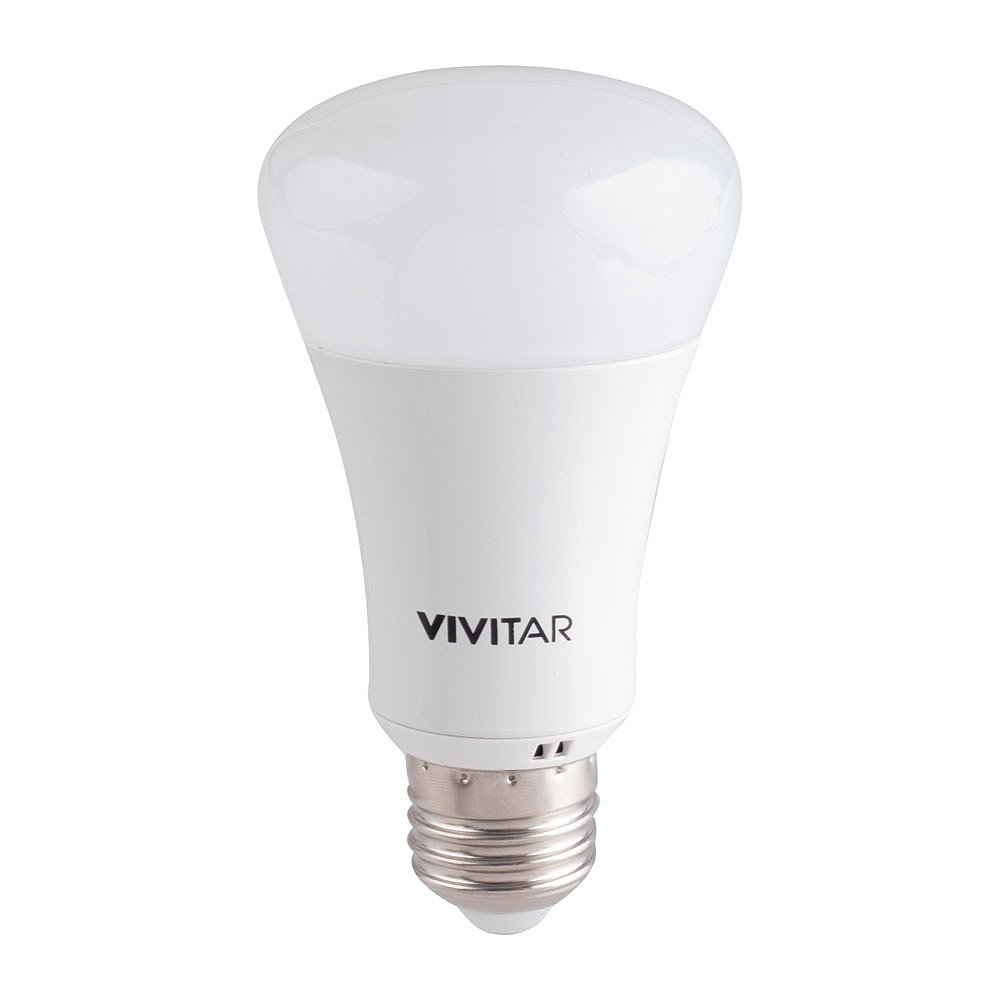
Image: Vivitar LB-60 Smart Bulb retail packaging. The box displays the bulb and a smartphone showing the control app interface.
What's in the Box
Verify that all components are present:
- Vivitar LB-60 Smart Multi-Colored LED Bulb
- Instruction Manual (this document)
Setup
1. Physical Installation
- Ensure the power to the light fixture is turned OFF at the switch before installation.
- Carefully screw the Vivitar LB-60 Smart Bulb into a standard E26/E27 light socket. Do not overtighten.
- Turn the power to the light fixture ON. The bulb should illuminate.

Image: The Vivitar LB-60 Smart Multi-Colored LED Bulb. This image shows the bulb's design, including the screw base and the frosted dome.
2. App Download and Account Creation
- Download the "Vivitar Smart Home Security" app from the Apple App Store (for iOS devices) or Google Play Store (for Android devices).
- Open the app and follow the on-screen instructions to create a new user account or log in if you already have one.
3. Pairing the Smart Bulb
- Ensure your smartphone is connected to a 2.4GHz Wi-Fi network. The Vivitar LB-60 bulb operates on 2.4GHz Wi-Fi.
- In the Vivitar Smart Home Security app, tap the "+" icon to add a new device.
- Select "Lighting" or "Smart Bulb" from the device list.
- Follow the in-app instructions to put the bulb into pairing mode. This usually involves turning the bulb off and on a few times until it starts blinking.
- Enter your Wi-Fi network password when prompted by the app.
- Once connected, the bulb will stop blinking and the app will confirm successful pairing. You can then rename your bulb for easier identification.
Note: If you experience difficulty connecting, ensure your Wi-Fi signal is strong in the bulb's location. Some routers may require specific settings for smart device compatibility.
Operating the Smart Bulb
1. Basic Controls (Via App)
- On/Off: Tap the power icon next to the bulb's name in the app to turn it on or off.
- Brightness: Use the dimming slider within the app to adjust the light intensity from 1% to 100%.
- Color Selection: Access the color palette in the app to choose from a wide range of colors.
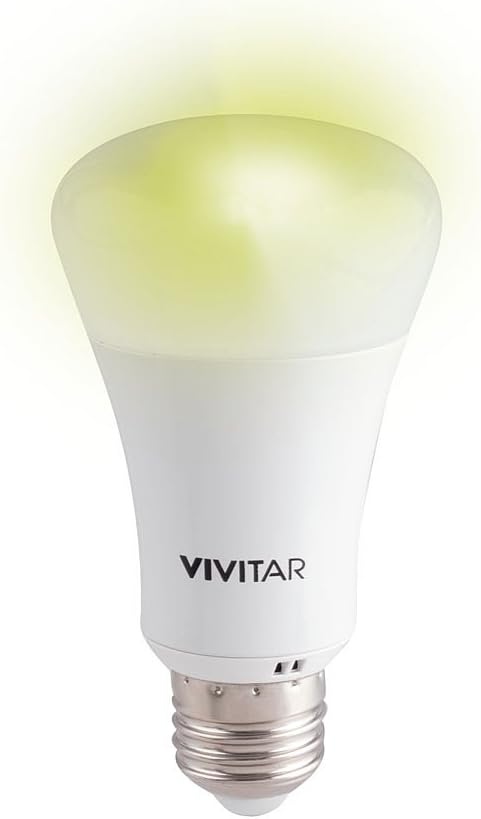
Image: The Vivitar LB-60 Smart Multi-Colored LED Bulb illuminated with a yellow-green light. This demonstrates the bulb's ability to produce various colors.
2. Setting Schedules and Timers
The Vivitar Smart Home Security app allows you to create custom schedules for your bulb:
- Navigate to the "Schedules" or "Timer" section for your bulb in the app.
- Set specific times for the bulb to turn on or off.
- Choose desired brightness and color settings for scheduled events.
- Repeat schedules for specific days of the week.
3. Voice Control Integration
The Vivitar LB-60 is compatible with Amazon Alexa and Google Home. To enable voice control:
- Ensure your smart speaker (Alexa or Google Home device) is set up and connected to the same Wi-Fi network as your smart bulb.
- Open the Alexa or Google Home app on your smartphone.
- Search for and enable the "Vivitar Smart Home Security" skill/action.
- Link your Vivitar account when prompted.
- Discover devices. Your Vivitar LB-60 bulb should appear.
- You can now control your bulb with voice commands, e.g., "Alexa, turn on the living room light" or "Hey Google, set the bedroom light to blue."
Maintenance
The Vivitar LB-60 Smart Bulb requires minimal maintenance. To ensure optimal performance and longevity:
- Cleaning: Disconnect power before cleaning. Use a soft, dry cloth to wipe the bulb. Do not use liquid cleaners or abrasive materials.
- Environment: Avoid installing the bulb in enclosed fixtures that may trap heat, as this can reduce its lifespan. Ensure adequate ventilation.
- Handling: Handle the bulb by its base, not the glass or plastic dome, to prevent damage.
Troubleshooting
| Problem | Possible Cause | Solution |
|---|---|---|
| Bulb does not turn on. | No power to the fixture; bulb not screwed in properly; bulb faulty. | Check the light switch and circuit breaker. Ensure the bulb is securely screwed in. Test with another bulb if possible. |
| Bulb cannot connect to Wi-Fi/app. | Incorrect Wi-Fi password; 5GHz Wi-Fi network; weak Wi-Fi signal; bulb not in pairing mode. | Verify Wi-Fi password. Ensure you are connected to a 2.4GHz network. Move the bulb closer to the router or use a Wi-Fi extender. Reset the bulb to pairing mode (turn off/on 3-5 times). |
| Voice control not working. | Skill/action not enabled; account not linked; device not discovered. | Ensure the "Vivitar Smart Home Security" skill/action is enabled in your Alexa/Google Home app and your Vivitar account is linked. Re-discover devices in the smart assistant app. |
| App is slow or unresponsive. | App issue; network congestion. | Close and restart the app. Check your internet connection. Ensure the app is updated to the latest version. |
Specifications
| Feature | Detail |
|---|---|
| Brand | Vivitar |
| Model Name | LB-60 |
| Light Type | LED |
| Special Feature | Multi-color, Dimmable, Wireless Wi-Fi Enabled |
| Wattage | 6.5 Watts (equivalent to 40W incandescent) |
| Brightness | 450 Lumens |
| Voltage | 120 Volts |
| Control Method | App (Vivitar Smart Home Security), Voice (Alexa, Google Home) |
| Compatibility | iOS, Android, Amazon Alexa, Google Home, IFTTT/Nest |
| Product Dimensions | 6.5 x 3 x 9.2 inches |
| Item Weight | 7.8 ounces (220 Grams) |
Warranty and Support
Vivitar products are designed for reliability and performance. For information regarding warranty coverage, please refer to the warranty card included with your purchase or visit the official Vivitar website.
For technical support, troubleshooting assistance, or to inquire about replacement parts, please contact Vivitar Customer Service:
- Website: www.vivitar.com
- Email: Refer to the Vivitar website for current contact information.
- Phone: Refer to the Vivitar website for current contact information.
Please have your product model number (LB-60) and proof of purchase ready when contacting support.


