Introduction
This manual provides detailed instructions for the safe installation, operation, and maintenance of your Progress Lighting Verdae Collection 3-Light Clear Seeded Glass New Traditional Outdoor Large Wall Lantern Light. This fixture features a traditional design with clear seeded glass and an Antique Bronze finish, suitable for various exterior settings. The open bottom design facilitates easy lamp replacement.
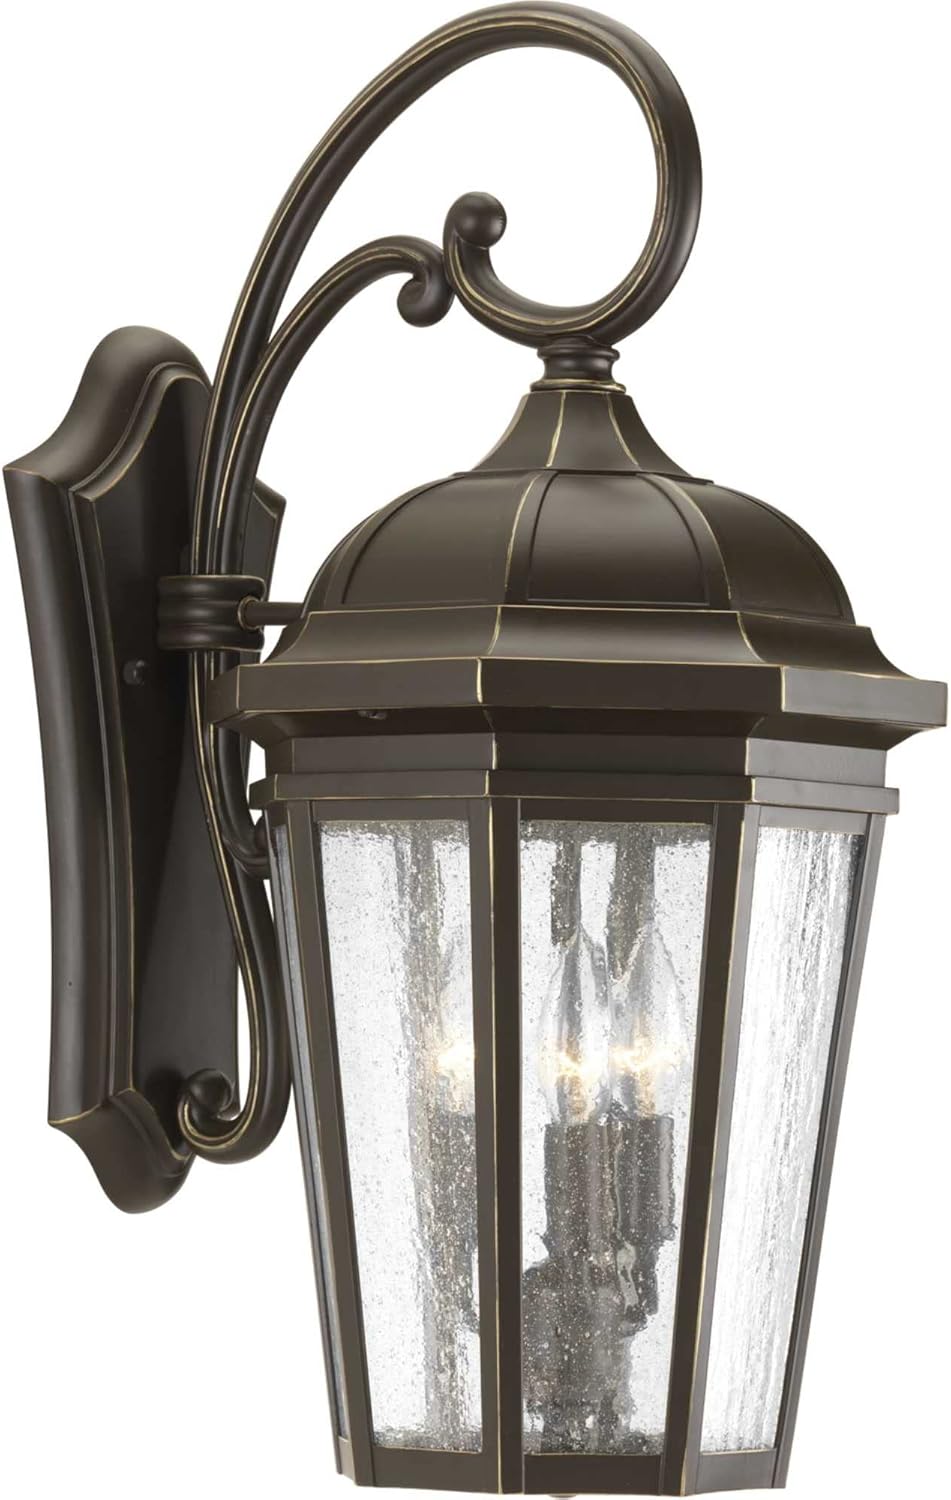
Image 1: The Verdae Collection Outdoor Wall Lantern, showcasing its Antique Bronze finish and clear seeded glass panels.
Safety Information
WARNING: Risk of electric shock. Disconnect power at the fuse box or circuit breaker before installation or servicing.
- All electrical connections must be in accordance with local codes, ordinances, or the National Electric Code (NEC).
- Consult a qualified electrician if you are unfamiliar with electrical wiring.
- Wear safety glasses and appropriate protective gear during installation.
- Handle glass components with care to prevent breakage.
- Ensure the fixture is securely mounted to a structural element.
- Do not exceed the maximum wattage specified for the bulbs.
Package Contents
Verify that all components are present before beginning installation:
- Outdoor Wall Lantern Fixture (1)
- Mounting Hardware Kit (1)
- Installation Sheet (1)
Note: Light bulbs are not included and must be purchased separately.
Specifications
| Feature | Detail |
|---|---|
| Model Number | P560016-020 |
| Brand | Progress Lighting |
| Material | Aluminum, Glass |
| Finish | Antique Bronze |
| Shade Material | Clear Seeded Glass |
| Number of Lights | 3 |
| Bulb Base | E12 (Candelabra) |
| Max Wattage per Bulb | 60 Watts |
| Voltage | 120 Volts |
| Indoor/Outdoor Usage | Outdoor |
| Installation Type | Hardware-mounted |
| Water Resistance Level | Water Resistant |
| Item Weight | 6.3 Pounds |

Image 2: Dimensional drawing of the Verdae Outdoor Wall Lantern, indicating a height of 21-3/4 inches and a width of 10-3/8 inches.
Setup and Installation
Follow these general steps for installation. Refer to the included installation sheet for detailed, model-specific instructions.
- Prepare for Installation: Turn off power at the circuit breaker or fuse box. Ensure the power is completely disconnected before proceeding.
- Mounting Bracket Installation: Attach the mounting bracket to the electrical junction box using the provided screws. Ensure it is securely fastened.
- Electrical Connections: Connect the fixture's wires to the house wiring according to standard electrical codes (black to black, white to white, ground to ground). Use approved wire connectors and ensure all connections are secure.
- Fixture Mounting: Carefully align the fixture with the mounting bracket and secure it in place using the provided hardware. Ensure the fixture is flush against the wall and stable.
- Install Bulbs: Insert three E12 base bulbs (max 60W each, not included) into the sockets. The open bottom design allows for easy access.
- Restore Power: Once installation is complete and all components are secure, restore power at the circuit breaker.
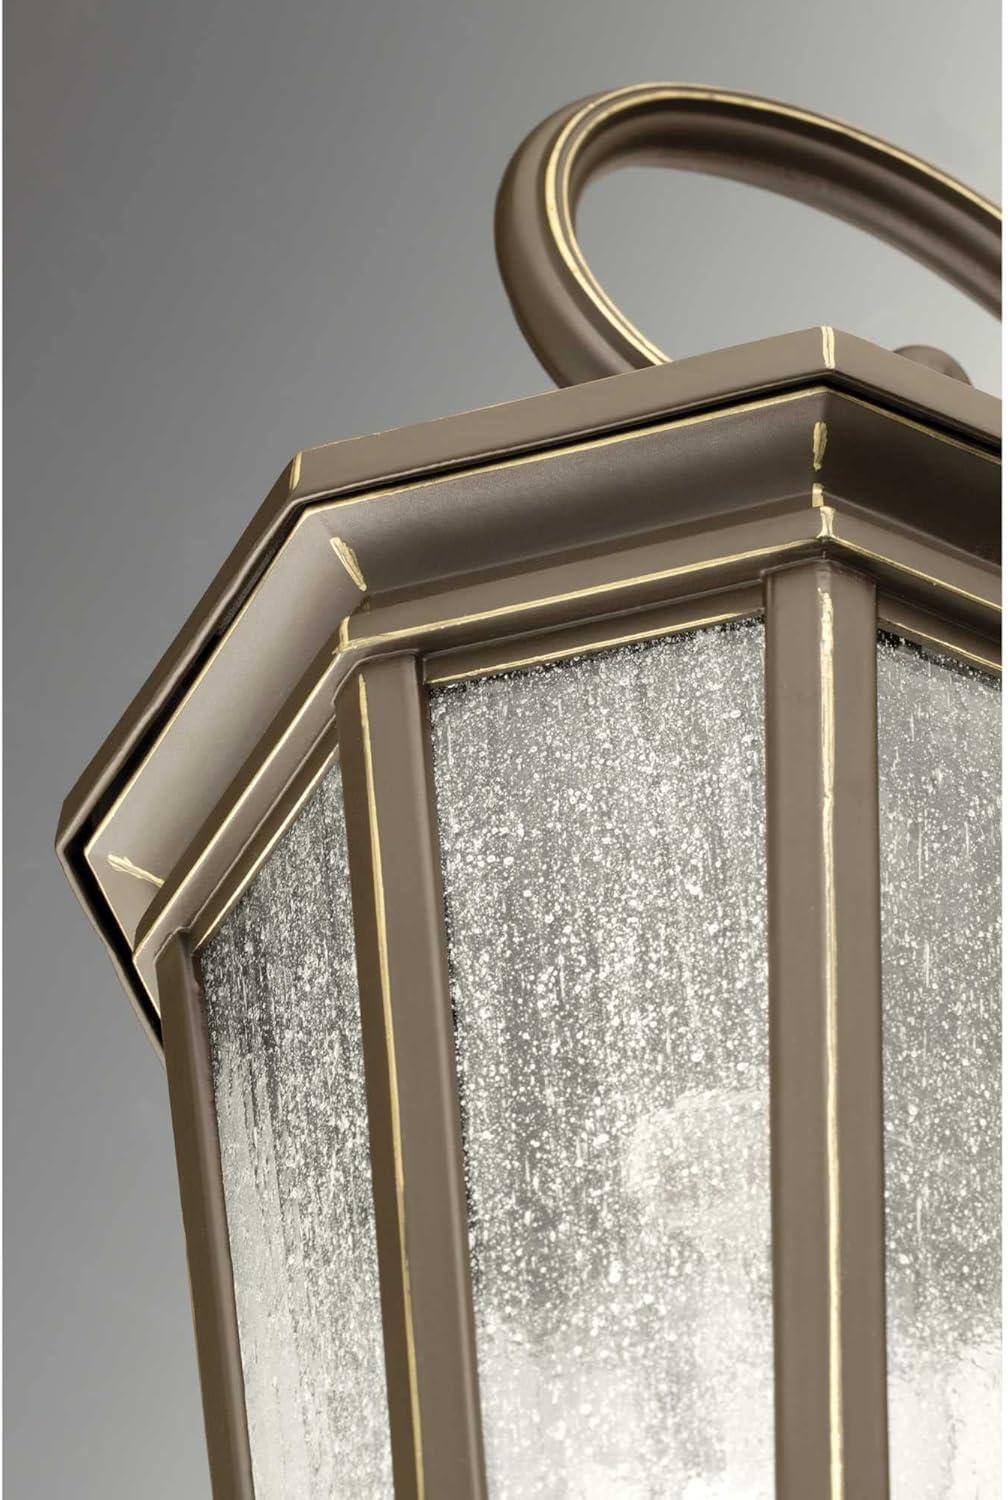
Image 3: A close-up view of the lantern's base, illustrating the open bottom design for convenient bulb replacement.
Operating Instructions
This outdoor wall lantern operates via a standard wall switch or a remote-compatible switch (if installed). Once the fixture is properly installed and power is restored:
- Flip the wall switch to the 'ON' position to illuminate the fixture.
- Flip the wall switch to the 'OFF' position to turn off the fixture.
- If a remote-controlled switch is used, refer to the instructions provided with your specific remote control system.
Maintenance
- Cleaning: To clean the fixture, ensure power is off. Wipe with a soft, dry cloth. Do not use abrasive cleaners or solvents, as they may damage the finish or glass.
- Bulb Replacement: Turn off power at the circuit breaker. Allow bulbs to cool completely. Unscrew old bulbs and replace with new E12 base bulbs (max 60W each). The open bottom design provides easy access for this task.
- Inspection: Periodically inspect the fixture for any signs of wear, damage, or loose connections. Address any issues promptly.

Image 4: A detailed view of the clear seeded glass, which provides a traditional aesthetic and diffuses light.
Troubleshooting
If you encounter issues with your outdoor wall lantern, refer to the following common problems and solutions:
| Problem | Possible Cause | Solution |
|---|---|---|
| Light does not turn on | No power to the fixture Loose wire connections Defective bulb | Check circuit breaker/fuse Verify all wire connections are secure (power off) Replace bulb(s) |
| Light flickers | Loose bulb Loose wire connection Incorrect bulb type/wattage | Tighten bulb Check wire connections (power off) Ensure bulbs meet specifications |
| Glass is broken or cracked | Impact damage | Contact customer support for replacement parts |
If the problem persists after attempting these solutions, contact a qualified electrician or Progress Lighting customer support.
Warranty and Support
This Progress Lighting product is covered by a 1-year Limited Warranty from the date of purchase. This warranty guarantees your complete satisfaction with your purchase and includes professional after-sales customer service support.
The warranty covers defects in materials and workmanship under normal use. It does not cover damage resulting from improper installation, accident, misuse, abuse, or unauthorized modifications.
For warranty claims, technical assistance, or to inquire about replacement parts, please contact Progress Lighting customer service. Refer to the contact information provided on the original packaging or the official Progress Lighting website.


