Introduction
This manual provides essential information for the safe and efficient operation, maintenance, and troubleshooting of your Olde Midway Electric Hot Dog Roller Grill Cooker Machine. Designed for both commercial and home use, this 700-watt machine features 5 stainless steel rollers capable of cooking up to 12 hot dogs simultaneously. Its dual-temperature controls allow for continuous cooking and warming, ensuring your hot dogs are always ready to serve.

Figure 1: Olde Midway Electric Hot Dog Roller Grill with hot dogs on rollers.
Important Safety Instructions
To reduce the risk of fire, electric shock, or injury, always follow basic safety precautions when using electrical appliances. Read all instructions carefully before operation.
- Ensure the appliance is connected to a grounded US-standard 120-volt power outlet.
- Do not immerse the appliance, cord, or plug in water or other liquids.
- Always unplug the machine from the outlet when not in use and before cleaning. Allow it to cool completely before handling or storing.
- Do not operate any appliance with a damaged cord or plug, or after the appliance malfunctions or has been damaged in any manner.
- Keep hands and utensils away from the rollers during operation to prevent injury.
- The machine is equipped with a built-in fuse for safety.
- Place the machine on a stable, heat-resistant, and non-skid surface.
- This product contains chemicals known to the State of California to cause cancer and birth defects or other reproductive harm (Proposition 65 warning).
Components List
Your Olde Midway Hot Dog Roller Grill includes the following components:
- Main Roller Unit (with 5 stainless steel rollers)
- Curved Glass Sneeze Guard Cover
- Removable Stainless Steel Drip Tray
- Power Cord (attached)

Figure 2: The hot dog roller grill with its glass cover and empty rollers.
Setup
- Unpack: Carefully remove all components from the packaging. Retain packaging for future storage or transport.
- Placement: Place the main roller unit on a clean, dry, stable, and heat-resistant surface. Ensure there is adequate ventilation around the unit. The non-skid rubber feet will help secure the base.
- Install Drip Tray: Slide the removable stainless steel drip tray into the designated slot beneath the rollers.
- Install Cover: Carefully place the curved glass sneeze guard cover onto the unit, aligning it with the grooves or supports. Do not overtighten any screws if assembly is required, as this may cause glass breakage.
- Power Connection: Plug the grounded US-standard 120-volt power cord into a suitable electrical outlet.
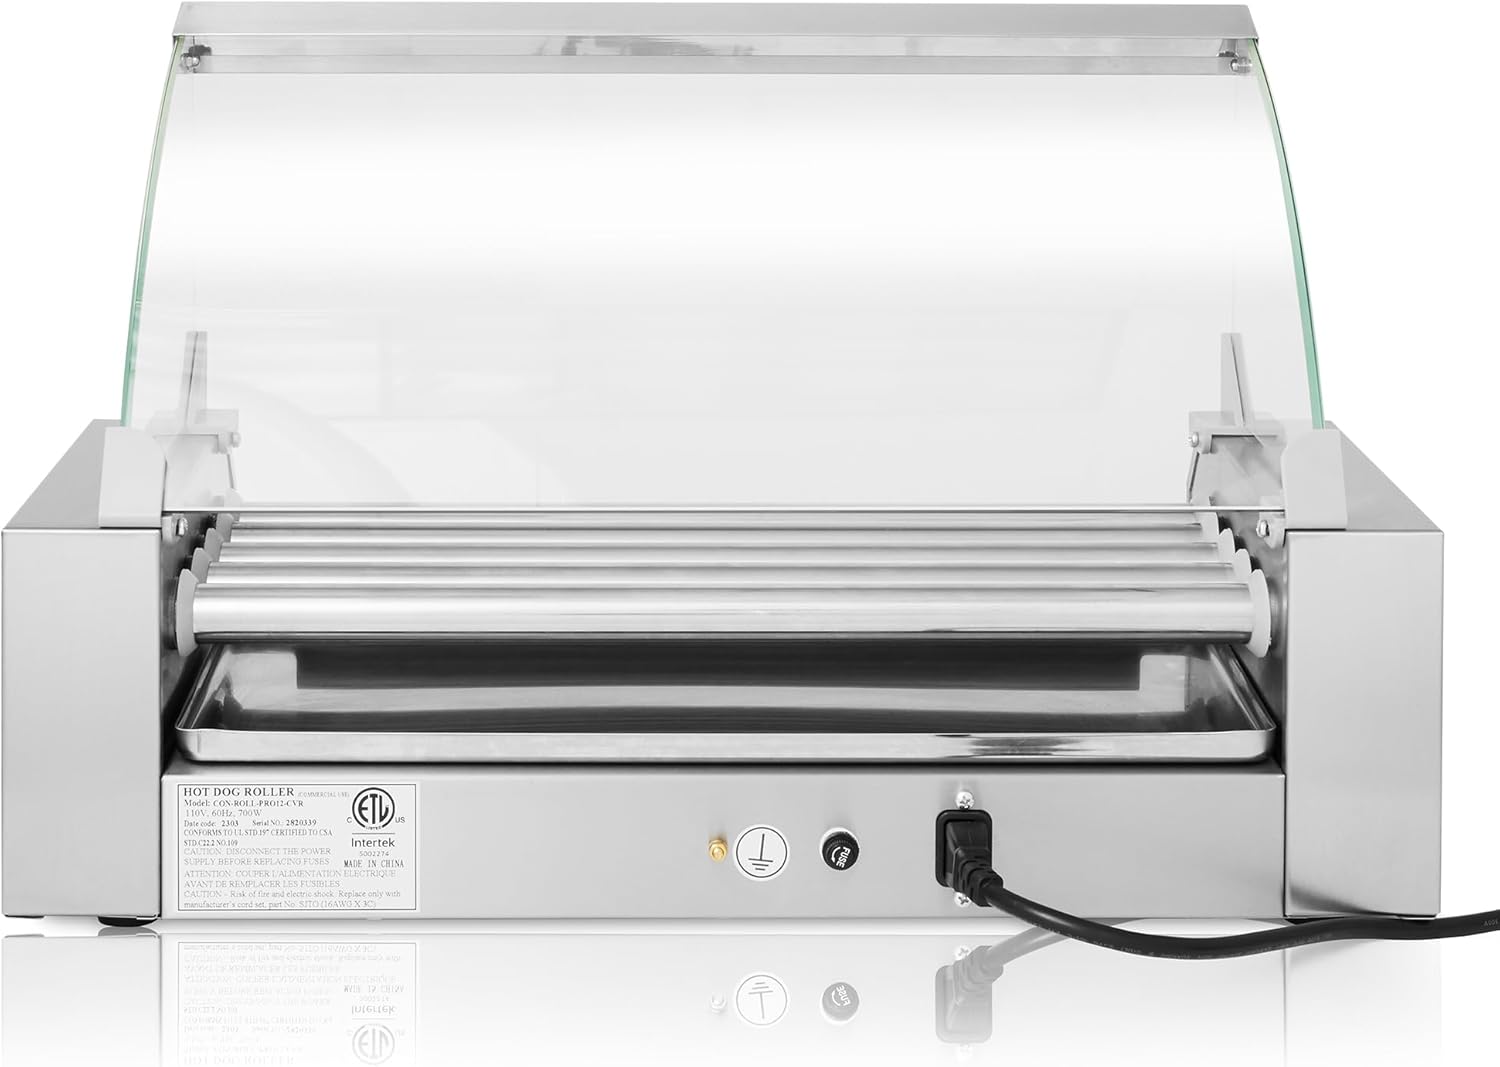
Figure 3: Rear view of the unit, highlighting the power cord connection.
Operating Instructions
The Olde Midway Hot Dog Roller Grill is designed for easy operation with dual temperature controls.
- Power On: Locate the red POWER switch on the front control panel and flip it to the 'ON' position. The rollers will begin to rotate automatically.
- Temperature Control: The unit features two independent temperature control knobs:
- FRONT Control: Controls the temperature of the front rollers. Use this for cooking hot dogs.
- REAR Control: Controls the temperature of the rear rollers. Use this for keeping cooked hot dogs warm.
- Preheating: For best results, preheat the rollers for approximately 5-10 minutes before placing hot dogs on them.
- Cooking: Place hot dogs, sausages, or other suitable items directly onto the rollers. The rollers rotate 360 degrees to ensure thorough and even cooking. The 5 rollers can accommodate up to 12 standard-sized hot dogs.
- Warming: Once hot dogs are cooked, you can move them to the rear rollers and set the REAR control to a lower temperature to keep them warm without overcooking.
- Power Off: When finished, turn both temperature control knobs to the 'OFF' position and flip the red POWER switch to 'OFF'. Unplug the unit from the power outlet.

Figure 4: Front control panel showing the power switch and dual temperature controls for front and rear rollers.

Figure 5: Detail of the power switch and Olde Midway branding.
Maintenance and Cleaning
Regular cleaning ensures optimal performance and longevity of your hot dog roller grill.
- Cool Down: Always allow the unit to cool completely before cleaning.
- Remove Drip Tray: Slide out the stainless steel drip tray and empty any accumulated grease or food particles. Wash the drip tray with warm, soapy water, rinse, and dry thoroughly.

Figure 6: The removable drip tray for easy cleaning.
- Clean Rollers: For easy cleaning, you may turn the power switch ON but keep temperature dials at '0' so rollers rotate without heating. Use a damp cloth (water moistened) to wipe down the non-stick rollers. For stubborn residue, a mild detergent can be used, followed by wiping with a clean, damp cloth to remove any soap residue. Ensure rollers are dry before next use. Some users find that wiping with a water-soaked washcloth while rollers are warm (but not hot) can create steam for effective cleaning.
- Clean Glass Cover: Wipe the curved glass sneeze guard cover with a soft, damp cloth. For streaks, a glass cleaner can be used, ensuring no residue remains on surfaces that contact food.
- Exterior Cleaning: Wipe the exterior stainless steel surfaces with a damp cloth. Do not use abrasive cleaners or scouring pads, as they may scratch the finish.
- Storage: Store the clean and dry unit in a cool, dry place.
Troubleshooting
If you encounter issues with your hot dog roller grill, refer to the following common problems and solutions:
| Problem | Possible Cause | Solution |
|---|---|---|
| Unit not powering on | Not plugged in; Power switch off; Tripped circuit breaker; Internal fuse issue. | Ensure power cord is securely plugged into a live outlet. Check if the POWER switch is ON. Reset circuit breaker if necessary. If the unit still does not power on, contact customer support. |
| Rollers not rotating | Power switch off; Motor malfunction. | Ensure the POWER switch is ON. If the unit is powered on but rollers are not moving, contact customer support. |
| Rollers not heating | Temperature knobs set to 'OFF' or too low; Heating element malfunction. | Adjust the FRONT and/or REAR temperature knobs to a higher setting. Ensure the green 'HEATING' indicator lights are on. If still no heat, contact customer support. |
| Uneven cooking | Overloading rollers; Incorrect temperature setting; Hot dogs not uniform. | Do not overload the rollers; ensure hot dogs are evenly spaced. Adjust temperature as needed. Note that some hot dog types (e.g., natural casing) may cook less uniformly. |
Specifications
| Feature | Detail |
|---|---|
| Brand | OLDE MIDWAY |
| Model | 5 Rollers + Cover Silver |
| Product Dimensions (D x W x H) | 10.75"D x 23"W x 15"H (with cover) |
| Item Weight | 22 Pounds |
| Wattage | 700 watts |
| Voltage | 120 Volts |
| Material | Stainless Steel |
| Special Features | Temperature Control, Non Stick Coating |
| Included Components | Drip tray, Cover |
| UPC | 842364142909 |
Warranty and Support
This Olde Midway Electric Hot Dog Roller Grill comes with a Limited Warranty. For specific warranty terms, conditions, and to obtain service, please refer to the warranty card included with your product or contact the manufacturer directly.
For technical support, replacement parts, or any inquiries regarding your product, please contact Olde Midway customer service. Contact information can typically be found on the product packaging or the manufacturer's official website.


