1. Product Overview
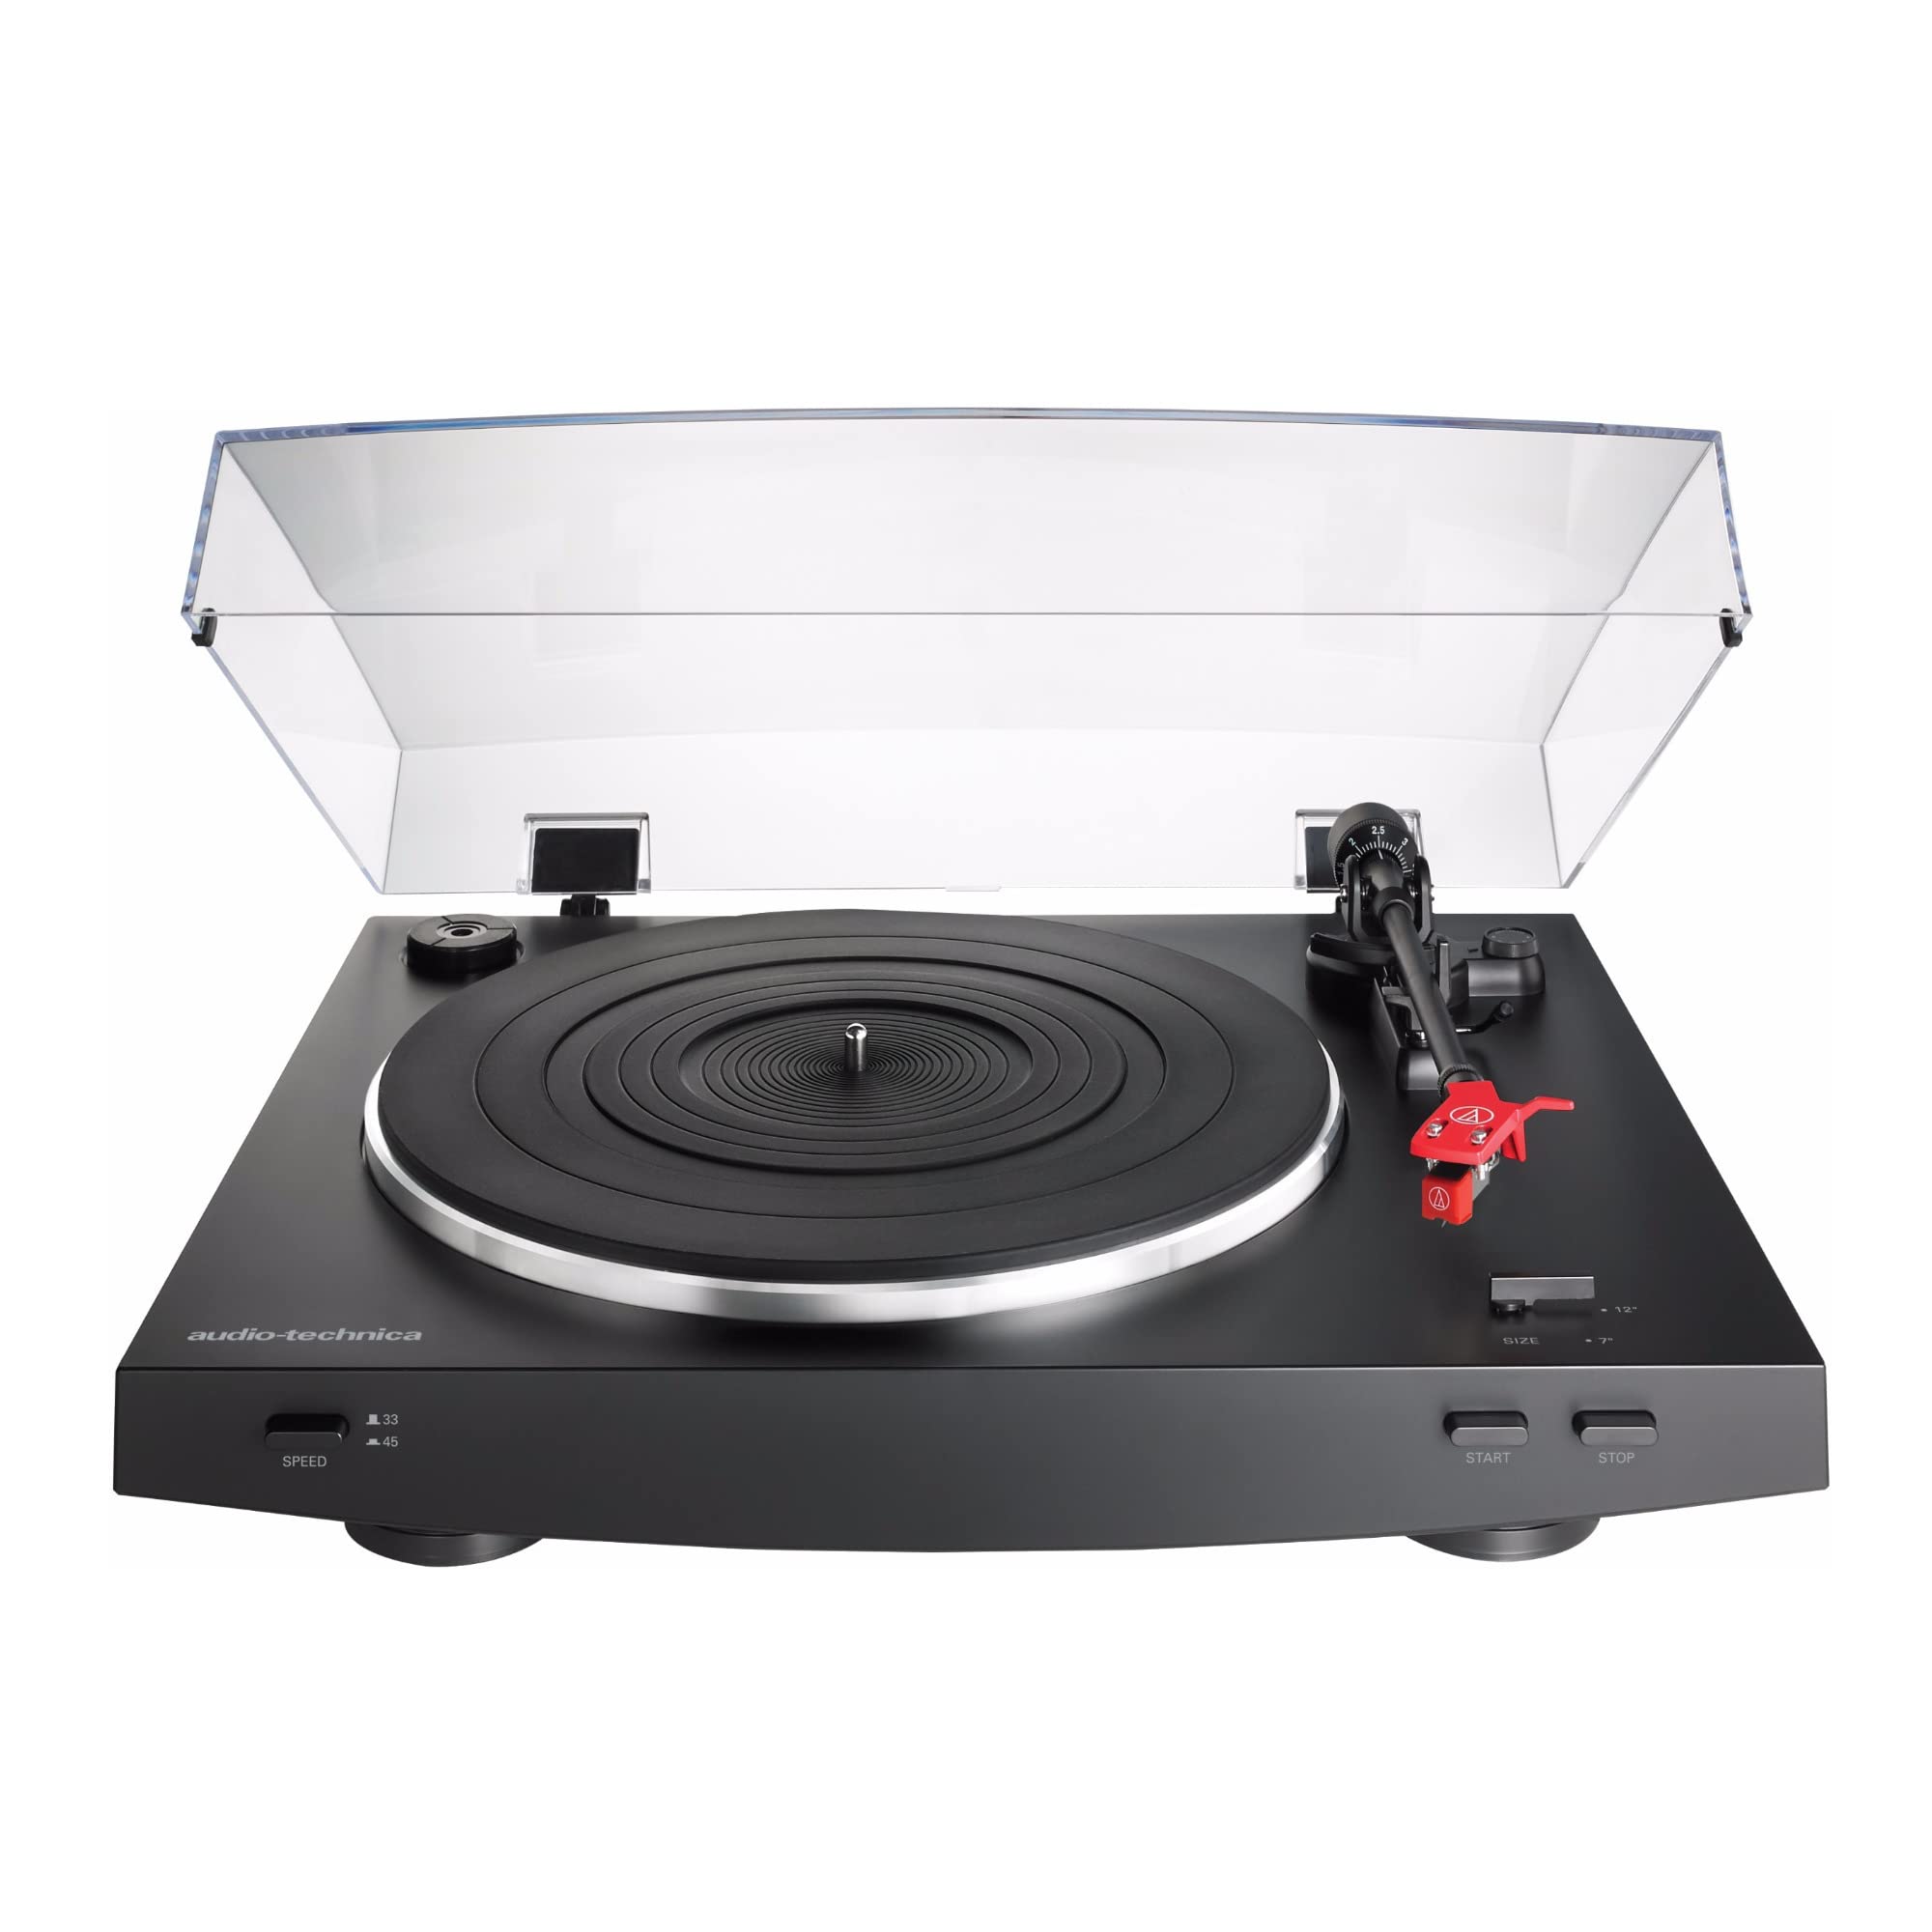
The Audio-Technica AT-LP3 is a fully automatic belt-drive stereo turntable designed to enhance your analog listening experience. It features advanced functionalities not commonly found in automatic turntables, ensuring both convenience and high-fidelity audio performance.
Key features include:
- Fully Automatic Operation: Enjoy effortless playback with automatic tonearm placement and return.
- Two Speeds: Supports both 33-1/3 and 45 RPM records.
- Balanced Straight Tonearm: Equipped with a hydraulically damped lift control and a lockable rest for precise and safe stylus handling.
- Universal Headshell: Features a 1/2-inch mount universal headshell and an AT91R Dual Moving Magnet phono cartridge, allowing for easy cartridge upgrades.
- Built-in Switchable Phono/Line Pre-amplifier: Connects directly to home stereo systems, powered speakers, or other audio components, regardless of whether they have a dedicated phono input.
- Switchable Pre-Amp Modes: Compatible with both Moving Magnet (MM) and Moving Coil (MC) cartridges.
- Anti-vibration Construction: Built with damping materials and a die-cast aluminum platter with a 4 mm rubber damping mat to minimize low-frequency feedback and resonance.
2. Package Contents
Verify that all items are present in the package:
- AT-LP3 Turntable Unit
- Headshell with AT91R Dual Moving Magnet Cartridge
- Stylus
- Aluminum Platter
- Rubber Mat
- 45 RPM Adapter
- Hinged Dust Cover
- Power Cable (attached)
- Dual RCA Output Cable (attached)
3. Setup
Follow these steps to assemble your turntable:
- Place the Platter: Carefully place the aluminum platter onto the turntable spindle. Ensure it sits flat and securely.
- Install the Drive Belt: Locate the drive belt pre-attached to the underside of the platter. Align the belt with the motor pulley.
- Place the Rubber Mat: Position the rubber damping mat on top of the aluminum platter.
- Attach the Headshell: Gently twist the headshell (with the pre-installed AT91R cartridge) onto the end of the tonearm. Secure it by tightening the locking ring.
- Install the Counterweight: Slide the counterweight onto the rear of the tonearm. Rotate it to balance the tonearm until it floats horizontally.
- Set Tracking Force: Adjust the counterweight to the recommended tracking force for your cartridge (refer to cartridge specifications, typically 2.0 grams for the AT91R).
- Set Anti-Skate: Adjust the anti-skate dial to match the tracking force setting.
- Attach the Dust Cover: Insert the hinges of the clear plastic dust cover into the designated slots at the rear of the turntable.


3.1. Connecting to Audio System
The AT-LP3 features a built-in switchable phono pre-amplifier, allowing connection to various audio components.
- PHONO Output: If your amplifier has a dedicated PHONO input, set the rear panel switch to 'PHONO'.
- LINE Output: If your amplifier does not have a PHONO input, set the rear panel switch to 'LINE'. This utilizes the turntable's internal pre-amplifier.
- Cartridge Type Selection: Use the MM/MC switch on the rear panel to select the appropriate setting for your cartridge (Moving Magnet or Moving Coil). The pre-installed AT91R is a Moving Magnet (MM) cartridge.

3.2. Setup Video Guide
4. Operating Instructions
4.1. Playing a Record
- Place Record: Place a vinyl record on the platter.
- Select Speed: Use the speed selector switch to choose between 33-1/3 RPM or 45 RPM, matching your record.
- Select Size: Use the size selector switch to choose between 12-inch or 7-inch, matching your record.
- Start Playback: Press the START button. The tonearm will automatically move to the beginning of the record and begin playback.
- Stop Playback: To stop playback, press the STOP button. The tonearm will lift, return to its rest, and the turntable will shut off. The turntable will also automatically stop and return the tonearm when a record finishes playing.

4.2. Manual Operation (Lift Lever)
The hydraulically damped lift control allows for precise manual placement of the stylus:
- To raise the tonearm, push the lift lever up.
- To lower the tonearm, push the lift lever down.
- You can manually position the tonearm over any part of the record before lowering it.
4.3. Operation Video Guide
5. Maintenance
5.1. Cleaning the Stylus
Regularly clean the stylus to ensure optimal sound quality and prevent damage to your records. Use a soft brush designed for stylus cleaning, brushing gently from back to front.
5.2. Cleaning the Turntable and Dust Cover
Wipe the turntable and dust cover with a soft, dry cloth. Avoid using harsh chemicals or abrasive cleaners, as these can damage the finish.
5.3. Replacing the Stylus/Cartridge
The stylus should be replaced after approximately 300-500 hours of use. The universal headshell allows for easy replacement of the entire cartridge if you wish to upgrade.

6. Troubleshooting
- No Sound: Ensure all audio cables are securely connected and the PHONO/LINE switch is set correctly for your amplifier. Check that your amplifier's input is selected to the correct source.
- Distorted Sound: Verify that the tracking force and anti-skate settings are correct. Ensure the stylus is clean and not worn. Check that the MM/MC switch matches your cartridge type.
- Skipping: Check for dust or debris on the record or stylus. Ensure the turntable is on a stable, level surface. Verify tracking force and anti-skate settings.
- Automatic Function Issues: Ensure the record size selector is set correctly. If the tonearm does not move or return properly, gently check for any obstructions.
For more detailed troubleshooting, please refer to the full user manual available on the Audio-Technica website.
7. Specifications
| Feature | Specification |
|---|---|
| Product Dimensions | 21 x 20 x 10 inches |
| Item Weight | 0.183 ounces (Turntable unit) / 5.2 Grams (Cartridge) |
| Manufacturer | Audio-Technica |
| Item Model Number | AT-LP3 BK |
| Maximum Rotational Speed | 45 RPM |
| Material | Aluminum (Platter) |
| Color | Black |
| Motor Type | AC Motor |
| Voltage | 110 Volts |
8. Warranty and Support
For information regarding product warranty, please refer to the warranty card included with your product or visit the official Audio-Technica website. For technical support, product registration, or to download the full user manual, please visit the Audio-Technica website.


