Introduction
This manual provides detailed instructions for the installation, operation, and maintenance of your Robertshaw RS321P 2H/1C Digital 7-Day Programmable Thermostat. This thermostat is designed to control heating and cooling systems, offering flexible programming options for energy efficiency and comfort.
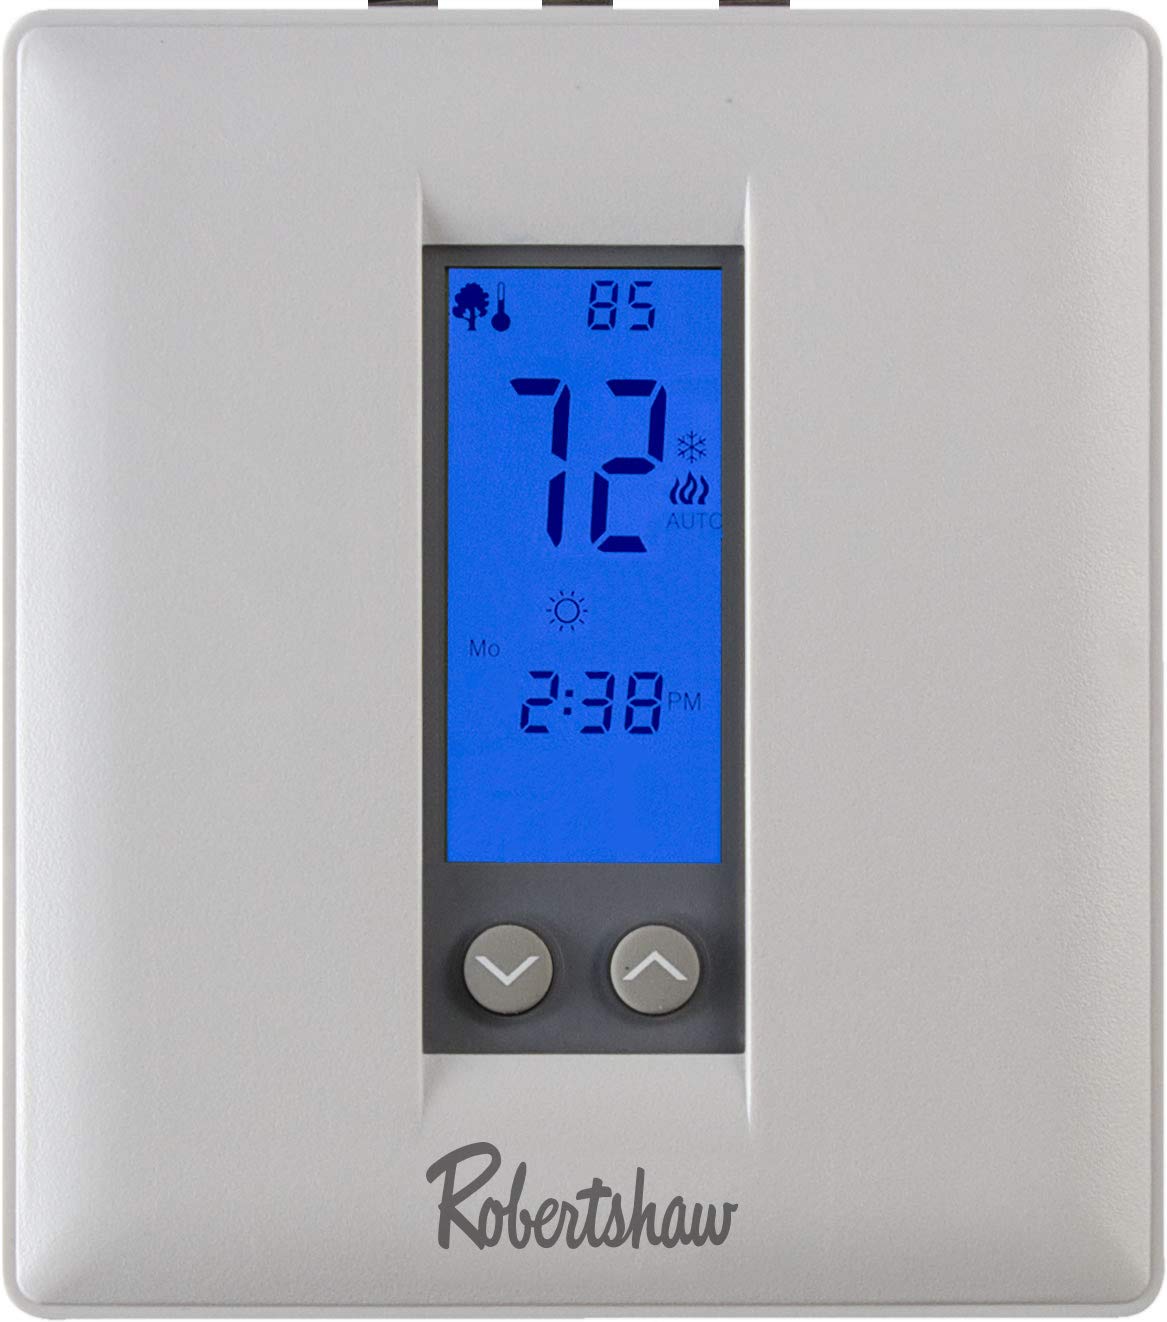
Image: Front view of the Robertshaw RS321P Digital Thermostat, showing the digital display and control buttons.
Safety Information
Read all instructions carefully before installing or operating this thermostat. Failure to follow these instructions could result in property damage, personal injury, or death. Always turn off power to the heating/cooling system at the main fuse or circuit breaker panel before installing or servicing the thermostat. All wiring must conform to local electrical codes and ordinances.
- Disconnect power before installation.
- Ensure proper grounding.
- Do not short circuit terminals on the gas valve or at the system control to test the thermostat.
- This thermostat is for 24V AC systems only.
Setup and Installation
Tools Required
- Phillips screwdriver
- Drill with 3/16-inch (4.8mm) bit (for new installations)
- Wire stripper/cutter
Mounting the Thermostat
- Turn off power to the heating and cooling system at the main fuse or circuit breaker panel.
- Remove the old thermostat from the wall.
- Separate the new thermostat's front cover from its base.
- Position the thermostat base on the wall where the old thermostat was located. Mark mounting holes.
- Drill holes if necessary and insert wall anchors.
- Secure the thermostat base to the wall using the provided screws.
Wiring
The RS321P is compatible with 2H/1C (two-stage heat, one-stage cool) conventional systems or heat pump systems. Refer to your system's wiring diagram for specific connections. Common terminals include R, C, W1, W2, Y1, G, O/B. Ensure wires are securely connected to the correct terminals.
A detailed wiring diagram is typically provided in the packaging. Always match the wire labels from your old thermostat to the corresponding terminals on the new RS321P thermostat base. If you are unsure, consult a qualified HVAC technician.
Initial Power-Up and Configuration
After wiring and mounting, restore power to the system. The thermostat will power on. Follow the on-screen prompts for initial setup, which may include:
- Setting the current time and day.
- Selecting system type (conventional or heat pump).
- Configuring advanced settings if required.
Operating Instructions
Display Overview
The digital display shows the current room temperature, set temperature, system mode (Heat, Cool, Off), fan mode (Auto, On, Circulate), and programming schedule indicators.
Refer to the thermostat's display for icons and indicators that represent various functions and settings.
Button Functions
- MODE: Selects system operation mode (Heat, Cool, Off).
- FAN: Selects fan operation mode (Auto, On, Circulate).
- UP/DOWN Arrows: Adjusts temperature setpoint, navigates menu options, or changes time/day settings.
- PROGRAM/HOLD: Enters programming mode or activates/deactivates temperature hold.
- RUN/SET: Confirms selections or returns to normal operation.
Setting Time and Day
- Press the SET button (or similar, consult your specific model's button layout).
- Use the UP/DOWN arrows to adjust the hour, then press SET.
- Repeat for minutes and day of the week.
- Press RUN to save and exit.
Programming Schedules (7-Day or 5-2 Day)
The thermostat allows for 7-day programming (individual schedules for each day) or 5-2 day programming (weekdays and weekend schedules). Each day typically has four periods: Wake, Leave, Return, Sleep.
- Press the PROGRAM button.
- Use UP/DOWN arrows to select the day or group of days to program.
- Adjust the start time and temperature for each period (Wake, Leave, Return, Sleep) using the UP/DOWN arrows and confirming with PROGRAM or SET.
- Repeat for all desired days and periods.
- Press RUN to save and activate the schedule.
Temporary and Permanent Hold
- Temporary Hold: Adjust the temperature using UP/DOWN arrows during normal operation. The new temperature will be held until the next programmed period begins.
- Permanent Hold: Press the HOLD button (or PROGRAM/HOLD). The thermostat will maintain the current set temperature indefinitely until HOLD is pressed again or the schedule is resumed.
Maintenance
Cleaning the Thermostat
Wipe the thermostat's exterior with a soft, damp cloth. Do not use abrasive cleaners or solvents. Ensure no moisture enters the internal components.
Battery Replacement
If your thermostat uses batteries (typically AA or AAA), replace them annually or when a low battery indicator appears on the display. Open the battery compartment, remove old batteries, insert new ones with correct polarity, and close the compartment.
Troubleshooting
| Problem | Possible Cause | Solution |
|---|---|---|
| Thermostat display is blank. | No power, dead batteries. | Check circuit breaker. Replace batteries if applicable. Ensure C-wire is connected if not battery-powered. |
| System not responding to thermostat. | Incorrect wiring, system mode incorrect, power off to HVAC. | Verify wiring connections. Check system mode (Heat/Cool/Off). Ensure HVAC system has power. |
| Temperature readings seem inaccurate. | Thermostat location, sensor calibration. | Ensure thermostat is not in direct sunlight or near heat sources. Check advanced settings for sensor calibration offset. |
| Programming not working. | Hold function active, incorrect program entry. | Cancel any active HOLD function. Re-enter program schedule carefully. |
If problems persist after attempting these solutions, contact a qualified HVAC technician or Robertshaw customer support.
Specifications
- Model: RS321P
- System Compatibility: 2 Heat / 1 Cool Conventional, Heat Pump
- Programming: 7-Day Programmable, 5-2 Day Programmable, or Manual Operation
- Control Type: Push Button
- Display: Digital with Backlight
- Features: Auto Heat/Cool Changeover, Fan Selector (Auto, On, Recirculation), Adjustable Min/Max Setpoint Limits, Room Sensor and Remote Sensor Calibration Offset
- Power Source: 24V AC (C-wire required for continuous backlight/features, or battery backup if applicable)
- UPC: 645220348756
Warranty and Support
Robertshaw products are manufactured to high-quality standards. For warranty information, please refer to the documentation included with your purchase or visit the official Robertshaw website. For technical support or assistance, please contact Robertshaw customer service through their official channels.
Robertshaw Website: www.robertshaw.com


