
1. Introduction
This manual provides detailed instructions for the setup, operation, and maintenance of your AXESS MPWL1512 Handheld Wireless Microphone. Please read this manual thoroughly before using the product to ensure proper function and longevity.
The AXESS MPWL1512 is designed for various applications, including church events, weddings, business meetings, and karaoke. It offers clear sound quality and a wireless range of up to 150 feet, providing flexibility in movement.
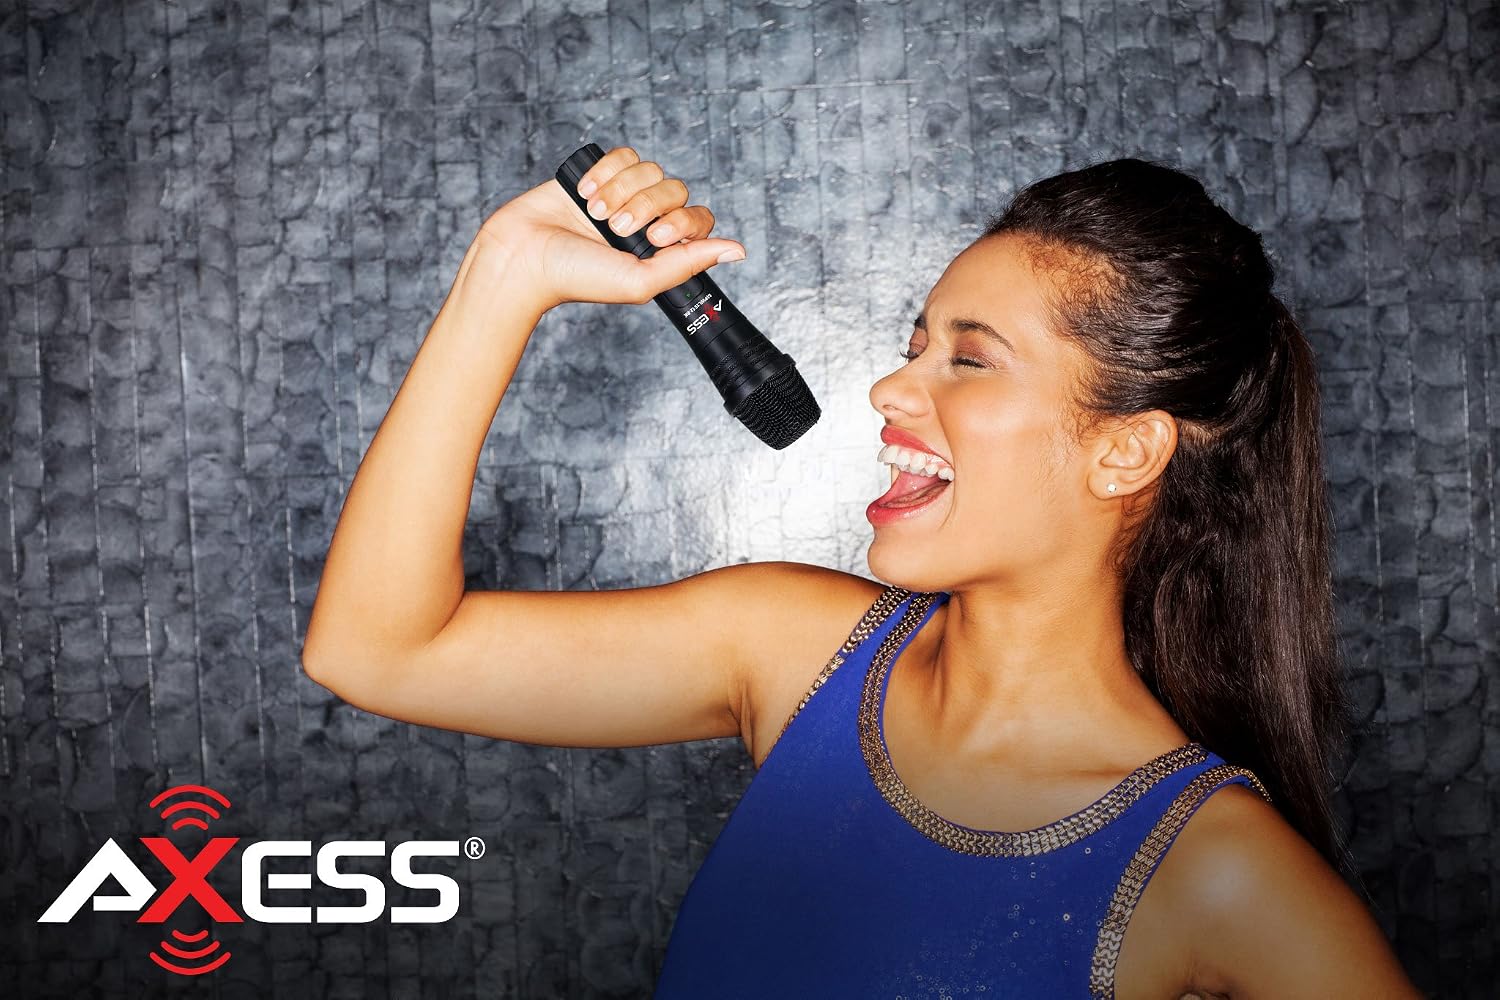
Figure 1: User demonstrating the AXESS MPWL1512 Handheld Wireless Microphone in use.
2. Package Contents
Verify that all items listed below are included in your package:
- Handheld Wireless Microphone
- Wireless Receiver
- 6.3mm to 3.5mm Adapter
- 9V Battery (for receiver)
- AA Batteries (2, for microphone)

Figure 2: AXESS MPWL1512 Handheld Wireless Microphone, Receiver, and 6.3mm to 3.5mm Adapter.
3. Setup Instructions
3.1. Battery Installation
- For the Receiver: Locate the battery compartment on the wireless receiver. Insert one 9V battery, ensuring correct polarity (+/-). Close the compartment securely.
- For the Microphone: Locate the battery compartment on the handheld microphone. Insert two AA batteries, ensuring correct polarity (+/-). Close the compartment securely.
3.2. Connecting the Receiver
- Identify the audio input port on your audio system (e.g., PA system, karaoke machine, amplifier). This port is typically a 6.3mm (1/4 inch) jack.
- Plug the wireless receiver directly into the 6.3mm audio input jack of your audio system.
- If your audio system has a 3.5mm input jack, use the provided 6.3mm to 3.5mm adapter. Attach the adapter to the receiver's output, then plug the adapter into your audio system's 3.5mm input.
- Extend the antenna on the receiver for optimal signal reception.
4. Operating Instructions
4.1. Powering On/Off
- Power On Receiver: Locate the power switch on the wireless receiver and slide it to the "ON" position. An indicator light should illuminate.
- Power On Microphone: Locate the power switch on the handheld microphone and slide it to the "ON" position. A red indicator light should illuminate.
- Power Off: To conserve battery life, always slide both the microphone and receiver power switches to the "OFF" position when not in use.
4.2. Usage Tips
- For best sound quality, hold the microphone close to your mouth.
- Maintain a clear line of sight between the microphone and the receiver whenever possible to maximize the 150-foot wireless range and prevent signal interference.
- Adjust the volume on your audio system as needed.
5. Maintenance
- Cleaning: Wipe the microphone and receiver with a soft, dry cloth. Do not use liquid cleaners or solvents.
- Battery Replacement: Replace batteries in both the microphone and receiver when audio quality degrades or indicator lights dim. Always use fresh batteries of the specified type (9V for receiver, AA for microphone).
- Storage: Store the unit in a cool, dry place away from direct sunlight and extreme temperatures when not in use for extended periods. Remove batteries before long-term storage to prevent leakage.
6. Troubleshooting
| Problem | Possible Cause | Solution |
|---|---|---|
| No sound output. |
|
|
| Poor sound quality, static, or dropouts. |
|
|
| Microphone indicator light not on. |
|
|
7. Specifications
| Model | MPWL1512 |
| Brand | Axess |
| Microphone Form Factor | Handheld |
| Connectivity Technology | Wireless |
| Wireless Range | Up to 150 feet |
| Carrier Frequency | VHF: 170-260MHz |
| Signal/Noise Ratio | >30dB |
| Audio Dynamic Range | 80dB |
| Total Harmonic Distortion (T.H.D) | <=1% |
| Receiver Power Consumption | 1.5W |
| Receiver Audio Output | >25MV |
| Receiver Sensitivity | >30dB/Uv |
| Microphone Power Source | 2 x AA Batteries |
| Receiver Power Source | 1 x 9V Battery |
| Connector Type | 6.3mm Jack (with 3.5mm adapter) |
| Compatible Devices | PA System, Karaoke Machine |
| Item Dimensions (L x W x H) | 4 x 9 x 2 inches |
| Item Weight | 14.4 ounces |
| Polar Pattern | Unidirectional |
| Impedance | 600 Ohms |
8. Safety Information
- Do not expose the unit to water, moisture, or extreme temperatures.
- Avoid dropping or subjecting the unit to severe impacts.
- Do not attempt to disassemble or repair the unit yourself. Refer all servicing to qualified personnel.
- Dispose of batteries according to local regulations. Do not mix old and new batteries or different types of batteries.
- Keep out of reach of children.
9. Warranty and Support
For warranty information or technical support, please refer to the contact information provided with your purchase or visit the official Axess website. Keep your proof of purchase for warranty claims.