Introduction
This manual provides detailed instructions for the installation, operation, and maintenance of your TimeMist Settings Air Freshener Dispenser, Model 1047811. Please read this manual thoroughly before using the device to ensure proper function and longevity.

Image: Front view of the TimeMist Settings Air Freshener Dispenser. The dispenser is black with a silver base, featuring a spray nozzle opening at the top front and the TimeMist logo on the base.
Safety Information
- Keep the dispenser out of reach of children and pets.
- Do not spray directly onto food, fabrics, or surfaces that may be damaged by fragrance.
- Use only TimeMist approved refills.
- Do not expose the dispenser to extreme temperatures or direct sunlight.
- Ensure proper ventilation when operating the dispenser.
- Dispose of used batteries and refills according to local regulations.
Package Contents
Verify that all items are present in the package:
- TimeMist Settings Air Freshener Dispenser (Model 1047811)
- Magnetic Key (for unlocking, if applicable)
- Note: AA batteries and fragrance refills are sold separately and are not included.
Setup
1. Opening the Dispenser
To open the dispenser, locate the magnetic lock on the side or top. Use the provided magnetic key (if included) or a strong magnet to release the latch and open the front cover.
2. Battery Installation
- Open the dispenser cover.
- Locate the battery compartment inside the dispenser.
- Insert either two (2) or four (4) fresh AA alkaline batteries, ensuring correct polarity (+/-). Two batteries provide approximately 1 year of operation, while four batteries provide approximately 2 years.
- Close the battery compartment cover securely.
3. Refill Installation
- With the dispenser cover open, locate the refill slot.
- Insert a TimeMist fragrance refill can into the slot, ensuring it is seated properly. The nozzle of the refill should align with the dispenser's spray mechanism.
4. Mounting the Dispenser
The dispenser can be placed on a flat surface or mounted to a wall. For wall mounting, use appropriate screws and anchors (not included) to secure the dispenser at the desired height, ensuring it is level and stable.
Operating Instructions
The TimeMist Settings dispenser features a simplified user interface for flexible programming.
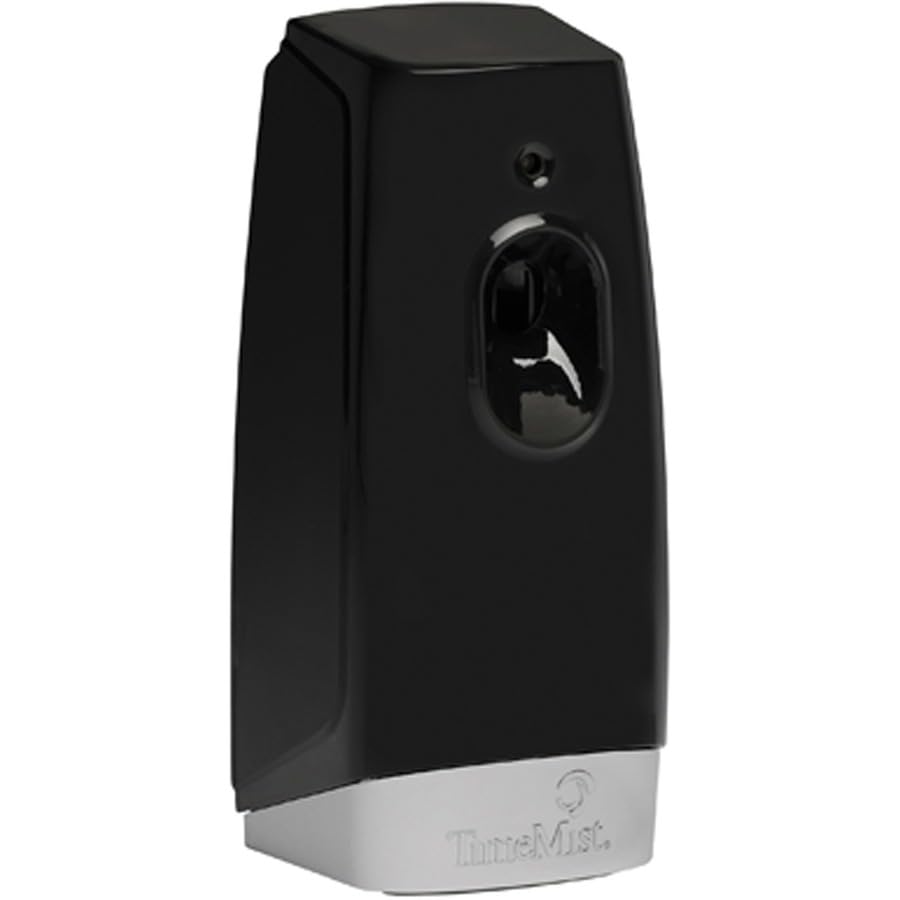
Image: Side view of the TimeMist Settings Air Freshener Dispenser with the front cover open, revealing the internal components including the battery compartment and refill slot.
1. Setting Spray Intervals
Inside the dispenser, locate the interval setting switch or buttons. You can customize the spray frequency to one of the following options:
- 7.5 minutes: Frequent fragrance release.
- 15 minutes: Standard fragrance release.
- 30 minutes: Extended interval fragrance release.
Select the desired interval based on your preference and room size.
2. Light Sensor Settings
The dispenser includes a light sensor to optimize operation and conserve refills. Choose from the following modes:
- Light: Dispenser operates only when ambient light is detected (daytime).
- Dark: Dispenser operates only when no ambient light is detected (nighttime).
- Both: Dispenser operates continuously, regardless of light conditions.
Adjust the light sensor setting to match your operational needs.
3. Closing the Dispenser
Once settings are configured and the refill is installed, close the front cover. Ensure it latches securely. The dispenser will begin operation according to your selected settings.
Maintenance
1. Cleaning
Periodically wipe the exterior of the dispenser with a soft, damp cloth. Do not use abrasive cleaners or solvents, as these may damage the finish. Ensure no liquid enters the internal components.
2. Battery Replacement
When the batteries are low, the dispenser's performance may diminish, or it may stop spraying. Replace all batteries simultaneously with new AA alkaline batteries, following the installation steps in the "Setup" section.
3. Refill Replacement
When the fragrance level in the refill can is low, the dispenser will no longer emit fragrance. Replace the empty can with a new TimeMist fragrance refill, following the installation steps in the "Setup" section.
Troubleshooting
| Problem | Possible Cause | Solution |
|---|---|---|
| Dispenser not spraying. | Low or dead batteries. Empty fragrance refill. Incorrect light sensor setting. | Replace batteries. Replace fragrance refill. Adjust light sensor setting to "Both" or appropriate mode. |
| Weak or inconsistent spray. | Low batteries. Nearly empty fragrance refill. | Replace batteries. Replace fragrance refill. |
| Dispenser not turning on. | Batteries installed incorrectly. Dead batteries. | Check battery polarity. Replace batteries. |
Specifications
- Model Number: 1047811
- Dimensions (L x W x H): 10 x 9 x 7 inches
- Item Weight: 6 pounds
- Power Source: 2 or 4 AA batteries (not included)
- Battery Life: Up to 1 year (2 AA batteries), Up to 2 years (4 AA batteries)
- Interval Settings: 7.5, 15, or 30 minutes
- Light Sensor Modes: Light, Dark, Both
- Color: Black
- Manufacturer: Amrep, Inc
Warranty and Support
For warranty information or technical support, please refer to the manufacturer's official website or contact their customer service department. Keep your purchase receipt as proof of purchase.