1. Introduction and Overview
Thank you for choosing the NuWave Pro Precision Induction Cooktop, Model 30301. This advanced countertop burner utilizes induction technology to provide efficient, precise, and safe cooking. Its portable design and accurate temperature control make it an ideal addition to any kitchen, offering a superior cooking experience compared to traditional electric or gas ranges.
This manual provides detailed instructions for the safe and effective use of your NuWave Pro Precision Induction Cooktop. Please read it thoroughly before first use and retain it for future reference.
2. Important Safety Information
WARNING: To reduce the risk of fire, electric shock, or injury, read and understand all instructions before using this appliance.
- Always place the cooktop on a stable, level, heat-resistant surface.
- Ensure adequate ventilation around the unit. Do not block air vents.
- Do not immerse the cooktop in water or any other liquid.
- Use only induction-compatible cookware. Non-compatible cookware will not heat.
- The cooking surface can remain hot even after cooking. Allow it to cool completely before cleaning or storing.
- Keep out of reach of children and pets.
- Do not operate if the power cord or plug is damaged.
- Individuals with pacemakers or similar medical devices should consult their doctor before using an induction cooktop due to potential electromagnetic interference.
3. Product Features
- Precision Induction Technology: Heats cookware directly, minimizing heat loss and maximizing energy efficiency.
- Accurate Temperature Control: Offers precise temperature settings for consistent cooking results.
- Portable Design: Compact and lightweight, making it easy to move and store.
- Durable Surface: Features a shatter-proof ceramic glass cooking surface.
- Multiple Wattage Settings: Adjustable power levels for various cooking needs.
- Safety Features: Automatic shut-off, pan detection, and overheat protection.
4. Components and Controls
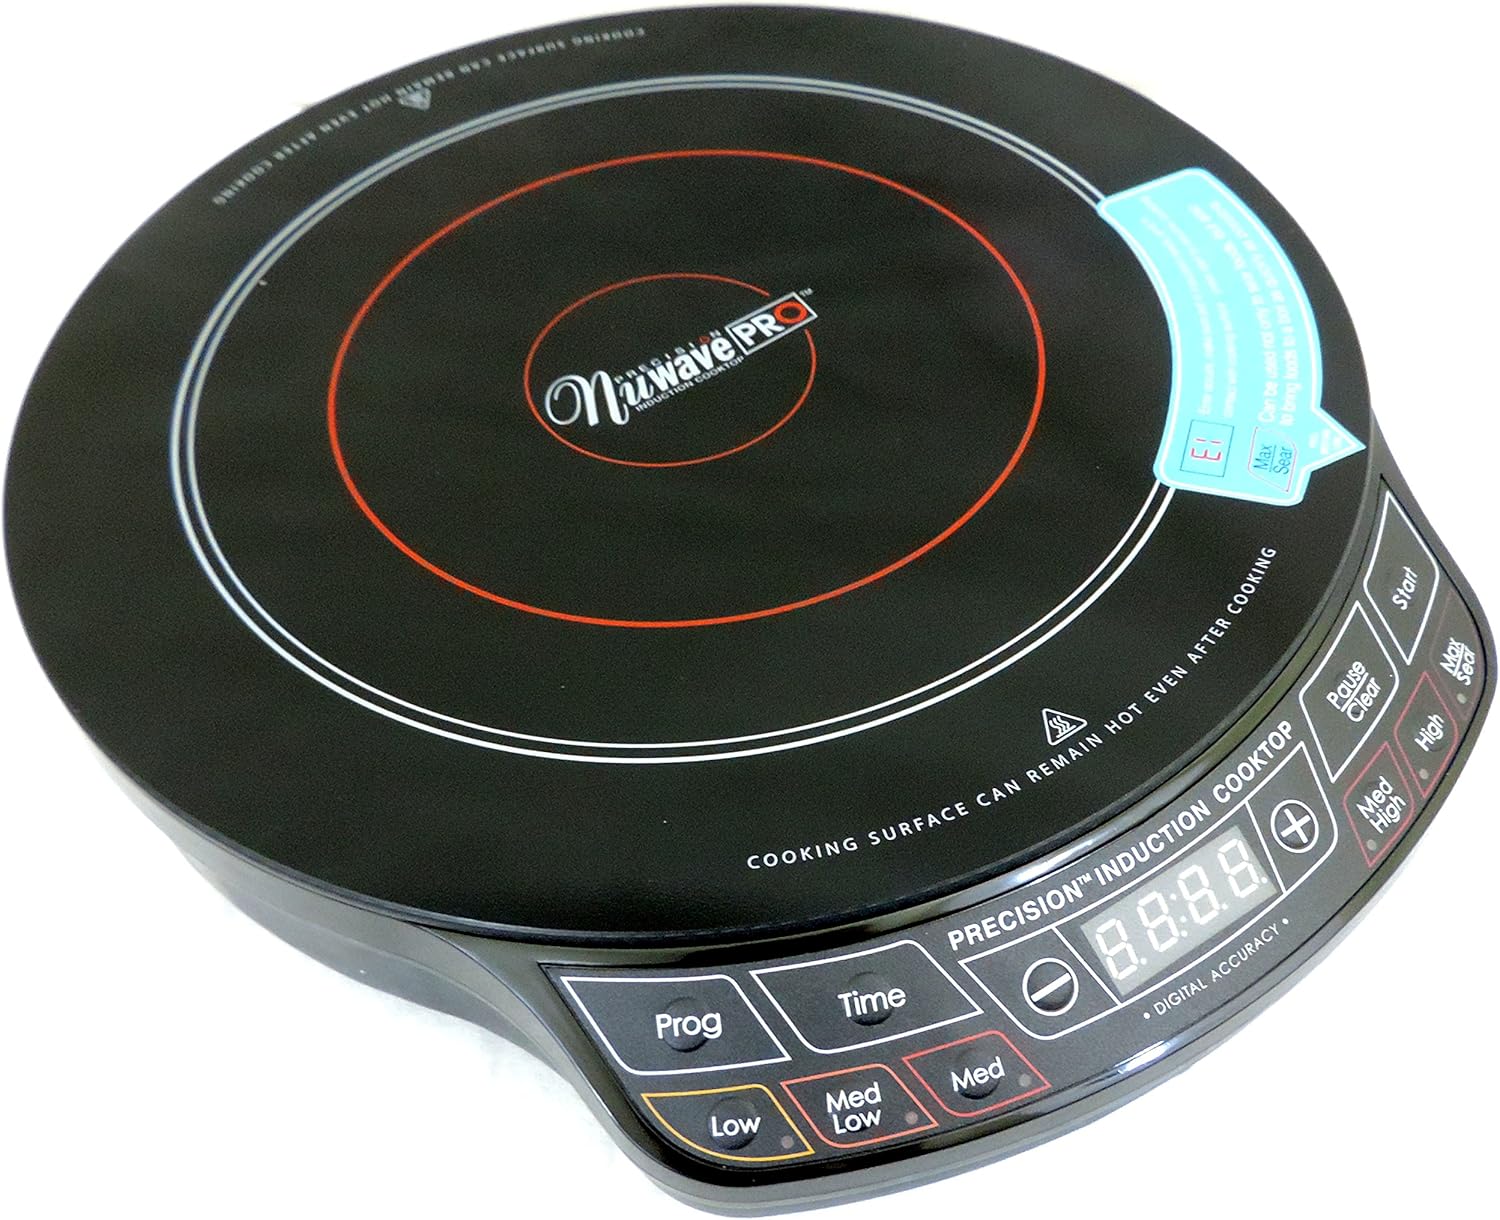
Figure 4.1: Top-down view of the NuWave Pro Precision Induction Cooktop, highlighting the cooking zone and digital control panel.
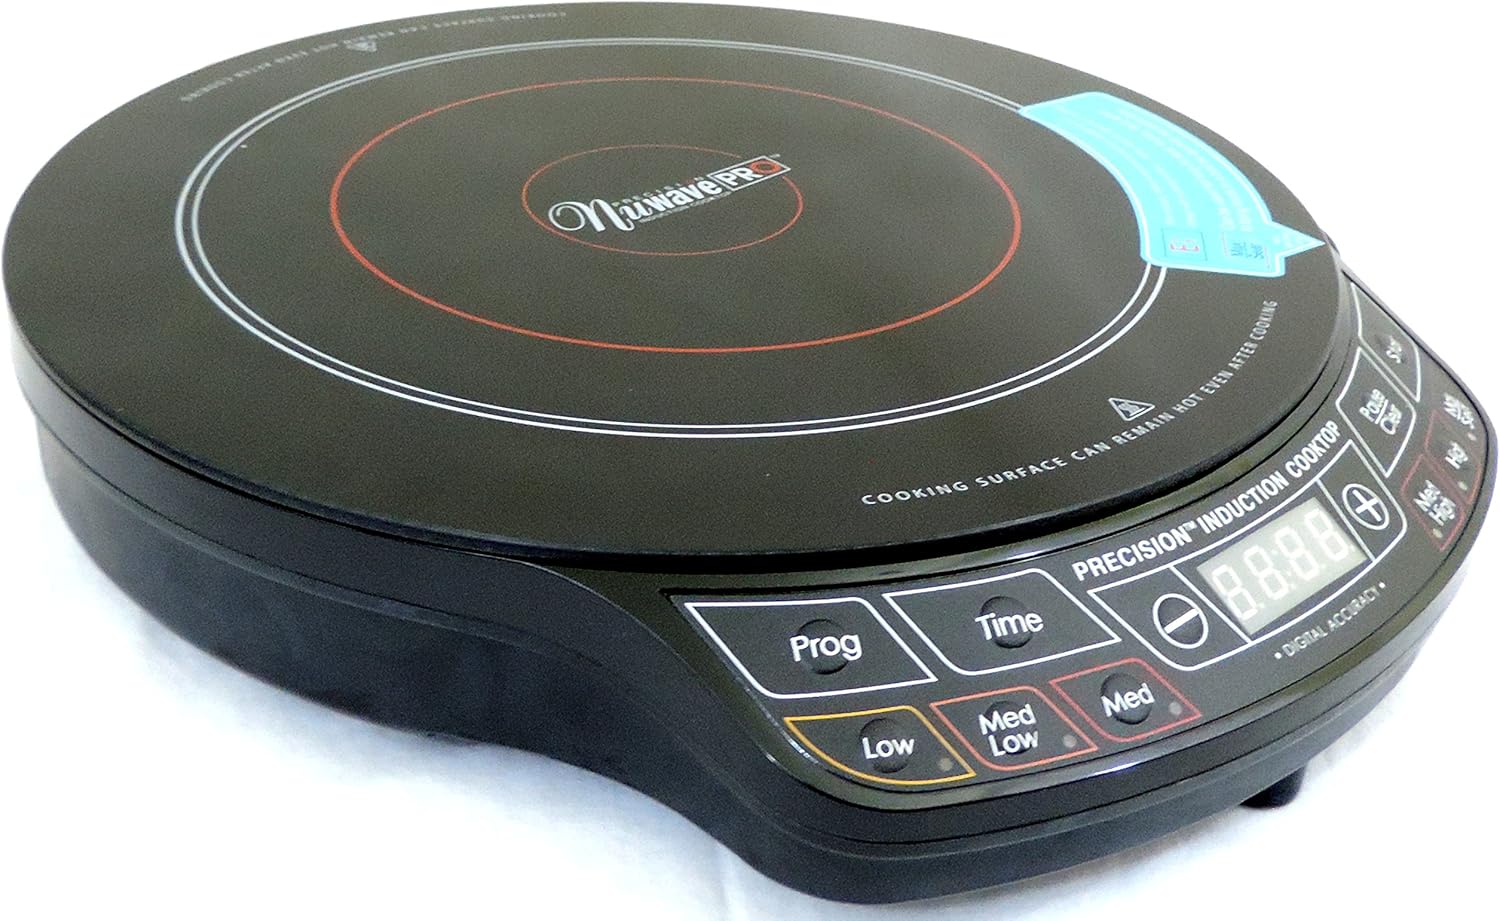
Figure 4.2: Angled view of the NuWave Pro Precision Induction Cooktop, providing a clearer look at the unit's compact design and the layout of the control buttons.
Control Panel Overview:
- Digital Display: Shows temperature, time, and error codes.
- Prog (Program): Used to access and set pre-programmed cooking functions.
- Time: Activates and adjusts the cooking timer.
- Low / Med Low / Med / Med High / High / Sear: Pre-set temperature/power level buttons for quick selection.
- +/- Buttons: Adjust temperature or time settings incrementally.
- Start: Begins the cooking process.
- Pause / Clear: Pauses cooking or clears current settings.
5. Setup
- Unpacking: Carefully remove the cooktop and all packaging materials from the box. Retain packaging for storage or future transport.
- Placement: Place the cooktop on a dry, flat, stable, and heat-resistant surface. Ensure there is at least 4-6 inches of clear space around all sides for proper ventilation. Do not place on metal surfaces.
- Power Connection: Plug the power cord into a standard 120V AC electrical outlet.
- Cookware Compatibility: Ensure your cookware is induction-compatible. This typically includes cast iron, enameled iron, and stainless steel with a magnetic bottom. A simple test is to place a magnet on the bottom of your pot or pan; if it sticks, it's compatible.
6. Operating Instructions
Basic Operation:
- Place induction-compatible cookware (with contents) centrally on the cooking surface.
- Press the Start button to turn on the unit. The digital display will illuminate.
- Select your desired cooking temperature or power level using the pre-set buttons (Low, Med Low, Med, Med High, High, Sear) or use the +/- buttons for precise adjustments.
- To set a cooking time, press the Time button, then use the +/- buttons to adjust the duration. Press Start again to confirm and begin cooking.
- To pause cooking, press Pause. To resume, press Start.
- To clear settings or turn off the unit, press and hold the Pause / Clear button.
Using Pre-Programmed Settings (Prog):
The Prog button allows access to various pre-programmed cooking functions. Refer to the included recipe book or NuWave's official website for specific details on these programs and their usage.
Note: Always ensure the cooktop is clean and dry before use. Do not operate without cookware on the surface.
7. Maintenance and Cleaning
CAUTION: Always unplug the cooktop and allow it to cool completely before cleaning.
- Cleaning the Surface: Wipe the ceramic glass surface with a damp cloth and mild detergent. For stubborn stains, use a non-abrasive cleaner specifically designed for glass cooktops. Dry thoroughly with a soft cloth.
- Control Panel: Wipe the control panel with a soft, damp cloth. Do not use abrasive cleaners or immerse the unit.
- Vents: Periodically check the air intake and exhaust vents for dust or debris. Use a soft brush or vacuum cleaner to gently clear any blockages.
- Storage: Store the cooktop in a cool, dry place when not in use.
8. Troubleshooting
| Problem | Possible Cause | Solution |
|---|---|---|
| Cooktop does not turn on. | Not plugged in; power outage; faulty outlet. | Ensure unit is securely plugged into a working outlet. Check circuit breaker. |
| Cookware not heating. | Cookware is not induction-compatible; cookware is too small or not centered; no cookware detected. | Use induction-compatible cookware. Ensure cookware is centered and covers a sufficient portion of the cooking zone. |
| Unit shuts off unexpectedly. | Overheat protection activated; pan removed; internal error. | Allow unit to cool down. Ensure proper ventilation. Replace pan if removed. If problem persists, contact customer support. |
| Temperature control seems inaccurate. | Variations in cookware material/thickness; user expectation. | Induction cooktops heat very rapidly. Adjust settings gradually. Ensure cookware is flat-bottomed. |
| Unit does not shut off with button. | Button not held long enough; temporary software glitch. | Press and hold the Pause / Clear button for a few seconds. If unresponsive, unplug the unit from the wall for 30 seconds, then plug back in. |
9. Specifications
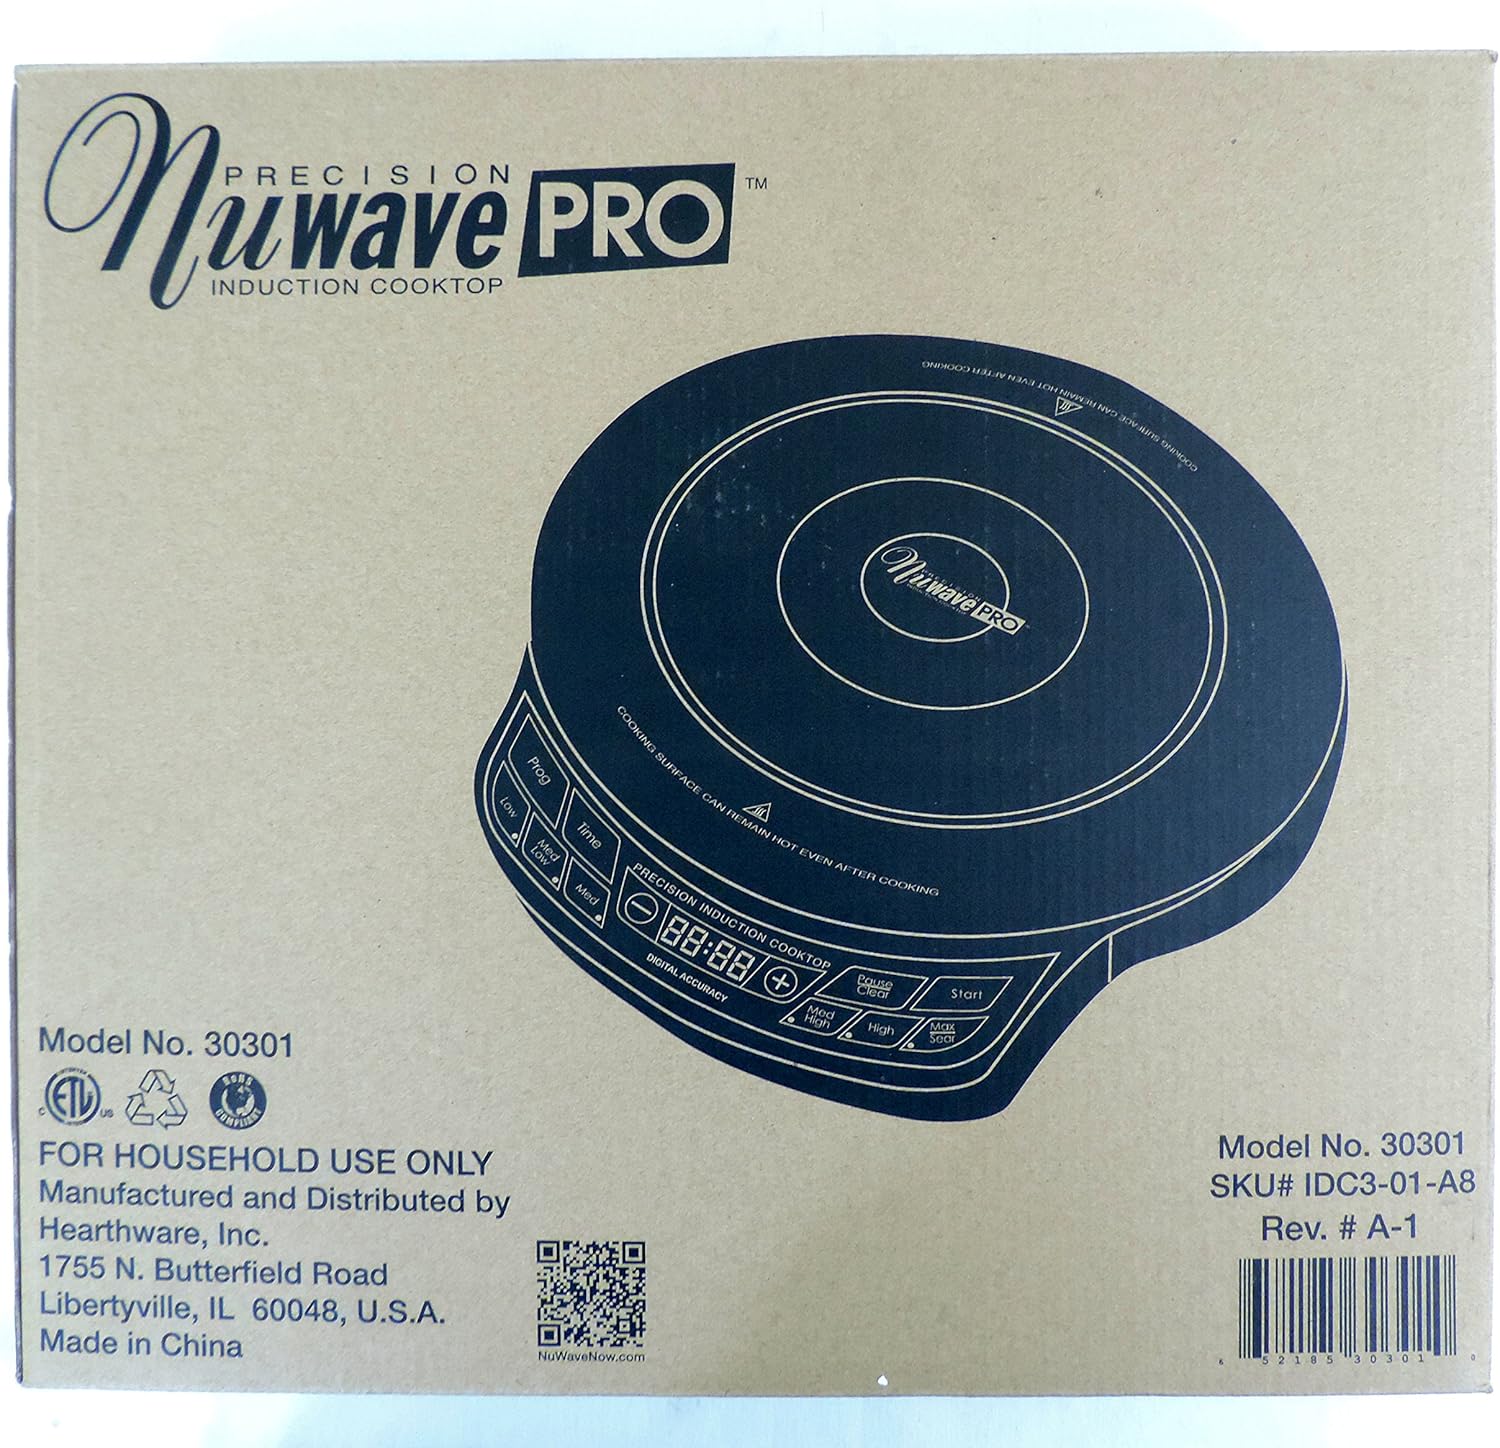
Figure 9.1: Product packaging displaying key model information and manufacturer details.
| Attribute | Detail |
|---|---|
| Model Number | 30301 |
| Brand | Nuwave |
| Color | Black |
| Heating Elements | 1 |
| Controls Type | Push Button |
| Burner Type | Induction |
| Included Components | Cooking Pot (as per product data, though not explicitly shown in images) |
| Power Source | Induction (Electrical) |
| UPC | 652185303010 |
| Package Dimensions | 15.94 x 14.41 x 3.66 inches |
| Item Weight | 6.76 pounds |
| Date First Available | February 1, 2017 |
10. Warranty and Support
Your NuWave Pro Precision Induction Cooktop is designed for durability and performance. While specific warranty details are not provided in this manual, Nuwave typically offers a limited warranty on its products. Please refer to the warranty card included with your purchase or visit the official Nuwave website for the most current warranty information.
For customer support, service inquiries, or to register your product, please visit the official Nuwave website or contact their customer service department:
- Official Website: www.nuwavenow.com
- Return Policy: Products purchased from authorized sellers typically have a 30-day return policy. Please check with your retailer for specific return terms.


