1. Introduction
Thank you for purchasing the ARTlii Mini Pico Projector. This compact and portable projector is designed for home cinema, video playback, and presentations, offering versatile connectivity options. Please read this manual carefully before use to ensure proper operation and to maximize your viewing experience.
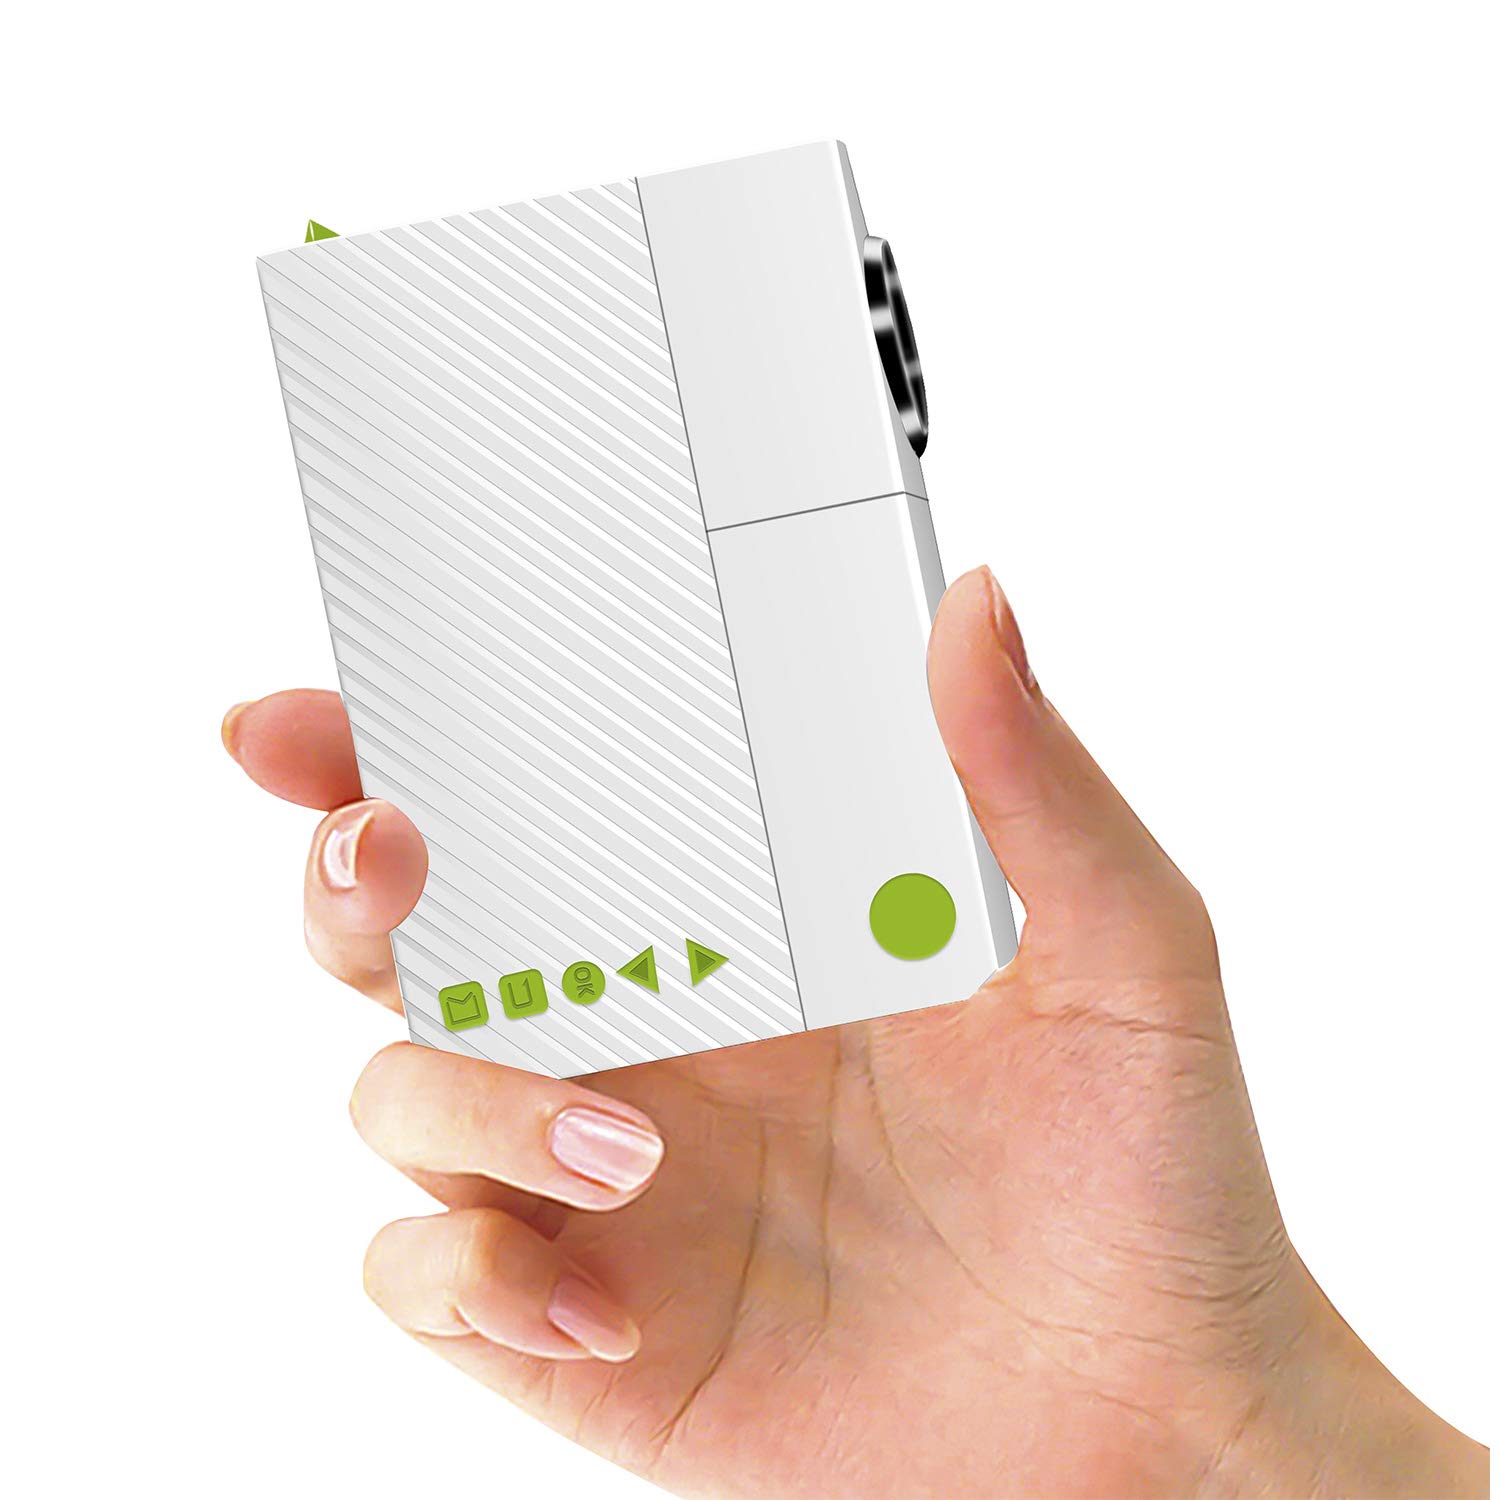
Image: The ARTlii Mini Pico Projector, a compact device for portable entertainment.
2. Safety Instructions
- Power Supply: Use only the specified power adapter (5V/2A) or a compatible power bank. Ensure the voltage is correct before connecting.
- Ventilation: Do not block the ventilation openings. Ensure adequate space around the projector for proper airflow to prevent overheating.
- Eye Safety: Do not look directly into the projector lens when the lamp is on. The bright light can cause eye strain or damage.
- Placement: Place the projector on a stable, flat surface. Avoid placing it in direct sunlight, near heat sources, or in humid environments.
- Cleaning: Disconnect power before cleaning. Use a soft, dry cloth. Do not use liquid or aerosol cleaners.
- Children: Keep the projector out of reach of small children.
3. Package Contents
Please check the package for the following items:
- ARTlii Mini Pico Projector
- Remote Control
- Power Adapter
- AV Cable (RCA to 3.5mm)
- User Guide

Image: The projector, remote control, power adapter, AV cable, and user guide included in the package.
4. Product Overview
Familiarize yourself with the projector's ports and controls:
- Lens: Projection output.
- Focus Ring: Adjusts image sharpness.
- Power Button: Turns the projector on/off.
- Navigation Buttons: For menu navigation.
- Input Ports: AV, SD card slot, USB, HDMI.
- Audio Output: 3.5mm headphone jack.
- DC Input: For power adapter.

Image: Diagram showing the various input ports and control buttons on the ARTlii Mini Pico Projector.
5. Setup
5.1 Power Connection
- Connect the power adapter to the DC input port on the projector.
- Plug the power adapter into a wall outlet.
- Alternatively, for portable use, connect a 5V/2A power bank to the projector's power input.
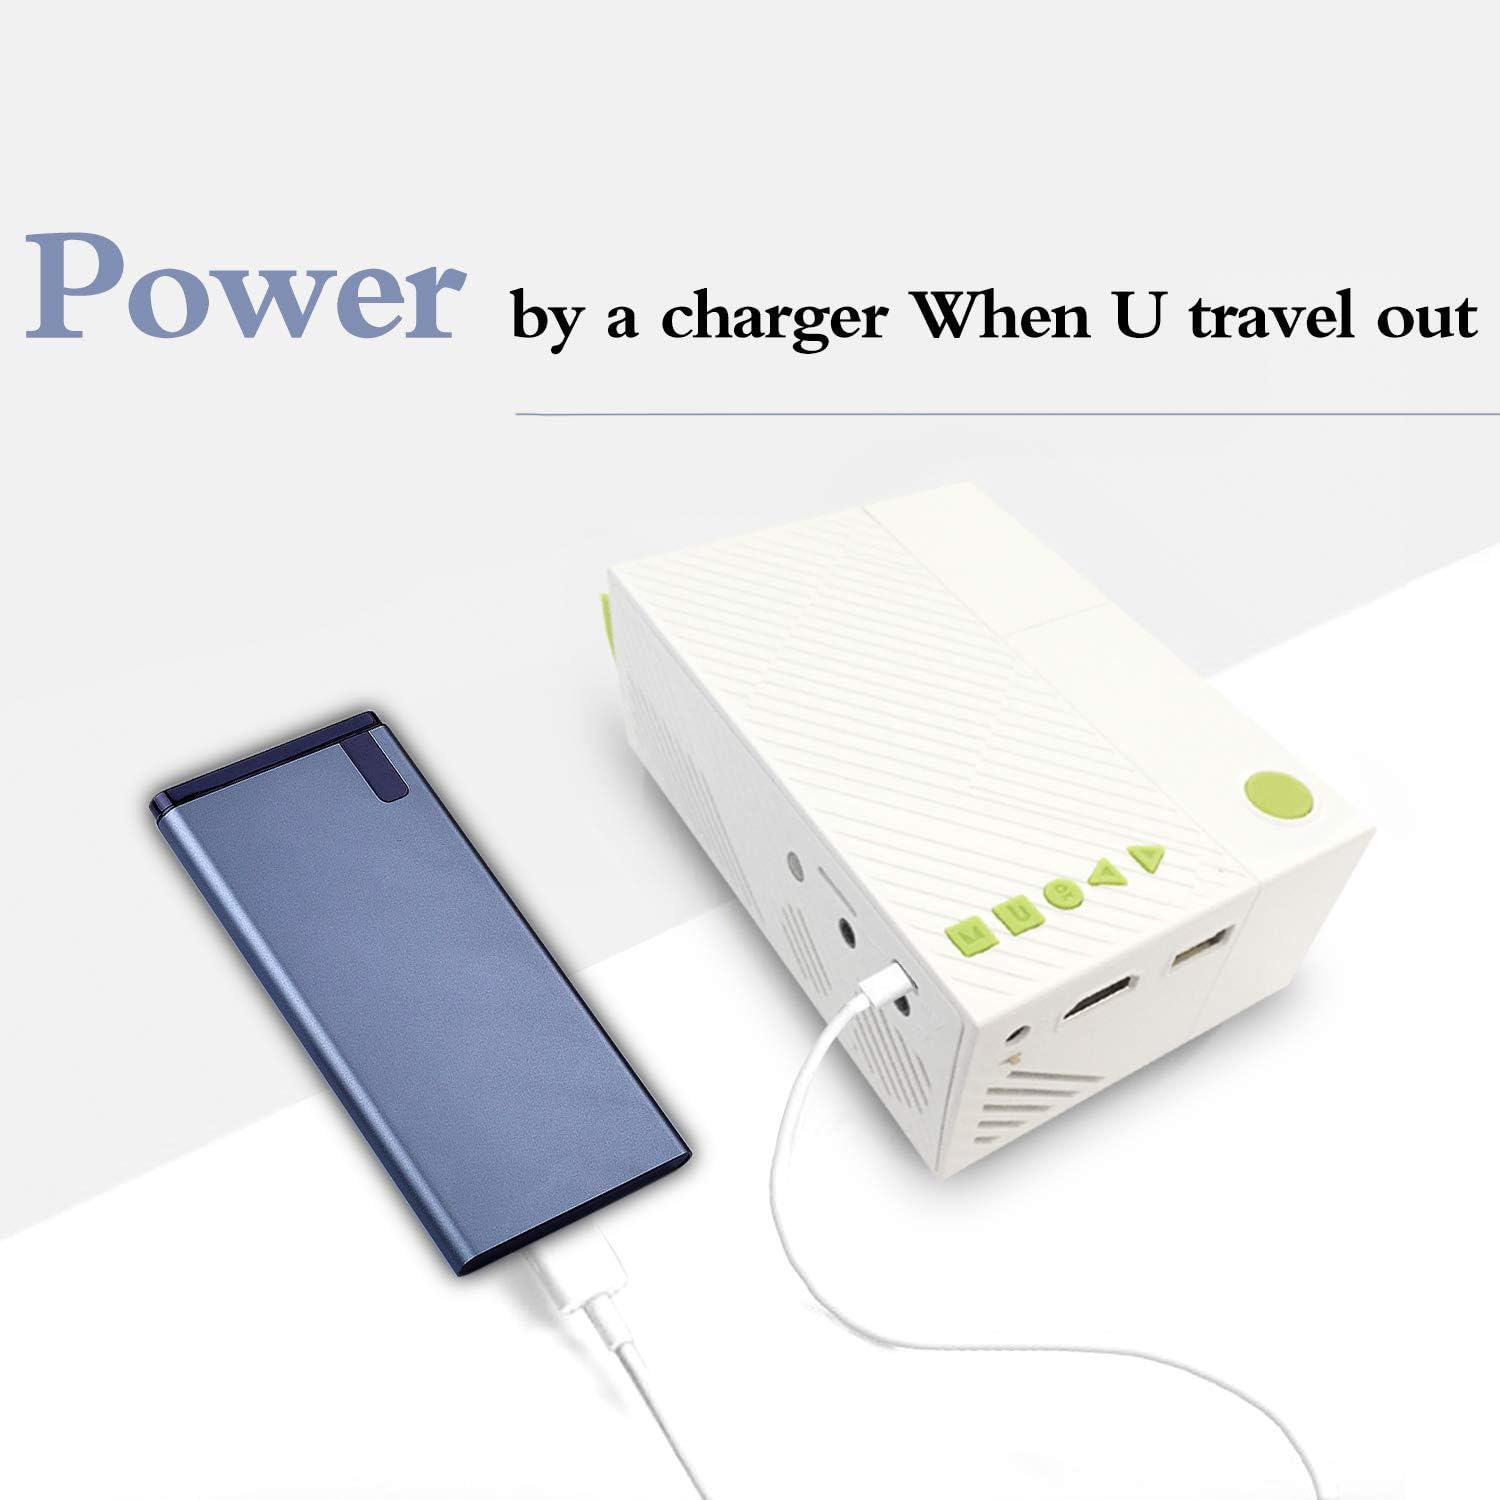
Image: The ARTlii Mini Pico Projector being powered by a portable power bank, illustrating its portability.
5.2 Placement and Projection
- Place the projector on a flat, stable surface, facing your desired projection screen or wall.
- Adjust the distance between the projector and the screen to achieve the desired image size. The optimal projection distance is 40-80 inches, yielding a projection size of 20-60 inches.
- Turn on the projector using the power button or remote control.
- Rotate the focus ring on the projector lens until the image appears clear and sharp.
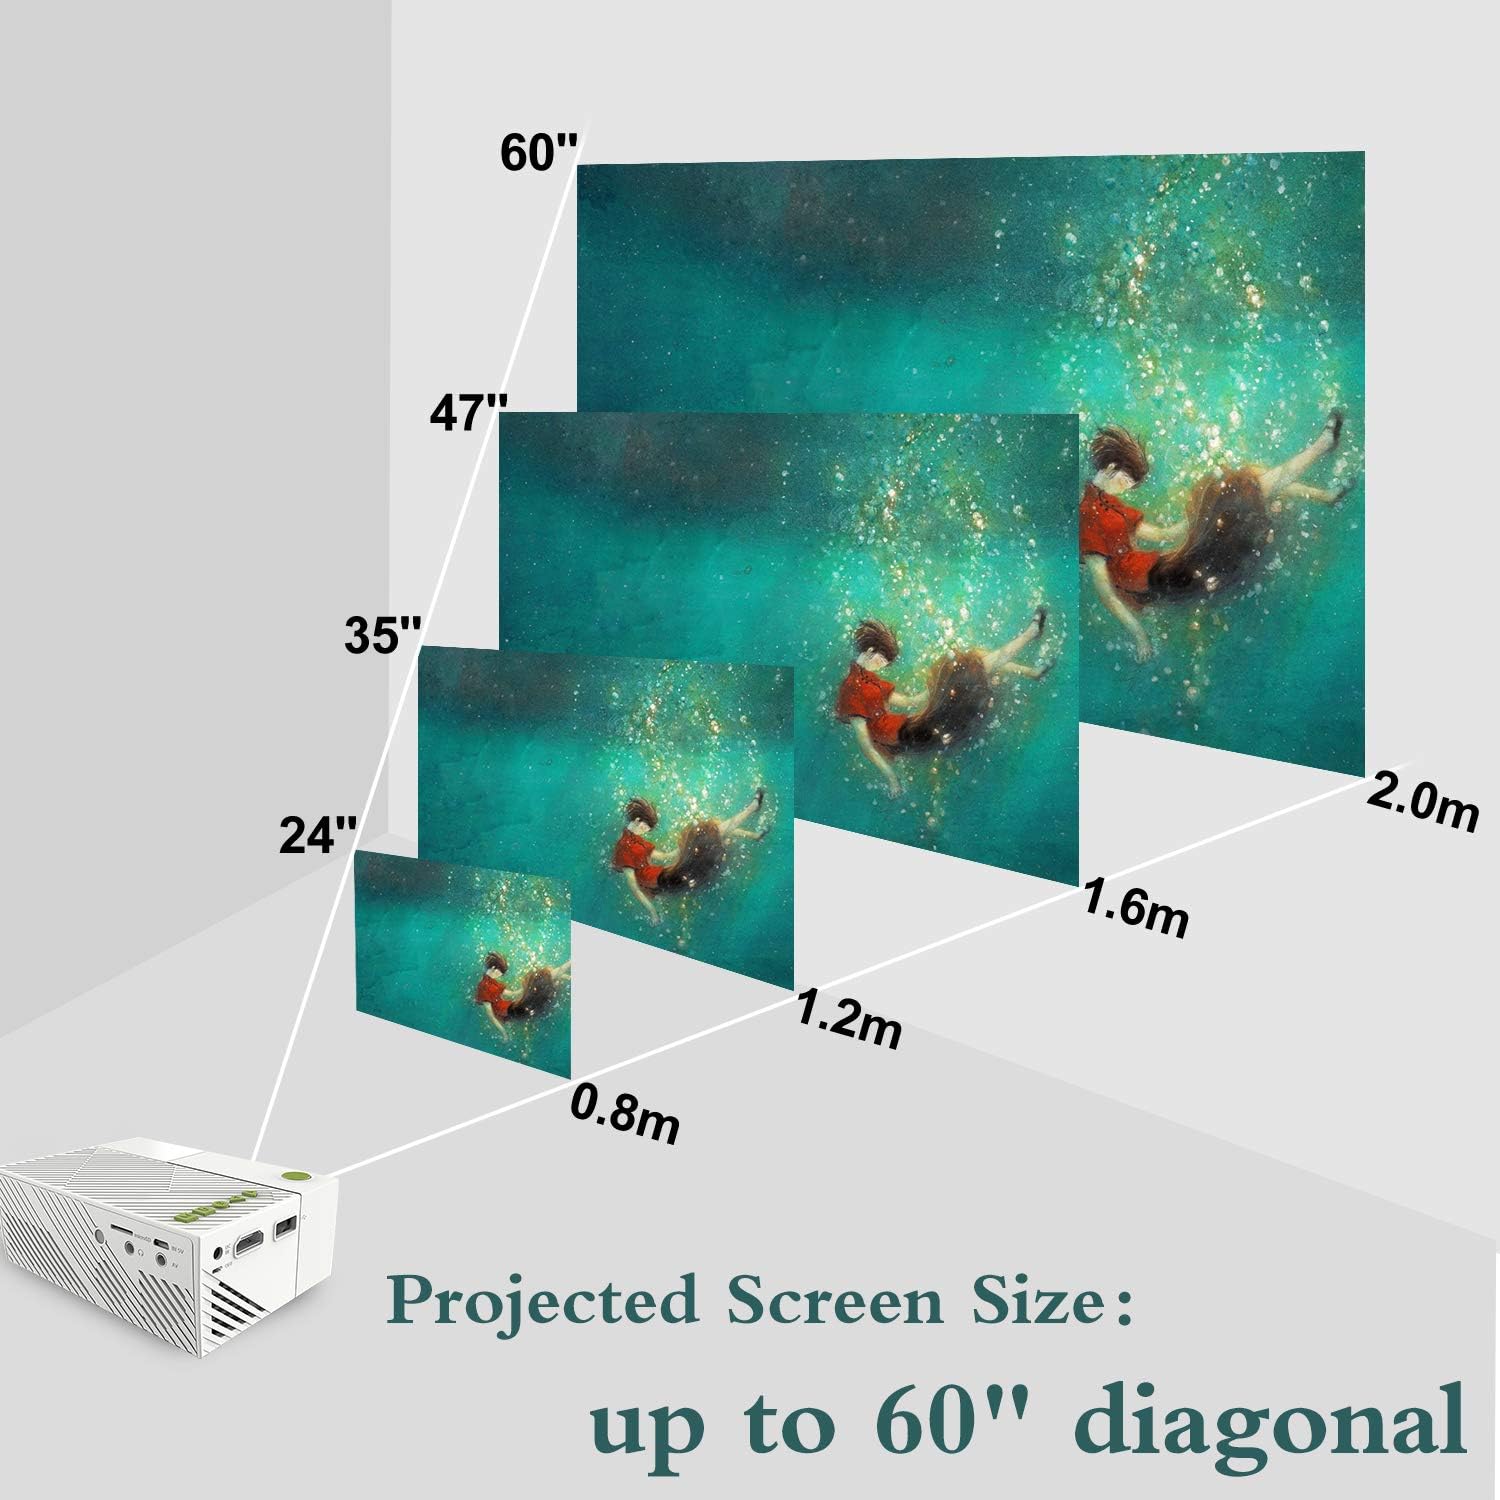
Image: A visual representation of how projected screen size changes with distance, showing sizes from 24 to 60 inches diagonal.
6. Operating Instructions
6.1 Power On/Off
- To power on, press the power button on the projector or the remote control.
- To power off, press the power button again. Confirm shutdown if prompted.
6.2 Source Selection
- After powering on, use the 'Source' button on the remote or the projector's navigation buttons to select your desired input source (HDMI, USB, SD, AV).
- Navigate through the menu using the arrow keys and confirm with the 'OK' button.
6.3 Media Playback
- Once a source is selected, the projector will display content from that source.
- For USB/SD card inputs, navigate through the file browser to select your media (audio, image, video, text files).
- Use the remote control for playback functions such as play, pause, fast forward, and rewind.
7. Connectivity
The ARTlii Mini Pico Projector offers multiple connectivity options:
- HDMI: Connect to laptops, desktop computers, game consoles (e.g., Xbox), and other HDMI-enabled devices for high-definition video and audio.
- USB: Plug in USB flash drives or external hard drives to play media files directly.
- SD Card: Insert an SD card to access photos, videos, and other compatible files.
- AV: Use the included AV cable to connect to older devices like DVD players or set-top boxes.
- Audio Out: Connect external speakers or headphones via the 3.5mm audio jack for enhanced sound.

Image: Children enjoying a movie projected onto a wall, demonstrating the projector's use in a home setting.
8. Maintenance
8.1 Cleaning the Lens
Use a soft, lint-free cloth specifically designed for optical lenses. Gently wipe the lens to remove dust or smudges. Do not use abrasive cleaners or excessive force.
8.2 Cleaning the Projector Body
Wipe the exterior of the projector with a soft, dry cloth. Avoid using chemical cleaners that may damage the finish.
8.3 Storage
When not in use, store the projector in a cool, dry place, away from dust and direct sunlight. It is recommended to use the original packaging or a protective case.
9. Troubleshooting
- No Image:
- Ensure the projector is powered on and the power adapter is securely connected.
- Verify the correct input source is selected (HDMI, USB, SD, AV).
- Check the connection cable between the projector and the source device. Try a different cable if possible.
- Blurry Image:
- Adjust the focus ring on the projector lens until the image is sharp.
- Ensure the projection distance is within the recommended range (40-80 inches).
- No Sound:
- Check the volume settings on both the projector and the source device.
- Ensure external speakers or headphones are properly connected if used.
- If using HDMI, verify the audio output settings on your source device.
- Remote Control Not Working:
- Ensure the batteries are correctly inserted and not depleted.
- Point the remote directly at the projector's IR receiver.
- Overheating Warning:
- Ensure the projector's ventilation openings are not blocked.
- Allow the projector to cool down in a well-ventilated area.
10. Specifications
| Feature | Detail |
|---|---|
| Brand | ARTlii |
| Model Number | Artlii-MINI |
| Item Weight | 8.8 ounces |
| Product Dimensions | 4.96 x 3.39 x 1.89 inches |
| Output Wattage | 50 Watts |
| Color | White |
| Special Feature | Portable |
| Connectivity Technology | HDMI, USB |
| Display Resolution | 320 x 240 pixels (Native) |
| Supported Resolution | Up to 1920 x 1080P |
| Aspect Ratio | 4:3 or 16:9 |
| Projection Size | 20-60 inches |
| Best Projection Distance | 40-80 inches |
| Speaker Type | Built-In |
| Power Consumption | 10W-24W |
11. Warranty and Support
The ARTlii Mini Pico Projector comes with a 1-year warranty from the date of purchase.
If you encounter any issues or have questions regarding the product's quality or operation, please contact our customer service team. Our team is available 24/7 and will respond to your inquiries within 24 hours.
For support, please refer to the contact information provided in your purchase documentation or on the official ARTlii website.