1. Introduction
This manual provides comprehensive instructions for the installation, operation, and maintenance of your Rain Bird TM2-4 Station Indoor/Outdoor Controller. The TM2-4 is designed for efficient and reliable automatic irrigation, featuring an easy-to-navigate user interface and robust construction suitable for both indoor and outdoor environments. Please read this manual thoroughly before installation and operation to ensure proper use and longevity of your device.
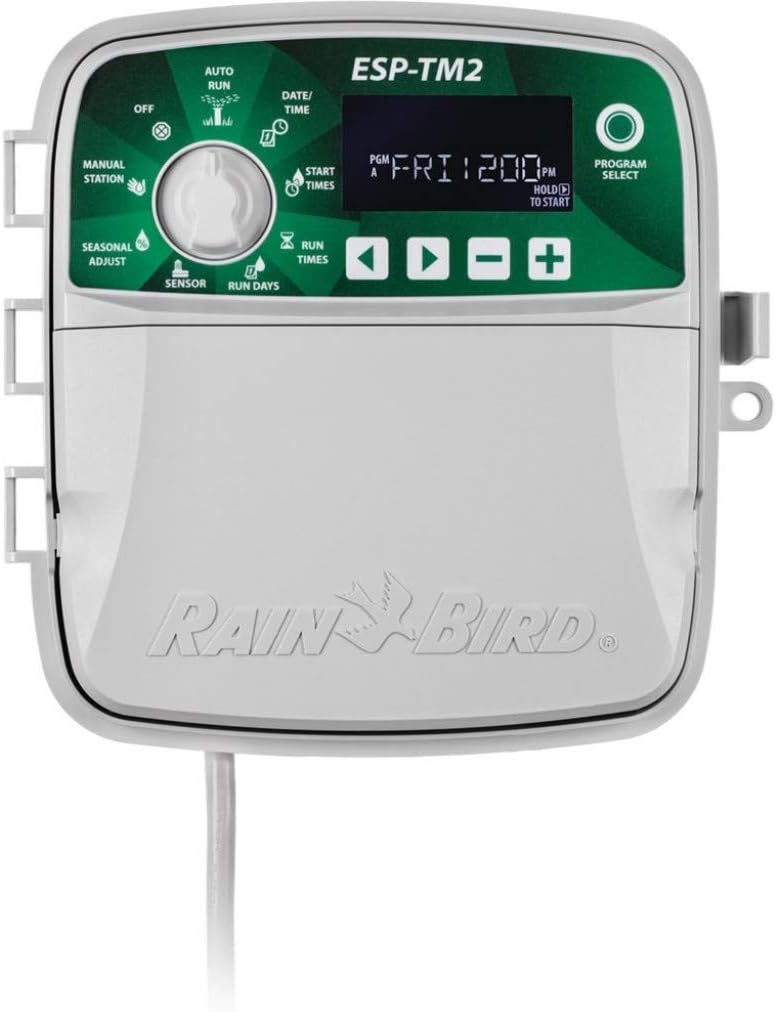
Figure 1: Front view of the Rain Bird TM2-4 Station Indoor/Outdoor Controller, showing the display, dial, and control buttons.
2. Safety Information
Please observe the following safety precautions to prevent injury and avoid damage to the controller:
- Always disconnect power to the controller before performing any wiring or maintenance.
- Ensure all electrical connections are made in accordance with local electrical codes.
- Do not expose the controller to extreme temperatures or direct sunlight for prolonged periods if installed outdoors without proper shielding.
- Keep the controller away from children and pets.
- Use only Rain Bird approved accessories and replacement parts.
3. Package Contents
Verify that all items are present in the package:
- Rain Bird TM2-4 Controller
- Mounting hardware (screws, wall anchors)
- User Manual (this document)
4. Installation and Setup
4.1 Mounting the Controller
- Choose a suitable indoor or outdoor location. For outdoor installations, ensure the location is protected from direct weather exposure if possible, or that the controller's housing is securely closed.
- Mark the desired mounting position for the top screw.
- Drill a pilot hole and insert a wall anchor if necessary.
- Install the top mounting screw, leaving a small gap between the screw head and the wall.
- Hang the controller on the top screw using the keyhole slot on the back.
- Mark the positions for the remaining mounting screws through the bottom holes.
- Remove the controller, drill pilot holes, insert anchors, and then re-mount the controller, securing it with the remaining screws.
4.2 Wiring the Controller
Before wiring, ensure the power supply to the controller is disconnected.

Figure 2: Internal view of the Rain Bird TM2-4 Controller showing wiring terminals for power, valves, and sensors.
- Power Connection: Connect the two wires from the power transformer to the 24VAC terminals. Ensure a secure connection.
- Valve Wiring: Connect one wire from each irrigation valve to its corresponding station terminal (1, 2, 3, 4). Connect the common wire from all valves to the "COM" terminal.
- Master Valve/Pump Start (Optional): If using a master valve or pump start relay, connect one wire to the "MV" terminal and the other to the "COM" terminal.
- Rain Sensor (Optional): Connect the rain sensor wires to the "SENS" terminals. Refer to your rain sensor's manual for specific wiring instructions. The controller has bypass capability for the rain sensor.
- Accessory Port: The controller includes a remote accessory port for Rain Bird approved accessory devices. For more information on compatible accessories, visit rainbird.com/esptm2.
- Wi-Fi Connectivity: This controller is Wi-Fi ready. For details on connecting to Wi-Fi and using smart features, visit rainbird.com/wifi.
4.3 Initial Power-Up
Once all wiring is complete and secure, connect the power transformer to an electrical outlet. The controller display should illuminate, indicating successful power-up.
5. Operating Instructions
The Rain Bird TM2-4 controller features a user-friendly interface with a central dial and dedicated buttons for navigation and programming.
5.1 Dial Positions
- AUTO RUN: Normal operation mode. The controller will execute programmed schedules.
- OFF: Disables all automatic and manual irrigation.
- MANUAL STATION: Allows for manual operation of individual stations.
- SEASONAL ADJUST: Adjusts all station run times by a percentage.
- SENSOR: Displays the status of the connected rain sensor.
- DATE/TIME: Used to set the current date and time.
- START TIMES: Used to set the start times for irrigation programs.
- RUN TIMES: Used to set the duration for each station.
- RUN DAYS: Used to select the days of the week for irrigation.
5.2 Control Buttons
- PROGRAM SELECT: Cycles through available irrigation programs (A, B, C).
- Arrow Buttons (<, >): Navigate through settings.
- Plus (+) / Minus (-) Buttons: Adjust values (e.g., time, duration).
- Hold to Start: Initiates a manual program or station run.
6. Programming the Controller
The controller allows for up to three independent programs (A, B, C) to manage different watering needs.
6.1 Setting Date and Time
- Turn the dial to DATE/TIME.
- Use the < and > buttons to select the year, month, day, hour, or minute.
- Use the + and - buttons to adjust the selected value.
- Once set, turn the dial to another position to save.
6.2 Setting Start Times
- Turn the dial to START TIMES.
- Press PROGRAM SELECT to choose the program (A, B, or C) you wish to set.
- Use the < and > buttons to select a start time slot.
- Use the + and - buttons to set the desired start time. You can set multiple start times per program.
- To disable a start time, adjust it past 11:59 PM until "OFF" appears.
6.3 Setting Run Times (Station Durations)
- Turn the dial to RUN TIMES.
- Press PROGRAM SELECT to choose the program (A, B, or C).
- Use the < and > buttons to select the station (1-4).
- Use the + and - buttons to set the desired run time (duration) for the selected station.
- Repeat for all stations within the program.
6.4 Setting Run Days
- Turn the dial to RUN DAYS.
- Press PROGRAM SELECT to choose the program (A, B, or C).
- Use the < and > buttons to select a day of the week.
- Use the + or - button to enable or disable watering for that day. A droplet icon indicates an active watering day.
- Alternatively, you can select specific interval watering (e.g., every 2 days) or odd/even day watering.
6.5 Seasonal Adjust
The Seasonal Adjust feature allows you to quickly increase or decrease watering durations for all active programs by a percentage, without reprogramming individual station run times.
- Turn the dial to SEASONAL ADJUST.
- Use the + and - buttons to adjust the percentage (e.g., 100% for normal, 50% for half, 150% for more).
- Turn the dial to AUTO RUN to apply the adjustment.
7. Maintenance
7.1 Cleaning
Periodically clean the exterior of the controller with a soft, damp cloth. Do not use abrasive cleaners or solvents. Ensure the display and buttons are free from dirt and debris for optimal visibility and operation.
7.2 Non-Volatile Memory
The Rain Bird TM2-4 controller features non-volatile (100-year) storage memory, meaning your programmed schedules will be retained even during power outages without the need for a backup battery.
7.3 Winterization (for Outdoor Installations)
In regions with freezing temperatures, it is recommended to winterize your irrigation system. While the controller itself is designed for outdoor use, the irrigation system components (pipes, valves) can be damaged by freezing water.
- Turn the controller dial to OFF.
- Disconnect the main water supply to the irrigation system.
- Drain all water from the pipes and valves using an air compressor or by opening drain valves.
- Disconnect the power to the controller if it will not be used for an extended period.
8. Troubleshooting
| Problem | Possible Cause | Solution |
|---|---|---|
| Controller display is blank. | No power to the controller. |
|
| Sprinklers do not turn on. |
|
|
| A specific station does not turn on. |
|
|
| Watering occurs at incorrect times/days. | Incorrect programming. |
|
9. Specifications
- Model: TM2-4
- Stations: 4
- Type: Indoor/Outdoor Controller
- Dimensions: 3.51 x 7.92 x 7.86 inches (H x W x D)
- Weight: 4 pounds
- Memory: Non-volatile (100-year) storage memory
- Features: Rain Sensor input with bypass, Master Valve/Pump Start circuit, Electronic Diagnostic Circuit Breaker, Remote Accessory Port, Wi-Fi Ready.
10. Warranty and Support
Rain Bird products are manufactured to the highest quality standards. For specific warranty information, please refer to the warranty card included with your product or visit the official Rain Bird website.
For technical support, troubleshooting assistance, or to inquire about replacement parts, please contact Rain Bird Customer Service. Contact information can typically be found on the Rain Bird website or on the product packaging.
Online Resources:


