1. Product Overview
The MSI H270 TOMAHAWK ARCTIC is an ATX motherboard designed to support 7th and 6th Generation Intel Core, Pentium, and Celeron processors for the LGA 1151 socket. It features DDR4 Boost with Steel Armor for enhanced memory performance and durability, and is Virtual Reality Ready. The motherboard incorporates Mystic Light Sync for customizable lighting effects, allowing users to personalize their system's aesthetics.
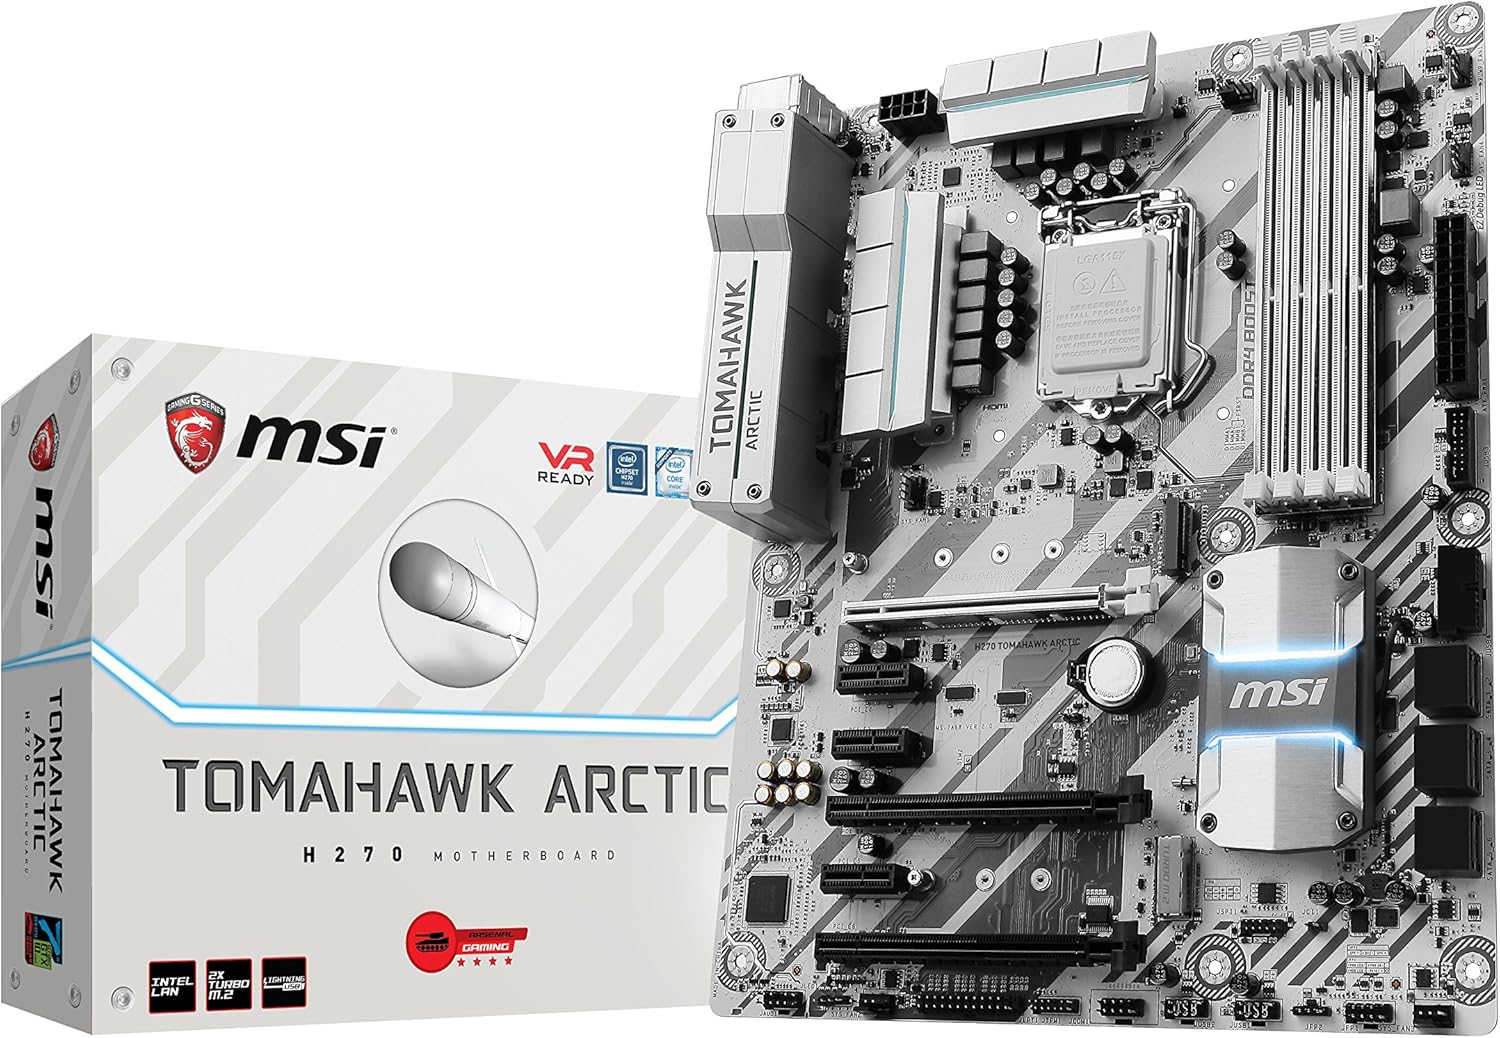
Figure 1.1: MSI H270 TOMAHAWK ARCTIC Motherboard and Packaging.
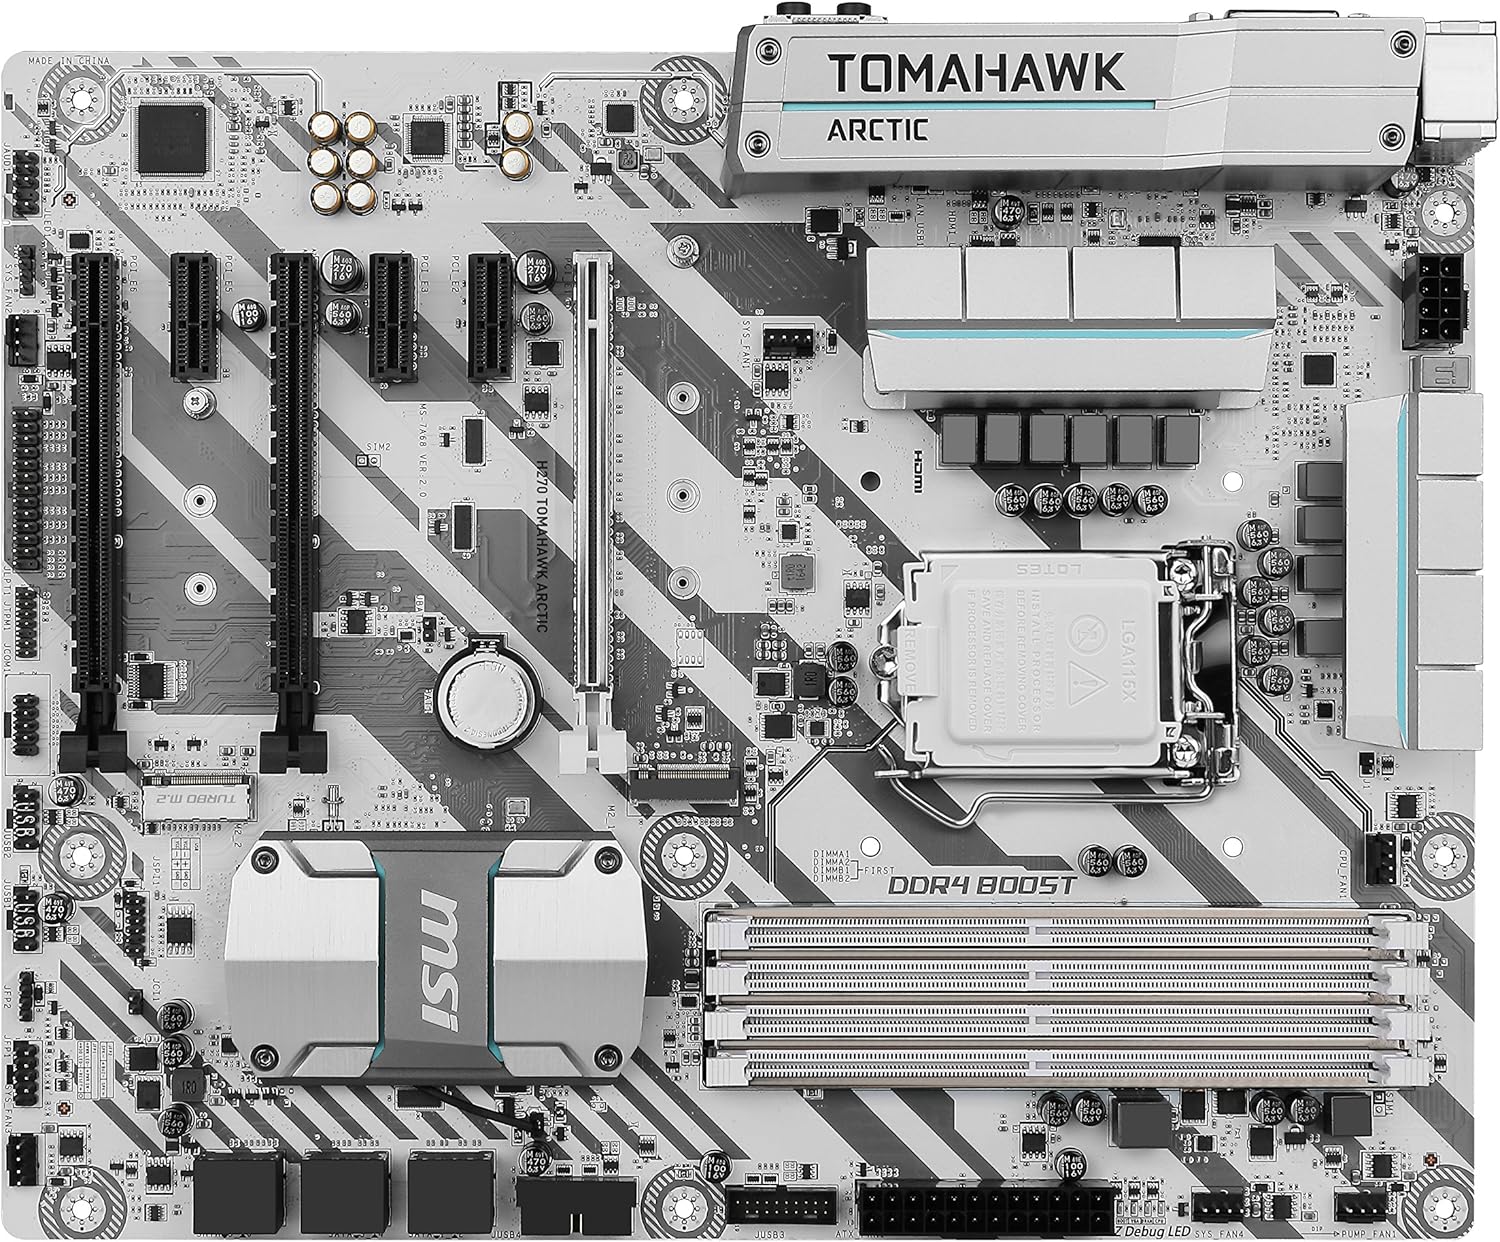
Figure 1.2: Top-down view of the MSI H270 TOMAHAWK ARCTIC Motherboard, showcasing the CPU socket, DDR4 memory slots, and PCIe slots.
2. Setup and Installation
This section provides general guidelines for installing your MSI H270 TOMAHAWK ARCTIC motherboard and its components. Always refer to the detailed instructions provided in your motherboard's physical manual for specific steps and safety precautions.
2.1. What's in the Box
- Motherboard
- Cables and connectors
- Quick setup guide
2.2. CPU Installation
Ensure your CPU is compatible with the LGA 1151 socket. Carefully align the CPU with the socket, ensuring the gold triangle on the CPU matches the indicator on the socket. Gently lower the CPU into place without forcing it. Close the load plate and secure the lever.
2.3. Memory (RAM) Installation
The motherboard supports DDR4 memory. Open the clips on both ends of the DIMM slots. Align the memory module with the slot key and press firmly on both ends until the clips snap into place. For optimal performance, install memory modules in the recommended dual-channel configuration as per your detailed manual.
2.4. Motherboard Installation into Case
Install the I/O shield into your computer case. Carefully place the motherboard into the case, aligning the screw holes with the standoffs. Secure the motherboard with screws. Connect the necessary power cables from your power supply to the motherboard (24-pin ATX power and 8-pin CPU power).
2.5. Connecting Peripherals
Connect your storage devices (SATA drives, M.2 SSDs), graphics card(s) to the PCIe slots, and other expansion cards. Utilize the various USB ports (including USB 3.0) and video outputs (HDMI, DVI) on the rear I/O panel for your display and external devices.

Figure 2.1: Rear I/O panel of the MSI H270 TOMAHAWK ARCTIC Motherboard, showing various connectivity options including USB, HDMI, and audio ports.
3. Operating Instructions
3.1. Initial Boot and BIOS/UEFI Setup
Upon first power-on, your system will typically enter the BIOS/UEFI setup utility. Here, you can configure boot order, system time, and other essential settings. Press the designated key (usually DEL or F2) during startup to access the BIOS/UEFI.
3.2. Mystic Light Sync
The MSI H270 TOMAHAWK ARCTIC supports Mystic Light Sync. This feature allows you to customize the RGB lighting on your motherboard and compatible peripherals. Install the MSI Mystic Light software from the official MSI website to control and synchronize lighting effects.
4. Maintenance
Regular maintenance ensures the longevity and optimal performance of your motherboard.
- Cleaning: Periodically clean dust from the motherboard and case fans using compressed air. Ensure the system is powered off and unplugged before cleaning.
- BIOS Updates: Keep your BIOS updated to benefit from performance improvements, bug fixes, and compatibility enhancements. Refer to the MSI support website for the latest BIOS versions and update procedures.
- Cable Management: Ensure cables are neatly routed to improve airflow and prevent obstruction of components.
5. Troubleshooting
If you encounter issues with your motherboard, consider the following common troubleshooting steps:
- No Power/No Boot: Double-check all power connections (24-pin ATX, 8-pin CPU, GPU power). Ensure the power supply is switched on.
- No Display: Verify that your monitor is connected to the correct video output on your graphics card or motherboard. Reseat your graphics card and RAM modules.
- System Instability: This can often be caused by incompatible or improperly seated RAM. Test memory modules individually. Ensure CPU cooler is properly installed.
- BIOS Reset: If you experience issues after changing BIOS settings, you can reset the BIOS to default settings by clearing the CMOS. Refer to your manual for the specific jumper location or battery removal method.
6. Specifications
| Feature | Detail |
|---|---|
| Brand | MSI |
| Series | H270 TOMAHAWK ARCTIC |
| Model Name | H270 TOMAHAWK ARCTIC |
| CPU Socket | LGA 1151 |
| Compatible Processors | Intel Celeron, Intel Pentium, 7th/6th Gen Intel Core |
| Chipset Type | Intel H270 |
| RAM Memory Technology | SDRAM (DDR4) |
| Memory Storage Capacity | 64 GB (Max) |
| Number of USB 2.0 Ports | 4 |
| Platform | Windows 10 |
| Item Weight | 3.2 pounds |
| Product Dimensions | 13.8 x 10.7 x 3.6 inches |
7. Additional Resources
MSI Gaming Motherboard Features Overview
This video provides a general overview of key features found in MSI Gaming motherboards, such as Steel Armor, Audio Boost, Core Boost, and BIOS Flashback+. While it may feature a different MSI model, the highlighted technologies are common across MSI's gaming motherboard lineup, including the H270 TOMAHAWK ARCTIC.
8. Warranty and Support
For detailed warranty information, technical support, and driver downloads, please visit the official MSI website. You can also find FAQs and community forums for additional assistance.
Manufacturer: MSI Computer
Date First Available: January 5, 2017


