1. Introduction
Welcome to the Soundstream AR1.4500D Arachnid Series Monoblock Amplifier. This manual provides essential information for the proper installation, operation, and maintenance of your amplifier. Please read this manual thoroughly before use to ensure optimal performance and safety.
The AR1.4500D is a Class D monoblock amplifier designed for high-power audio applications, featuring a robust design and integrated protection circuits.
2. Safety Information
- Professional Installation Recommended: Due to the complexity of car audio systems and high power requirements, professional installation is highly recommended.
- Electrical Safety: Always disconnect the vehicle's battery before making any electrical connections. Use appropriate wire gauges and fuses as specified in this manual.
- Environment: Avoid exposing the amplifier to moisture, water, or extreme temperatures. Ensure the installation location provides adequate ventilation to prevent overheating.
- Mounting: Securely mount the amplifier to prevent movement during vehicle operation. Loose equipment can cause injury or damage.
- Proposition 65 Warning: This product may contain chemicals known to the State of California to cause cancer and birth defects or other reproductive harm.
3. Package Contents
Verify that all items are present in the package:
- Soundstream AR1.4500D Monoblock Amplifier
- Mounting Hardware
- User Manual (this document)
4. Product Features
The Soundstream AR1.4500D amplifier incorporates the following key features:
- Class D Monoblock Design for efficient power delivery.
- Total Power Output: 4500 Watts.
- 1-Ohm Stable Operation for versatile speaker configurations.
- Ability to bridge two monoblock amplifiers together for increased power output (requires a second AR1.4500D unit).
- Military-Grade PCB with Pulse Width Modulated (PWM) MOSFET Power Supply for reliability.
- Integrated Protection Circuits: Direct Short, Thermal, and Overload protection.
- Input Options: High/Speaker Level and Low Level/RCA inputs for compatibility with various head units.
- LED Indicators: Power (Green) and Protect (Red) for operational status.
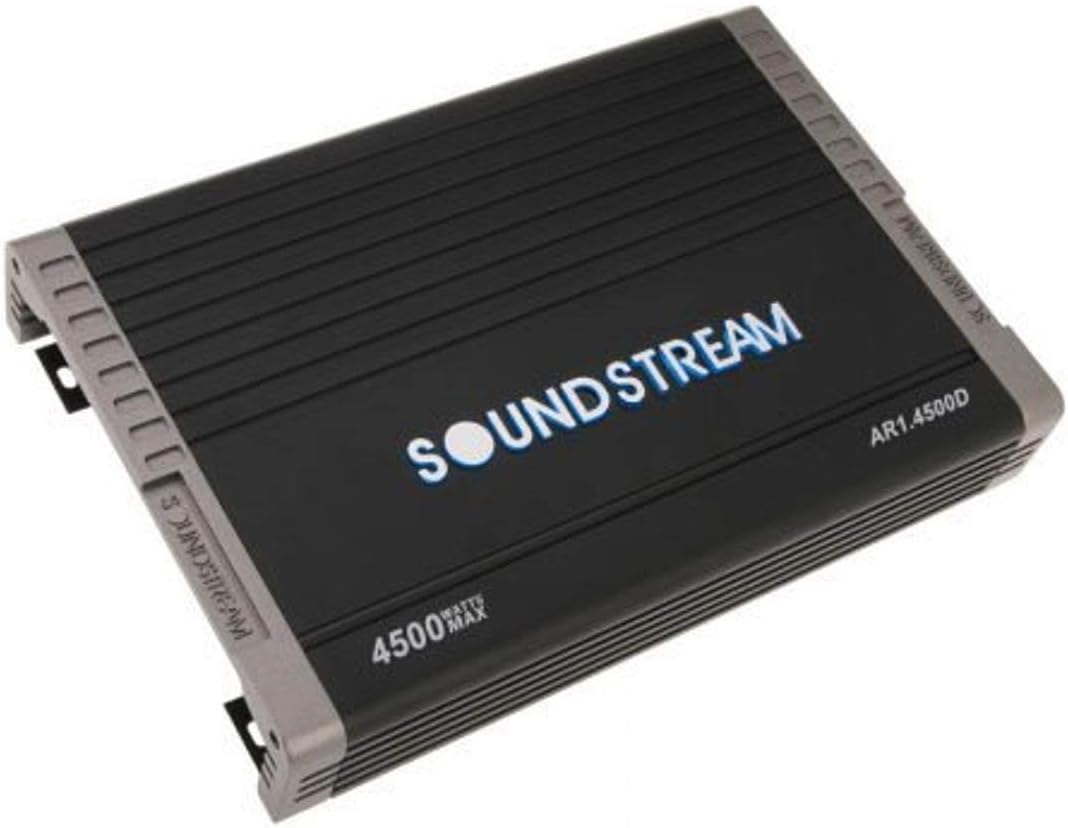
An overhead view of the Soundstream AR1.4500D amplifier, showcasing its black casing with ribbed heat sinks, the 'SOUNDSTREAM' logo in blue, and '4500 WATTS MAX' and 'AR1.4500D' model number printed on the top surface.
5. Installation (Setup)
5.1. Choosing a Mounting Location
Select a dry, well-ventilated area within your vehicle. Avoid locations exposed to direct sunlight, excessive heat, or moisture. Ensure there is sufficient airflow around the amplifier's heat sinks for proper cooling.
5.2. Mounting the Amplifier
Securely mount the amplifier using the provided hardware. Ensure it is firmly attached to a stable surface that can support its weight and withstand vehicle vibrations. Do not mount the amplifier upside down or in a way that obstructs airflow.
5.3. Power Wiring
- Positive Power (+12V): Connect the main power cable (positive) directly to the vehicle's positive battery terminal. Use an appropriate gauge wire (e.g., 4-gauge or larger for high power) and install an inline fuse holder within 18 inches (45 cm) of the battery. The fuse rating should match the amplifier's requirements.
- Ground (GND): Connect the ground cable (negative) to a clean, unpainted metal surface on the vehicle chassis. Ensure a solid, low-resistance connection. The ground wire should be of the same gauge as the positive power wire and as short as possible.
- Remote Turn-On (REM): Connect the remote turn-on wire to the remote output of your head unit. This wire signals the amplifier to turn on and off with your audio system.
5.4. Audio Input Wiring
- Low-Level Input (RCA): For head units with RCA pre-outputs, connect high-quality RCA cables from the head unit's subwoofer output to the amplifier's RCA input jacks.
- High-Level Input (Speaker Level): If your head unit does not have RCA outputs, connect the speaker wires from the head unit's rear speaker outputs to the amplifier's high-level input terminals. Refer to the amplifier's specific input configuration for correct wiring.
5.5. Speaker Output Wiring
Connect speaker wires from the amplifier's output terminals to your subwoofer(s). Ensure correct polarity (+ to + and - to -) for all connections. Verify that the total impedance of your connected speakers matches the amplifier's stable operating range (1-Ohm stable for the AR1.4500D).
6. Operation
6.1. Initial Power-Up
After all connections are securely made, turn on your vehicle's ignition. The amplifier's Power LED (green) should illuminate, indicating it is receiving power and operating correctly. If the Protect LED (red) illuminates, immediately turn off the system and refer to the Troubleshooting section.
6.2. Gain Adjustment
The gain control matches the amplifier's input sensitivity to the output voltage of your head unit. Start with the gain control at its minimum setting. Play a familiar piece of music at a moderate volume on your head unit. Slowly increase the amplifier's gain until you hear audible distortion, then reduce it slightly until the sound is clear. Avoid setting the gain too high, as this can lead to distortion and potential damage to speakers.
6.3. Crossover Settings
The AR1.4500D is a monoblock amplifier, typically used for subwoofers. Utilize the amplifier's built-in Low-Pass Filter (LPF) to ensure only low frequencies are sent to your subwoofer. Adjust the LPF frequency to blend smoothly with your main speakers. A common starting point is between 80Hz and 120Hz.
6.4. Bass Boost
If available, the bass boost feature can enhance low-frequency output. Use this control sparingly and with caution. Excessive bass boost can cause distortion and potentially damage your subwoofer or amplifier.
7. Maintenance
- Connection Checks: Periodically inspect all power, ground, remote, and speaker connections to ensure they remain tight and free of corrosion. Loose connections can lead to poor performance or damage.
- Cleaning: Keep the amplifier clean and free of dust and debris. Use a soft, dry cloth for cleaning. Do not use liquid cleaners directly on the amplifier.
- Ventilation: Ensure that the amplifier's ventilation areas are not obstructed. Maintaining proper airflow is crucial for preventing thermal shutdown.
8. Troubleshooting
If you experience issues with your AR1.4500D amplifier, consult the following troubleshooting guide:
8.1. No Power / No Sound
- Check Power Connections: Verify that the +12V, Ground, and Remote wires are securely connected and receiving proper voltage.
- Inline Fuse: Inspect the inline fuse near the battery. Replace if blown, ensuring the correct amperage.
- Remote Turn-On: Confirm the remote turn-on wire is receiving 12V from the head unit when the system is on.
- Audio Input: Check RCA or high-level input connections for proper seating and continuity.
- Speaker Connections: Ensure speaker wires are correctly connected to the amplifier and speakers, with no shorts.
8.2. Protect LED On (Red)
The Protect LED indicates a fault condition. The amplifier will shut down to prevent damage.
- Short Circuit: Check all speaker wiring for shorts to ground or between positive and negative terminals. Verify speaker impedance is within the amplifier's stable range (1-Ohm minimum).
- Thermal Overload: Ensure the amplifier has adequate ventilation. Allow the amplifier to cool down. If the problem persists, consider relocating the amplifier or improving airflow.
- Low Voltage: Check the vehicle's battery and charging system. Ensure the amplifier is receiving stable 12V power.
8.3. Distorted Sound
- Gain Setting: Reduce the amplifier's gain control. An excessively high gain setting can cause distortion.
- Speaker Impedance: Verify that the speaker impedance is compatible with the amplifier.
- Speaker Wiring: Inspect speaker wires for damage or shorts.
- Head Unit Output: Ensure the head unit's volume is not set too high, causing its output to clip.
8.4. No Bass Output
- Subwoofer Connections: Check all subwoofer wiring for correct polarity and secure connections.
- Crossover Settings: Ensure the Low-Pass Filter (LPF) is enabled and set to an appropriate frequency.
- Gain Setting: Verify the gain control is set correctly.
9. Specifications
| Model | AR1.4500D |
| Type | Class D Monoblock Amplifier |
| Total Power Output | 4500 Watts |
| Channels | 1 |
| Stable Impedance | 1 Ohm |
| Dimensions (L x W x H) | 18 x 4 x 11 inches (45.72 x 10.16 x 27.94 cm) |
| Weight | 3.9 pounds (1.77 kg) |
| Power Supply | PWM MOSFET |
| Protection | Direct Short, Thermal, Overload |
| Inputs | High/Speaker Level, Low Level/RCA |
10. Warranty and Support
The Soundstream AR1.4500D amplifier is covered by a manufacturer's warranty. Please refer to the warranty card included with your purchase for specific terms, conditions, and duration. For technical assistance, product inquiries, or warranty claims, please visit the official Soundstream website or contact their customer support team directly.
Soundstream Official Website: www.soundstream.com


