
1. Product Overview
This manual provides essential information for the safe and effective use of your UpStart Components 20-inch Full Chisel Saw Chain, specifically designed for Makita DCS6401 chainsaws. This high-performance chain is engineered for precision, balance, and safety, aiming to provide smooth cuts and reduced vibration levels for consistent operation and user comfort. Proper installation and maintenance are crucial for optimal performance and safety.
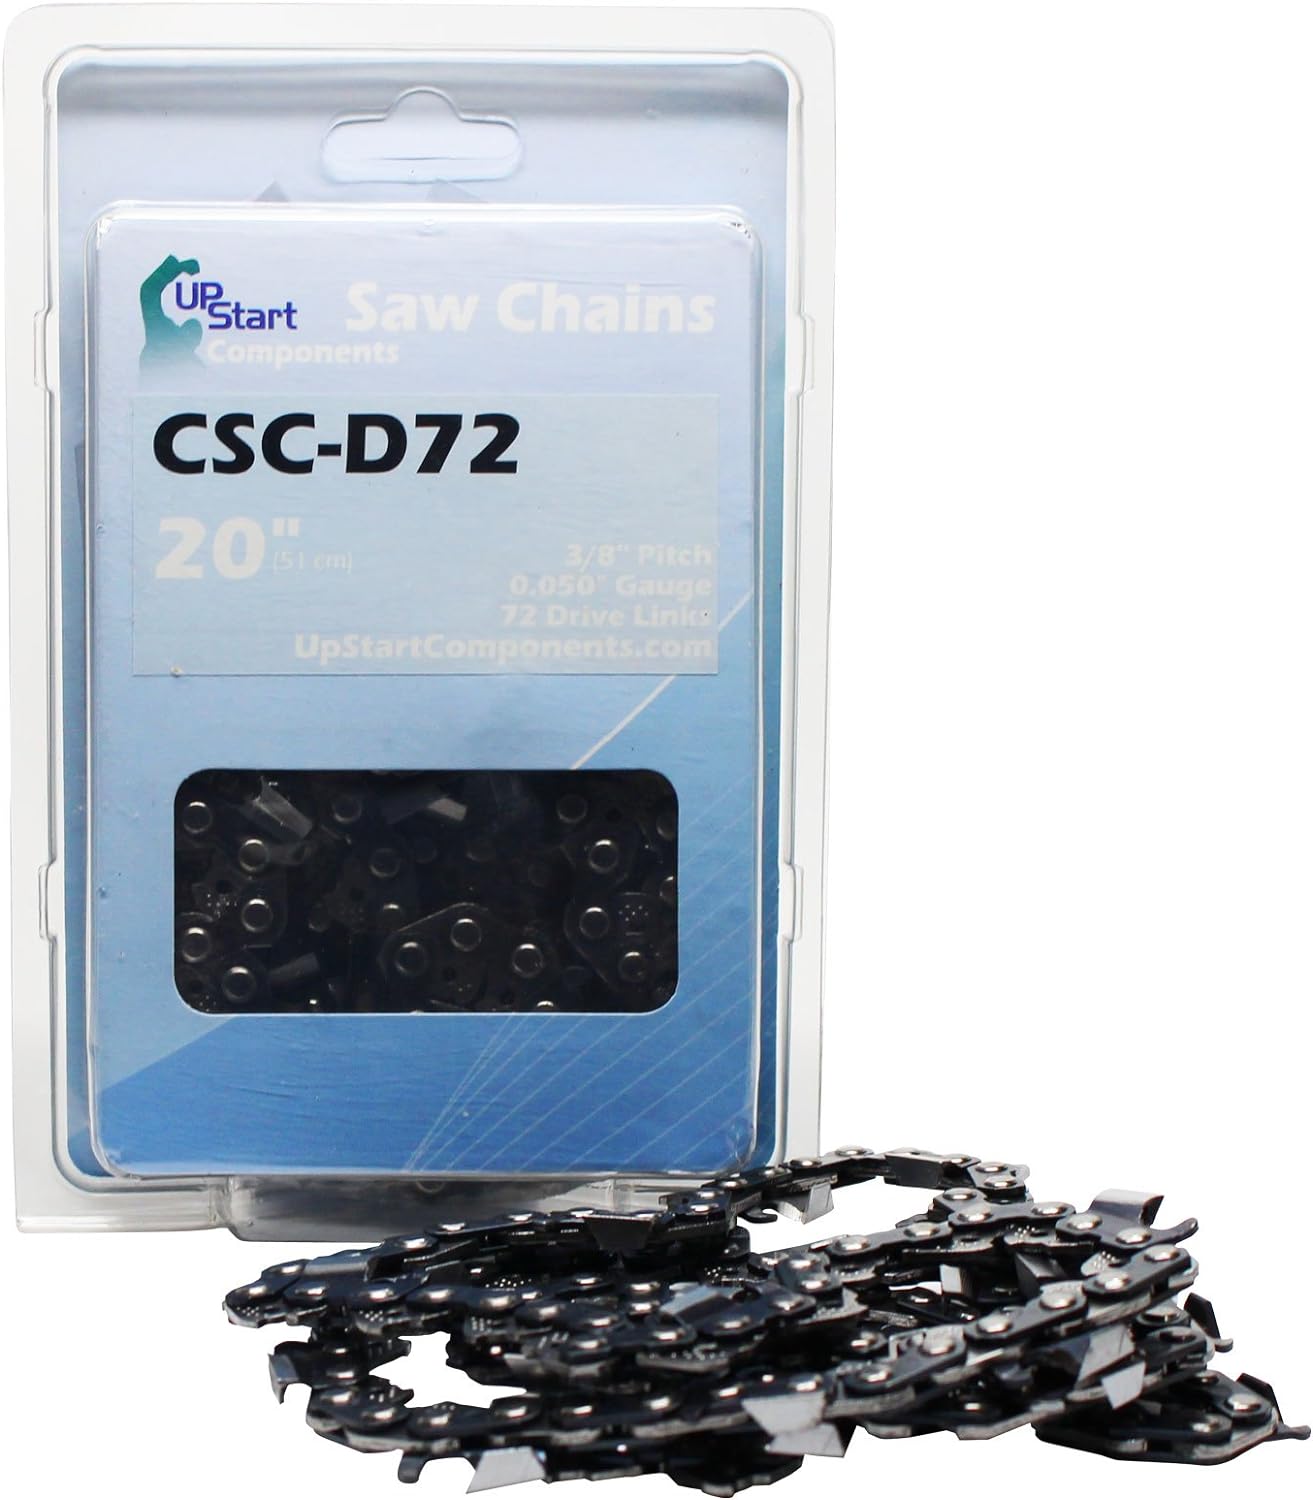
Image 1.1: UpStart Components 20-inch Full Chisel Saw Chain, showing the product in its retail packaging alongside a section of the chain.
2. Safety Information
WARNING: This saw chain may be capable of kickback that could result in serious injury to the chainsaw operator or bystanders. DO NOT USE THIS SAW CHAIN UNLESS YOU HAVE EXPERIENCE AND SPECIALIZED TRAINING FOR DEALING WITH KICKBACK.
- Always wear appropriate personal protective equipment (PPE) including safety glasses, hearing protection, gloves, and protective legwear when operating a chainsaw.
- Ensure the chainsaw is turned off and the spark plug cap is removed (for gasoline models) or battery is disconnected (for electric models) before handling the chain.
- Inspect the chain for damage, dullness, or wear before each use. Replace dull or damaged chains immediately to avoid injuries and ensure efficient cutting.
- Refer to your chainsaw's user manual for specific safety instructions and procedures related to chain installation and operation.
- Maintain a firm grip on the chainsaw with both hands during operation.
- Be aware of your surroundings and potential hazards, including bystanders, obstacles, and unstable cutting surfaces.
3. Compatibility Check
To ensure proper fit and safe operation, it is critical to verify that this saw chain is compatible with your chainsaw's guide bar. Chainsaws can have different bar lengths and chain specifications. Always confirm the following parameters on your current guide bar or in your chainsaw's user manual:
- Pitch: The distance between three consecutive rivets divided by two. This chain has a 3/8" Pitch.
- Gauge: The thickness of the drive links, which fit into the guide bar groove. This chain has a 0.050" Gauge.
- Drive Links: The number of drive links on the chain. This chain has 72 Drive Links.
- Bar Length: The effective cutting length of the guide bar. This chain is designed for a 20-inch guide bar.
Mismatching these specifications can lead to improper chain tension, premature wear, damage to the chainsaw, or dangerous operating conditions.
4. Installation (Setup)
Installing a new saw chain requires careful attention to detail. Always refer to your specific chainsaw's user manual for detailed, model-specific instructions. The following are general steps:
- Prepare the Chainsaw: Ensure the chainsaw is off, the engine is cool, and the spark plug cap is disconnected (for gasoline models) or the battery is removed (for electric models). Engage the chain brake.
- Remove Old Chain/Bar: Loosen the bar nuts and remove the clutch cover. Carefully remove the old chain and guide bar.
- Clean Components: Clean any sawdust, debris, or old oil from the guide bar groove, sprocket, and clutch area.
- Install New Chain: Place the new chain around the clutch sprocket, ensuring the cutting edges of the chain cutters face forward (in the direction of rotation).
- Position Guide Bar: Fit the guide bar over the bar studs, ensuring the drive links of the chain fit into the guide bar groove.
- Replace Clutch Cover: Reinstall the clutch cover and hand-tighten the bar nuts.
- Adjust Chain Tension: Adjust the chain tensioning screw until the chain is snug against the bottom of the guide bar, but can still be pulled freely by hand. The chain should not sag on the underside of the bar. A common test is to lift the chain from the top of the bar; the drive links should remain in the bar groove.
- Final Tightening: While holding the tip of the guide bar up, fully tighten the bar nuts. Recheck chain tension after tightening.

Image 4.1: The 20-inch Full Chisel Saw Chain laid out in a complete loop, illustrating its full length and configuration for installation.
5. Operation Guidelines
Once the chain is correctly installed and tensioned, follow these general guidelines for operation:
- Chain Lubrication: Ensure your chainsaw's oil reservoir is filled with appropriate bar and chain oil. Proper lubrication is vital for chain longevity and performance.
- Initial Run-in: After installing a new chain, run the chainsaw at a moderate speed for a few minutes to allow the chain to stretch. Recheck and adjust the chain tension as needed. New chains often stretch during initial use.
- Cutting Technique: Always use a stable stance and maintain a firm grip. Let the chain do the work; avoid forcing the saw.
- Avoid Kickback: Be extremely cautious of the kickback zone (the upper quadrant of the guide bar tip). Avoid contact with this area to prevent sudden, upward movement of the chainsaw.
- Monitor Chain Condition: Periodically check the chain tension and sharpness during extended use. A dull chain requires more force, increases kickback risk, and produces poor cuts.
6. Maintenance
Regular maintenance extends the life of your saw chain and ensures safe, efficient operation.
6.1. Sharpening
A sharp chain is essential for safe and effective cutting. Sharpen the chain regularly or when you notice:
- The chain produces fine sawdust instead of wood chips.
- The saw requires more force to cut.
- The saw cuts crooked or bounces.
Use a round file of the correct diameter (typically 5/32" or 4.0mm for 3/8" pitch chains, but verify with your chainsaw manual) and a flat file for depth gauges. Maintain the correct filing angles as specified by the chain manufacturer. If unsure, consult a professional or refer to detailed sharpening guides.
6.2. Cleaning and Inspection
After each use, or periodically during extended operation:
- Remove the chain from the guide bar.
- Clean the chain thoroughly to remove sap, resin, and sawdust. A wire brush and solvent can be used.
- Inspect each link for cracks, bends, or excessive wear. Pay close attention to the rivets and cutter teeth.
- Replace the chain if any significant damage is found. Avoid injuries by replacing dull or damaged chains with a sharp new chain.

Image 6.1: A detailed close-up of the saw chain links and cutters, highlighting the full chisel design for inspection and sharpening.
6.3. Storage
When not in use, store the chain in a clean, dry place. Applying a light coat of oil can help prevent rust, especially during long-term storage.
7. Troubleshooting
Most common issues related to saw chain performance can be resolved by proper maintenance and installation.
- Chain Not Cutting Effectively: Check if the chain is dull and requires sharpening. Ensure the chain is installed with the cutters facing the correct direction. Verify proper chain tension.
- Chain Smoking or Overheating: This often indicates insufficient lubrication. Check the chainsaw's oil reservoir and ensure the oiler is functioning correctly. Also, check for proper chain tension; a too-tight chain can cause friction and heat.
- Chain Jumping Off Bar: This is typically due to incorrect chain tension (too loose) or a worn guide bar groove. Inspect the guide bar for wear and adjust chain tension.
- Excessive Vibration: Can be caused by an improperly tensioned chain, a damaged chain, or a worn guide bar. Inspect all components and adjust as necessary.
For issues beyond these basic troubleshooting steps, consult a qualified chainsaw technician or refer to your chainsaw's comprehensive manual.
8. Specifications
| Brand | UpStart Components |
| Model Number | CSC-D72-DL497 (Commonly referred to as CSC-D72) |
| Compatible Chainsaw Model | Makita DCS6401 |
| Chain Type | Full Chisel |
| Chain Length (Item Length) | 20 inches (51 cm) |
| Pitch | 3/8 inches |
| Gauge | 0.050 inches |
| Drive Link Count | 72 |
| UPC | 734639461498 |
9. Warranty and Support
For warranty information or technical support regarding your UpStart Components saw chain, please contact the manufacturer directly. Details for contacting UpStart Components can typically be found on their official website or product packaging.
Always retain your proof of purchase for any warranty claims.