1. Introduction
The NETGEAR CM700 High Speed Cable Modem provides a reliable connection to high-speed cable Internet. Engineered with DOCSIS 3.0 technology and 32x8 channel bonding, it supports cable internet plans up to 800Mbps. This modem is designed to be compatible with major cable internet providers, offering a cost-effective alternative to renting equipment from your service provider.
2. Package Contents
Ensure all items are present in your package:
- High Speed Cable Modem (CM700)
- Ethernet cable
- Quick install guide
- Power adapter
3. Product Overview
3.1 Front Panel
The front panel of the CM700 modem features several LED indicators that provide status information about your connection and device operation.

Figure 1: Front view of the NETGEAR CM700 cable modem with indicator lights for power, internet, upstream, downstream, and Ethernet activity.
3.2 Rear Panel
The rear panel contains all the necessary ports for connecting the modem to your internet service and other devices.

Figure 2: Rear view of the NETGEAR CM700 cable modem, highlighting the Ethernet port, Reset button, Cable/Internet coaxial connector, Power input, and On/Off switch.
4. Setup and Installation
4.1 Compatibility Check
Before installation, verify that your internet service provider (ISP) supports the NETGEAR CM700 modem. This modem is compatible with major cable internet providers including Xfinity by Comcast, COX, and Spectrum. It is not compatible with Verizon, AT&T, CenturyLink, DSL providers, DirecTV, DISH, or any bundled voice service.
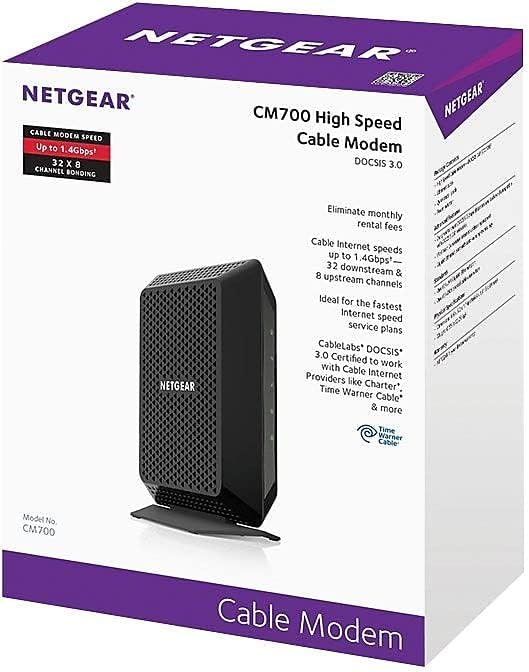
Figure 3: Compatibility logos for Xfinity, Cox, and Spectrum, confirming support for the CM700 modem.
4.2 Physical Connection
- Power Off Existing Equipment: Disconnect power from your existing modem and router (if applicable).
- Connect Coaxial Cable: Connect a coaxial cable from the wall outlet to the Cable/Internet port on the rear of your CM700 modem. Ensure the connection is secure.
- Connect Ethernet Cable: Connect one end of the provided Ethernet cable to the Ethernet port on the rear of your CM700 modem. Connect the other end to your computer or to the WAN/Internet port of your Wi-Fi router.
- Connect Power Adapter: Plug the power adapter into the Power port on the modem and then into an electrical outlet. Press the On/Off button if present.
- Wait for Lights: Allow the modem several minutes to power on and establish a connection. The Power, Downstream, Upstream, and Internet LEDs on the front panel should turn solid green or blue, indicating a successful connection.
4.3 Activate Your Internet Service
After connecting the modem, you will need to activate your internet service. The activation process varies by ISP:
- Xfinity: For Xfinity customers, fast web self-activation is often available. Open a web browser on a connected device and follow the on-screen instructions. If self-activation fails, call Xfinity customer support.
- Other ISPs (Cox, Spectrum, etc.): Contact your ISP directly to activate the modem. You will typically need to provide the modem's serial number and MAC address, which are located on a label on the modem.
5. Operating the Modem
5.1 LED Indicators
The LED lights on the front of your CM700 modem provide important status information:
| LED | Status | Description |
|---|---|---|
| Power | Solid Green | Modem is powered on. |
| Downstream | Solid Blue | Downstream channel is locked (DOCSIS 3.0). |
| Solid Green | Downstream channel is locked (DOCSIS 2.0). | |
| Blinking Green | Scanning for a downstream channel. | |
| Upstream | Solid Blue | Upstream channel is locked (DOCSIS 3.0). |
| Solid Green | Upstream channel is locked (DOCSIS 2.0). | |
| Blinking Green | Scanning for an upstream channel. | |
| Internet | Solid Green | Modem is online and connected to the internet. |
| Blinking Green | IP address is being acquired. | |
| Ethernet | Solid Green | A device is connected to the Ethernet port. |
| Blinking Green | Data is being transmitted or received. |
6. Maintenance
- Placement: Place the modem in a well-ventilated area to prevent overheating. Avoid placing it in enclosed spaces or near heat sources.
- Cleaning: Use a soft, dry cloth to clean the modem. Do not use liquid or aerosol cleaners.
- Firmware Updates: Firmware updates are typically managed by your cable internet provider. Ensure your modem is always connected to the internet to receive these updates.
- Regular Reboots: Occasionally restarting your modem (power cycling) can help resolve minor connectivity issues and improve performance. To do this, unplug the power adapter, wait 10-15 seconds, and then plug it back in.
7. Troubleshooting
7.1 No Internet Connection
- Check Cables: Ensure all cables (coaxial, Ethernet, power) are securely connected to the modem and wall outlets.
- Check LED Status: Refer to the LED indicator table in Section 5.1. If the Downstream, Upstream, or Internet LEDs are not solid, there may be an issue with your cable signal or ISP connection.
- Power Cycle Modem: Unplug the modem's power adapter, wait 10-15 seconds, and plug it back in. Allow several minutes for the modem to restart and reconnect.
- Contact ISP: If the issue persists after checking connections and power cycling, contact your internet service provider. There might be an outage in your area or a problem with your service.
7.2 Slow Internet Speeds
- Verify Plan Speed: Confirm that your internet plan speed matches the capabilities of your modem. The CM700 supports plans up to 800Mbps.
- Test Directly: Connect a computer directly to the modem's Ethernet port (bypassing your router) and perform a speed test. This helps determine if the modem or your router is the bottleneck.
- Check for Interference: If using a Wi-Fi router, ensure it's placed optimally and not experiencing interference from other devices.
- Contact ISP: If speeds remain consistently low, contact your ISP to check your line quality and service provision.
8. Specifications
| Feature | Detail |
|---|---|
| Model Number | CM700-100NAS |
| DOCSIS Standard | DOCSIS 3.0 |
| Channel Bonding | 32x8 (32 downstream, 8 upstream) |
| Max Download Speed | Up to 800 Mbps (ISP dependent) |
| Ethernet Ports | 1 Gigabit Ethernet port |
| Dimensions (LxWxH) | 6.6 x 5.2 x 1.7 inches |
| Weight | 8.8 ounces |
| Voltage | 100-240 Volts |
| Operating System Compatibility | Microsoft Windows |
9. Warranty and Support
For warranty information and technical support, please visit the official NETGEAR website. You can find detailed warranty terms and contact information for customer support at www.netgear.com/warranty.


