
1. Introduction
This manual provides essential instructions for the proper installation, operation, and maintenance of your STANLEY Solid Brass Miniature Medium Hinge. Please read this manual thoroughly before beginning installation to ensure safe and efficient use of the product. This hinge is designed for various light-duty applications requiring a durable and compact brass hinge.
2. Safety Information
- Always wear appropriate personal protective equipment, such as safety glasses, during installation.
- Keep small parts, such as screws, out of reach of children to prevent choking hazards.
- Ensure the mounting surface is stable and capable of supporting the hinge and any attached components.
- Use only the recommended tools and fasteners for installation.
- Do not overtighten screws, as this may strip the material or damage the hinge.
3. Package Contents
Verify that all components are present before beginning installation.
- STANLEY Solid Brass Miniature Medium Hinge (Quantity: 2)
- Mounting Screws (appropriate for hinge size, typically included)
4. Setup and Installation
Tools Required: Pencil, Screwdriver (appropriate size for screws), Drill (optional, for pilot holes), Measuring Tape.
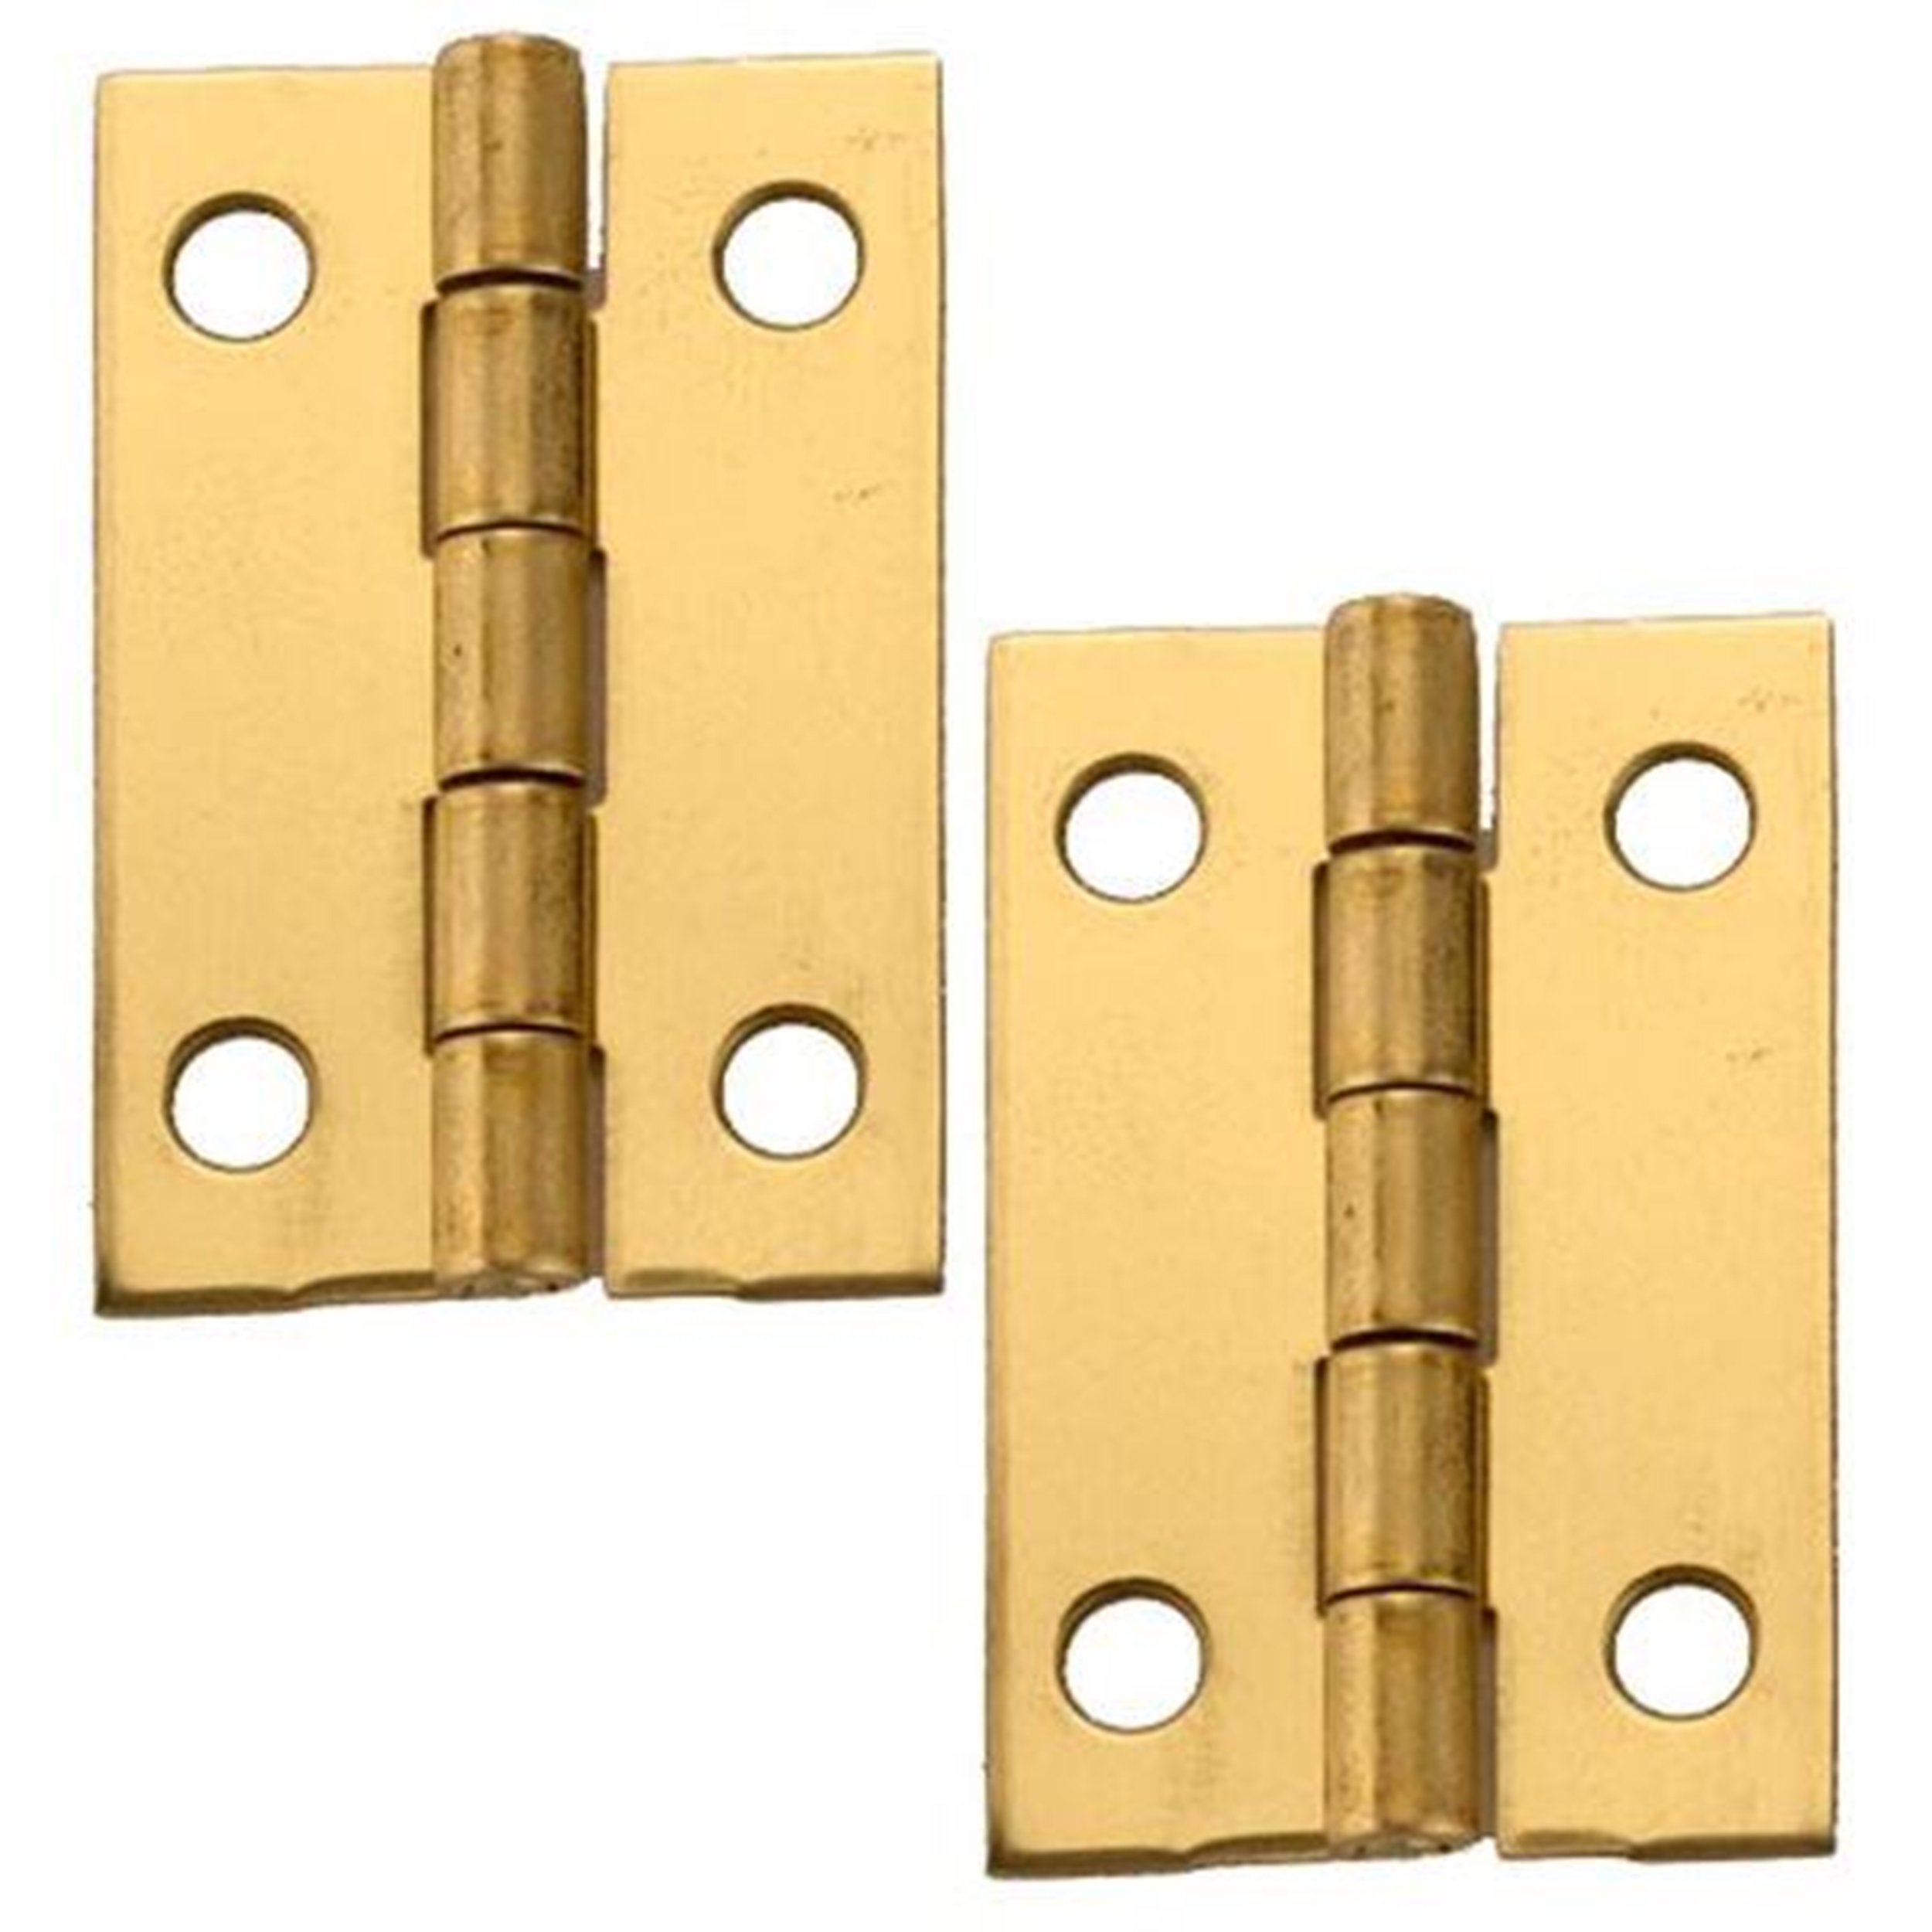
Image 1: STANLEY Solid Brass Miniature Medium Hinge. This image shows the hinge in its open position, highlighting its brass construction and screw holes.
- Prepare the Surface: Identify the exact location where the hinge will be mounted on both the door/panel and the frame/surface. Ensure the surfaces are clean and flat.
- Mark Pilot Holes: Position one leaf of the hinge on the desired mounting surface. Use a pencil to mark the locations for the screw holes. Repeat this for the second leaf on the opposing surface.
- Drill Pilot Holes (Optional but Recommended): For softer woods or to prevent splitting, drill small pilot holes at the marked locations. Ensure the drill bit is slightly smaller than the screw diameter.
- Attach First Leaf: Align the first hinge leaf with the marked pilot holes and secure it using the provided screws. Do not fully tighten all screws until both leaves are loosely attached.
- Attach Second Leaf: Align the second hinge leaf with its marked pilot holes on the opposing surface. Ensure the hinge is properly aligned and operates smoothly before securing it with screws.
- Final Tightening: Once both leaves are in place and the hinge operates correctly, fully tighten all screws. Avoid overtightening.
5. Operation
The STANLEY Solid Brass Miniature Medium Hinge is designed for smooth, consistent operation. Once installed, the hinge allows for the rotational movement of the attached door or panel. Ensure that the hinge is not subjected to forces beyond its intended capacity, which could lead to damage or premature wear.
6. Maintenance
- Cleaning: Periodically wipe the hinges with a soft, dry cloth to remove dust and grime. For stubborn dirt, a slightly damp cloth can be used, followed by immediate drying. Avoid abrasive cleaners or harsh chemicals.
- Lubrication: If the hinge begins to squeak or stiffen, apply a small amount of silicone-based lubricant to the pin and knuckles. Wipe away any excess lubricant.
- Inspection: Regularly check the screws for tightness. If any screws are loose, gently tighten them. Inspect the hinge for any signs of wear, damage, or corrosion.
7. Troubleshooting
| Problem | Possible Cause | Solution |
|---|---|---|
| Hinge squeaks | Lack of lubrication, dust/debris in pin. | Apply a silicone-based lubricant to the hinge pin and knuckles. Clean any visible debris. |
| Hinge feels loose | Loose mounting screws. | Gently tighten all mounting screws. Do not overtighten. |
| Door/panel sags or misaligns | Improper installation, loose screws, damaged hinge. | Check all mounting screws for tightness. Re-evaluate hinge alignment. If hinge is damaged, replace it. |
8. Specifications
| Brand: | STANLEY |
| Model Name: | N211-292 |
| Material: | Plastic (Note: Product title indicates Solid Brass, but specifications list Plastic. Please verify product material upon receipt.) |
| Product Dimensions: | 1.5"L x 1"W |
| Finish Type: | Unfinished |
| Mounting Type: | Door Mount |
| Unit Count: | 1 Count (Note: Product title indicates (2) hinges. Please verify quantity upon receipt.) |
| Manufacturer: | National Hardware |
| UPC: | 038613211292 |
| Item Weight: | 1.28 ounces |
| Date First Available: | January 25, 2010 |
Note: There is a discrepancy in the provided data regarding the material (Solid Brass vs. Plastic) and unit count (2 vs. 1). Please refer to the product packaging for the most accurate information.
9. Warranty Information
The product comes with a manufacturer's warranty. For specific details regarding the warranty period, coverage, and claims process, please refer to the documentation included with your purchase or visit the official STANLEY website. The warranty description provided is "Warranty".
10. Customer Support
If you have any questions, require assistance with installation, or encounter issues not covered in this manual, please contact STANLEY customer support. Visit the official STANLEY website for contact information and additional resources.
Official STANLEY Website: STANLEY Store on Amazon