
HEWLETT PACKARD V0C69UA
HP T730 Thin Pro User Manual
Model: V0C69UA
1. Introduction
Welcome to the user manual for your HP T730 Thin Pro. This document provides essential information for setting up, operating, maintaining, and troubleshooting your device. Please read this manual thoroughly to ensure optimal performance and longevity of your thin client.
2. Product Overview
The HP T730 Thin Pro is a powerful and compact thin client designed for demanding virtualized environments. It features an AMD R-Series Rx-427Bb processor, ample memory, and dedicated graphics, making it suitable for a wide range of business applications.
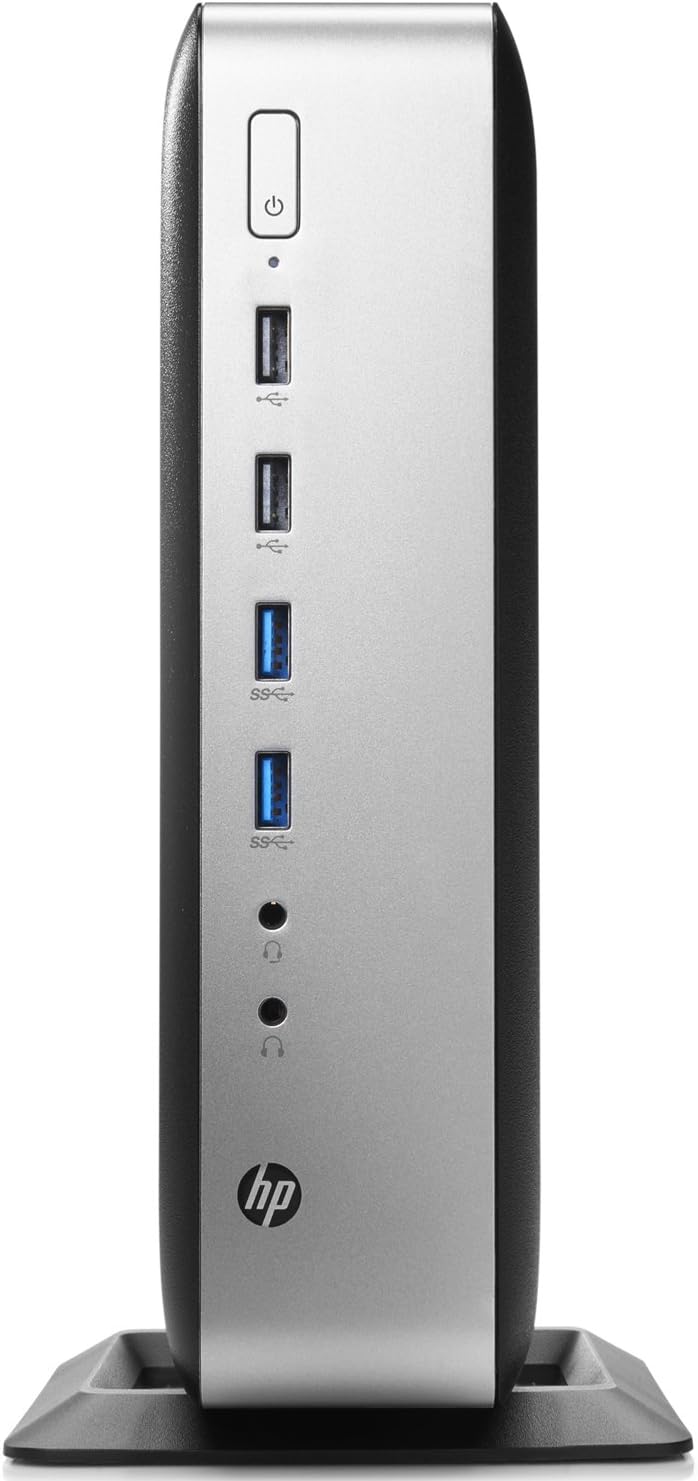
Figure 2.1: Front panel of the HP T730 Thin Pro, displaying the power button, multiple USB ports, and audio input/output jacks.

Figure 2.2: Rear panel of the HP T730 Thin Pro, featuring a comprehensive array of connectivity options including video outputs, USB ports, and network connections.
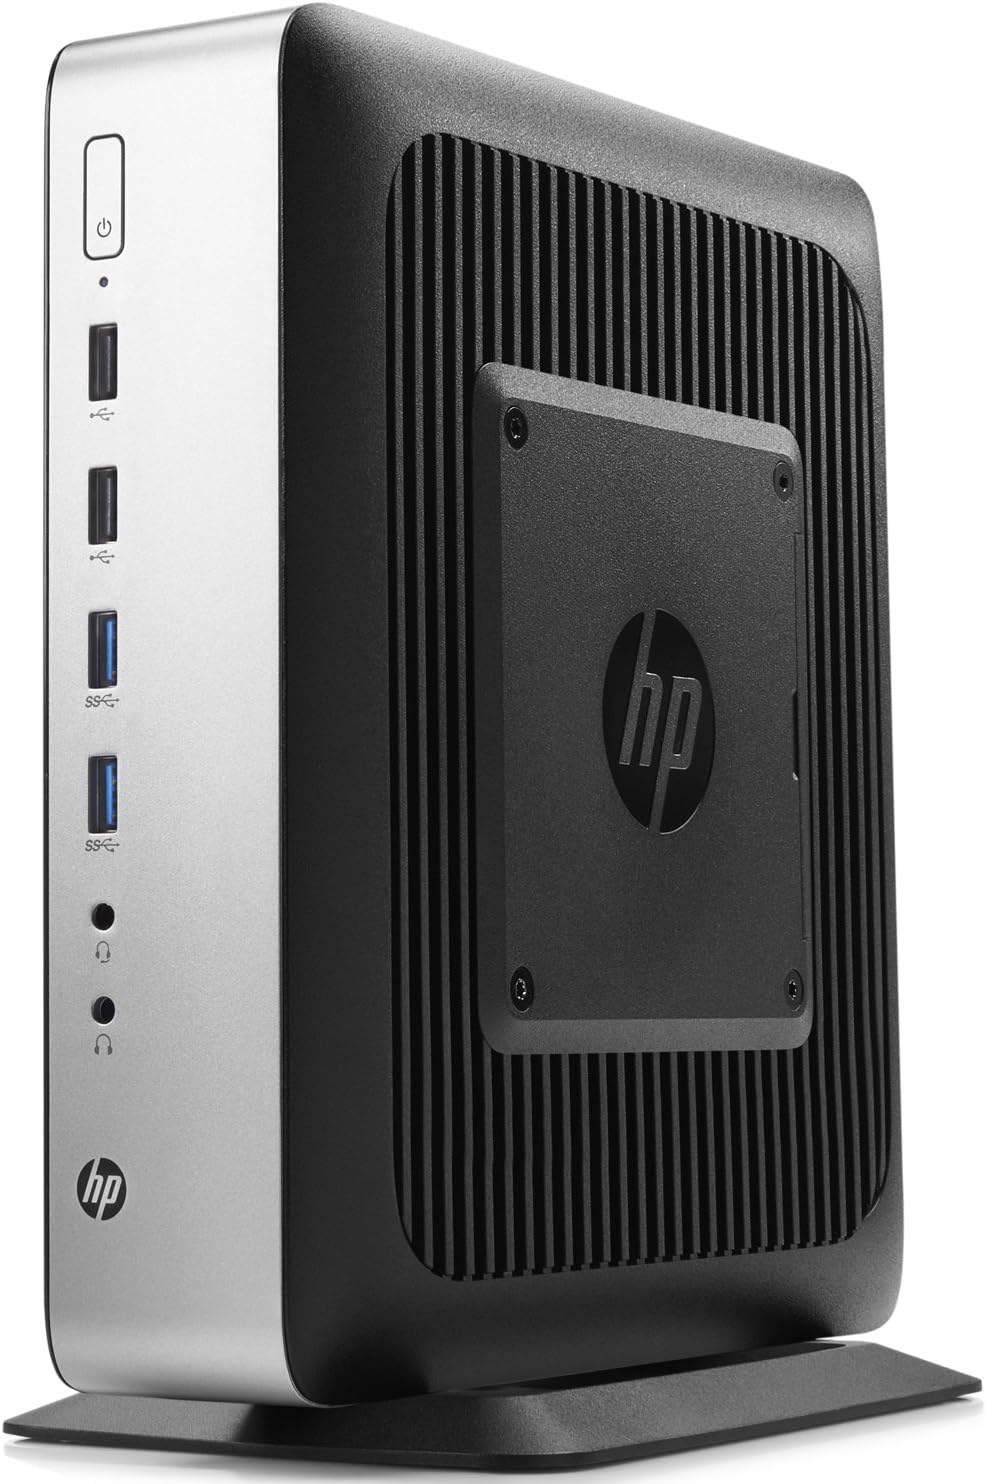
Figure 2.3: Angled view of the HP T730 Thin Pro, highlighting its compact form factor and the integrated VESA mounting plate for flexible deployment.
3. Key Features
- Processor: 2.7 GHz Quad Core AMD R-Series CPU
- Memory: 16GB DDR4 RAM
- Storage: 16GB Solid State Drive
- Display: 15.6" FHD IPS Anti-glare Display
- Graphics: Dedicated AMD Radeon RX 427B graphics card
4. Setup Guide
4.1 Unpacking
Carefully remove the HP T730 Thin Pro and all accessories from the packaging. Verify that all components listed in the packing slip are present.
4.2 Connecting Peripherals
Before powering on, connect your essential peripherals:
- Monitor: Connect your display cable (DisplayPort, DVI, or VGA) to the corresponding port on the rear of the thin client.
- Keyboard and Mouse: Connect your USB keyboard and mouse to any available USB ports.
- Network: Connect an Ethernet cable from your network router or switch to the RJ-45 network port on the rear.
- Power: Connect the power adapter to the thin client's power input, then plug the power cord into a wall outlet.
4.3 Powering On
Press the power button located on the front panel of the thin client. The power indicator light will illuminate, and the system will begin to boot.
5. Operating Your Thin Client
5.1 Initial Boot and OS Setup
Upon the first boot, the Windows 10 operating system may require initial setup, including language selection, network configuration, and user account creation. Follow the on-screen prompts to complete this process.
5.2 Connecting to a Network
If you did not connect an Ethernet cable during setup, or if you need to configure Wi-Fi (if applicable), navigate to the network settings within the operating system to establish a connection.
5.3 Basic Operation
Once the operating system is ready, you can begin using your thin client. Access your virtual desktop infrastructure (VDI) or cloud applications as configured by your IT administrator. The device functions similarly to a standard desktop computer for general tasks.
6. Maintenance and Care
- Cleaning: Use a soft, dry cloth to clean the exterior of the thin client. For stubborn marks, slightly dampen the cloth with water. Avoid abrasive cleaners or solvents.
- Ventilation: Ensure that the ventilation openings are not blocked to prevent overheating. Do not place the device in an enclosed space without adequate airflow.
- Software Updates: Regularly check for and install operating system and driver updates to maintain security and performance.
- Environmental Conditions: Operate the thin client within recommended temperature and humidity ranges to prevent damage.
7. Troubleshooting
| Problem | Possible Cause | Solution |
|---|---|---|
| No power | Power cable not connected; power outlet issue | Check power cable connections; try a different outlet. |
| No display | Monitor cable loose; monitor off; incorrect input selected on monitor | Ensure monitor cable is secure; turn on monitor; select correct input source. |
| Network connectivity issues | Ethernet cable loose; network settings incorrect; router/switch issue | Check Ethernet cable; verify network settings; restart network equipment. |
| System slow or unresponsive | Too many applications open; outdated drivers; malware | Close unnecessary applications; update drivers; run a malware scan. |
8. Technical Specifications
| Feature | Specification |
|---|---|
| Screen Resolution | 1920 x 1080 |
| Processor | 2.7 GHz AMD R-Series |
| RAM | 16 GB |
| Hard Drive | SSD |
| Chipset Brand | AMD |
| Card Description | Dedicated |
| Series | Hp T730 |
| Item model number | V0C69UA |
| Operating System | Windows 10 |
| Item Weight | 11 pounds |
| Product Dimensions | 0.1 x 0.1 x 0.1 inches |
| Color | Black |
| Processor Brand | AMD |
| Number of Processors | 4 |
| CPU Model | AMD R Series |
| CPU Speed | 2.7 GHz |
| Graphics Card Description | Dedicated |
| Memory Storage Capacity | 100 GB |
| Personal computer design type | Computer Tower |
| Ram Memory Installed Size | 4 GB |
9. Warranty and Support
For warranty information and technical support, please refer to the documentation provided with your purchase or visit the official HP support website. Keep your proof of purchase for warranty claims.
Related documentsV0C69UA


Ask a question about this manual
Ask about setup, troubleshooting, compatibility, parts, safety, or missing instructions. Manuals+ will review the question and use this page’s manual context to help answer it.