1. Product Overview
The Intermatic ST01 is a versatile 7-day heavy-duty programmable timer designed for a wide range of applications. It allows users to set precise ON/OFF schedules for electrical loads, offering convenience and energy savings. This timer is suitable for 120-277 VAC systems and can handle up to 15A, making it ideal for controlling lighting, fans, pumps, and other heavy-duty electrical equipment.
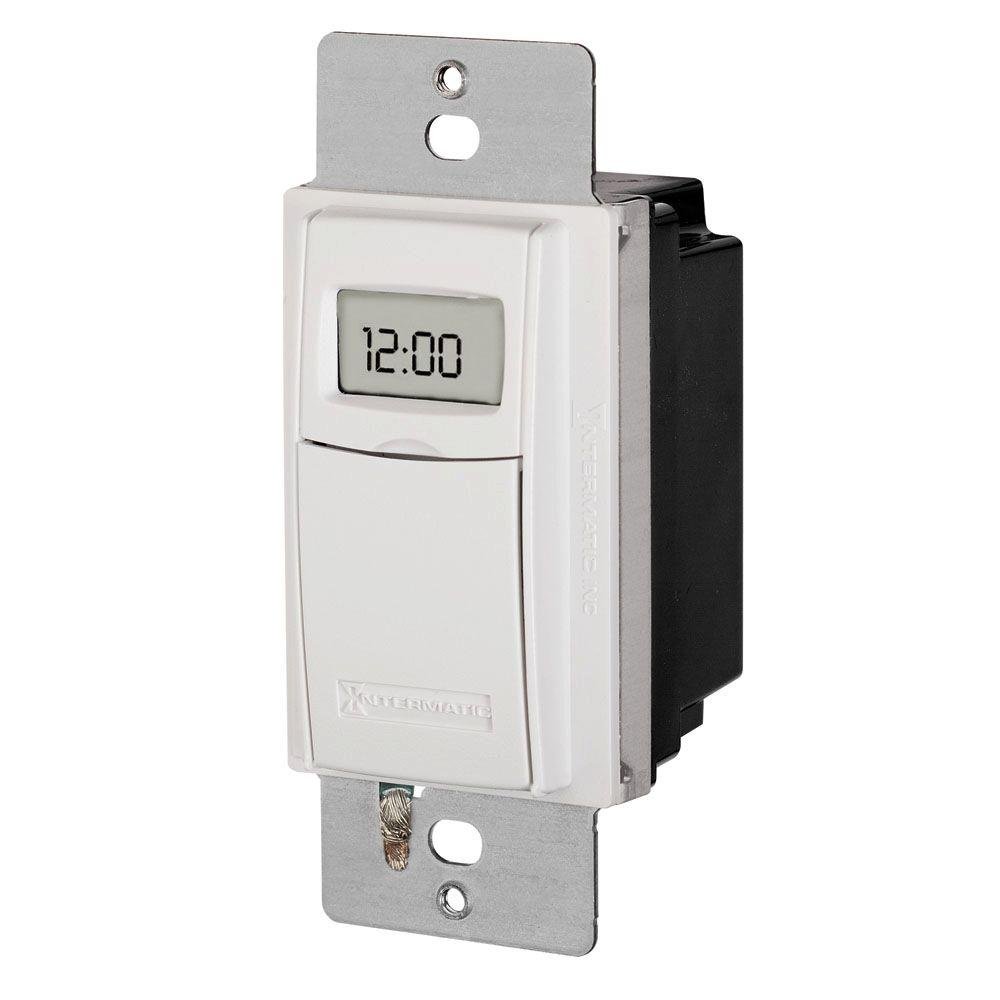
Figure 1: Front view of the Intermatic ST01 Programmable Timer, showing its digital display and white finish.
2. Important Safety Instructions
Please read and understand all instructions before installing or operating this timer. Failure to follow these instructions may result in electric shock, fire, or serious injury.
- Disconnect Power: Always turn off power at the circuit breaker or fuse box before installing or servicing the timer.
- Qualified Electrician: Installation should be performed by a qualified electrician or trained personnel in accordance with all national and local electrical codes.
- Indoor Use Only: This device is intended for indoor use in dry locations only. Do not expose to rain or moisture.
- Proper Wiring: Ensure all wiring connections are secure and correctly matched to the terminal markings. A neutral wire is required for operation.
- Load Capacity: Do not exceed the maximum electrical ratings of the timer (15A, 120-277 VAC).
- Grounding: Ensure the timer is properly grounded.
3. Package Contents
Verify that all components are present before beginning installation:
- Intermatic ST01 7-Day Heavy-Duty Programmable Timer
- Instruction Manual
- Mounting Screws (typically included with wall plate, not explicitly listed in product data)
4. Key Features
- 7-Day Programmability: Allows for different schedules on each day of the week.
- Heavy-Duty Rating: Capable of controlling loads up to 15 Amperes.
- Wide Voltage Range: Operates on 120-277 VAC.
- Digital Display: Clear and easy-to-read digital time and program display.
- Manual Override: Provides temporary or permanent manual control over programmed settings.
- Automatic Daylight Saving Time Adjustment: Simplifies time changes.
- Battery Backup: Retains program settings during power outages.
5. Technical Specifications
| Specification | Value |
|---|---|
| Model Number | ST01 |
| Voltage | 120-277 VAC |
| Current Rating | 15 Amperes |
| Product Dimensions | 2.3 x 4.9 x 3 inches |
| Item Weight | 0.01 Ounces |
| Color | White |
| Material | Plastic |
| Number of Settings | 3 (This refers to modes, not programs) |
6. Installation Guide
This section provides general guidelines for installing the Intermatic ST01 timer. For detailed wiring diagrams and specific instructions, refer to the diagram included with your product packaging or consult a qualified electrician.
6.1. Preparation
- Turn off power to the circuit at the main service panel (breaker or fuse box).
- Ensure the power is off by testing the circuit with a voltage tester.
- Remove the existing wall switch or cover plate.
6.2. Wiring
The ST01 timer requires a neutral wire for operation. Identify the Line (hot), Load, and Neutral wires in your electrical box. The timer typically has corresponding colored wires or marked terminals.
- Connect the Line (Hot) wire from the electrical box to the designated Line terminal/wire on the timer.
- Connect the Load wire (to the light/appliance) from the electrical box to the designated Load terminal/wire on the timer.
- Connect the Neutral wire from the electrical box to the designated Neutral terminal/wire on the timer.
- Connect the Ground wire from the electrical box to the ground screw on the timer or electrical box.
- Use wire nuts to secure all connections.
6.3. Mounting
- Carefully push the wired timer into the wall box.
- Secure the timer to the wall box using the provided mounting screws.
- Attach the decorative wall plate (not included) over the timer.
- Restore power at the circuit breaker.
7. Operating Instructions
Once installed and powered, the timer's display will activate. Follow these steps for initial setup and programming.
7.1. Initial Setup: Setting Current Time and Date
- Press the "CLOCK" button. The hour digits will flash.
- Use the "HOUR" and "MINUTE" buttons to set the current hour and minute.
- Press the "DAY" button to set the current day of the week.
- Press "CLOCK" again to save and exit.
7.2. Programming ON/OFF Schedules
The ST01 allows for multiple ON/OFF programs per day. Refer to the specific button layout on your device for exact programming steps, as these can vary slightly.
- Press the "PROG" button. The display will show "1 ON".
- Use "HOUR" and "MINUTE" buttons to set the desired ON time for program 1.
- Press "DAY" to select the days of the week for this program (e.g., Mon-Fri, Sat-Sun, or individual days).
- Press "PROG" again. The display will show "1 OFF".
- Set the desired OFF time for program 1 using "HOUR" and "MINUTE" buttons.
- Repeat steps 3-5 for additional programs (2 ON/OFF, 3 ON/OFF, etc.).
- Press the "CLOCK" button to exit programming mode and return to normal operation.
7.3. Manual Override
The timer typically features a manual override button (often labeled "MANUAL" or "ON/OFF").
- Temporary Override: Pressing the manual button usually toggles the current state (ON to OFF, or OFF to ON) until the next programmed event.
- Permanent Override: Some models allow holding the button or pressing it multiple times to enter a permanent ON or OFF state, overriding all programs until manually changed again. Consult your device's specific instructions for this feature.
8. Maintenance
The Intermatic ST01 timer is designed for long-term, maintenance-free operation. However, a few simple steps can ensure its longevity:
- Cleaning: Wipe the surface with a soft, dry cloth. Do not use abrasive cleaners or solvents.
- Battery Backup: The timer contains an internal battery for program retention during power outages. This battery is typically long-lasting and not user-replaceable. If the display goes blank or programs are lost frequently during power interruptions, the unit may need servicing or replacement.
- Inspection: Periodically check wiring connections for tightness and signs of wear.
9. Troubleshooting
If you experience issues with your Intermatic ST01 timer, refer to the table below for common problems and solutions.
| Problem | Possible Cause | Solution |
|---|---|---|
| Timer display is blank. | No power to the timer; incorrect wiring; internal battery depleted. | Check circuit breaker. Verify wiring connections (Line, Neutral). If power is present and wiring is correct, the unit may require replacement. |
| Timer does not turn ON/OFF at programmed times. | Incorrect programming; manual override engaged; incorrect current time/day. | Review and re-enter program settings. Check if manual override is active. Verify current time and day are set correctly. |
| Load (light/appliance) does not turn ON/OFF. | Load wire not connected; load device faulty; timer faulty. | Ensure load wire is securely connected. Test the load device directly (e.g., plug into a working outlet). If the load works directly, the timer may be faulty. |
| Programs are lost after power outage. | Internal battery backup is depleted or faulty. | The internal battery is not user-replaceable. The unit may need replacement if this issue persists. |
10. Warranty Information
Intermatic products are manufactured to the highest quality standards. This product is covered by a limited warranty against defects in material and workmanship. The specific terms and duration of the warranty are typically provided with the product packaging or can be found on the official Intermatic website. Please retain your proof of purchase for warranty claims.
11. Customer Support
For technical assistance, troubleshooting beyond this manual, or warranty inquiries, please contact Intermatic Customer Support. Have your product model number (ST01) and purchase information ready when contacting support.
You can typically find contact information (phone number, email, or support portal) on the official Intermatic website: www.intermatic.com


