Introduction
This instruction manual provides detailed guidance for the proper application and maintenance of the 3M 1080 Gloss Black Air-Release Vinyl Wrap. Designed for vehicle detailing, decoration, and full wraps, this product offers a durable and aesthetically pleasing finish. Please read all instructions carefully before beginning the installation process to ensure optimal results and product longevity.
Safety Information
- Always work in a well-ventilated area.
- Use caution when handling sharp tools such as razor blades or utility knives. Keep them away from children.
- Wear appropriate personal protective equipment, such as gloves, to protect hands during application.
- If using a heat gun, exercise extreme caution to avoid burns and damage to the vehicle's paint or other surfaces. Do not overheat the vinyl.
- Dispose of waste materials responsibly.
Package Contents
Verify that all items are present in your package:
- 1 x 3M 1080 Gloss Black Air-Release Vinyl Wrap Roll (1ft x 5ft)
- 1 x Blue 3M Medium-Hard Professional Squeegee
- 1 x Yellow Detailer Squeegee
- 2 x Self-Adhesive Felt Edges for Squeegee
Setup and Preparation
Additional Tools Recommended:
- Heat gun or blow dryer
- Sharp razor blade or utility knife
- Measuring tape or ruler
- Clean microfiber cloths
- Isopropyl alcohol (IPA) or a suitable surface cleaner
Surface Preparation:
- Clean the Surface: Thoroughly wash the application area with soap and water to remove dirt, dust, and debris. Rinse completely.
- Degrease: Wipe the surface with isopropyl alcohol (IPA) or a dedicated surface degreaser to remove any waxes, oils, or residues. Allow the surface to dry completely.
- Inspect for Imperfections: The vinyl will conform to the surface. Any imperfections such as deep scratches, chips, or rust will be visible through the wrap. Address these issues before application for the best finish.
- Optimal Temperature: Apply the vinyl in a clean, dust-free environment with a temperature between 60°F and 80°F (15°C and 27°C).
Application Instructions
The 3M 1080 Series vinyl features air-release channels for bubble-free application.
Step 1: Measure and Cut
Measure the area to be wrapped, adding an extra 2-4 inches on all sides for trimming. Carefully cut the vinyl from the roll using a sharp razor blade or utility knife.
Step 2: Prepare the Squeegee
Attach the self-adhesive felt edges to the working edge of your blue professional squeegee. This prevents scratching the vinyl during application.
Step 3: Initial Placement
Peel back a small section of the backing liner (approximately 1-2 inches) from one edge of the vinyl. Align the exposed adhesive edge with your starting point on the prepared surface. Lightly press it down.

Image: A person using a squeegee to apply vinyl wrap to a vehicle panel.
Step 4: Applying the Vinyl
- Gradually peel off more of the backing liner while simultaneously applying the vinyl to the surface.
- Use the felt-edged squeegee to firmly press the vinyl onto the surface, working from the center outwards. This pushes air through the air-release channels, preventing bubbles.
- For large, flat areas, use long, overlapping strokes with the squeegee.
- If bubbles appear, gently lift the vinyl back to the point of the bubble and re-squeegee. The air-release technology allows for repositioning.
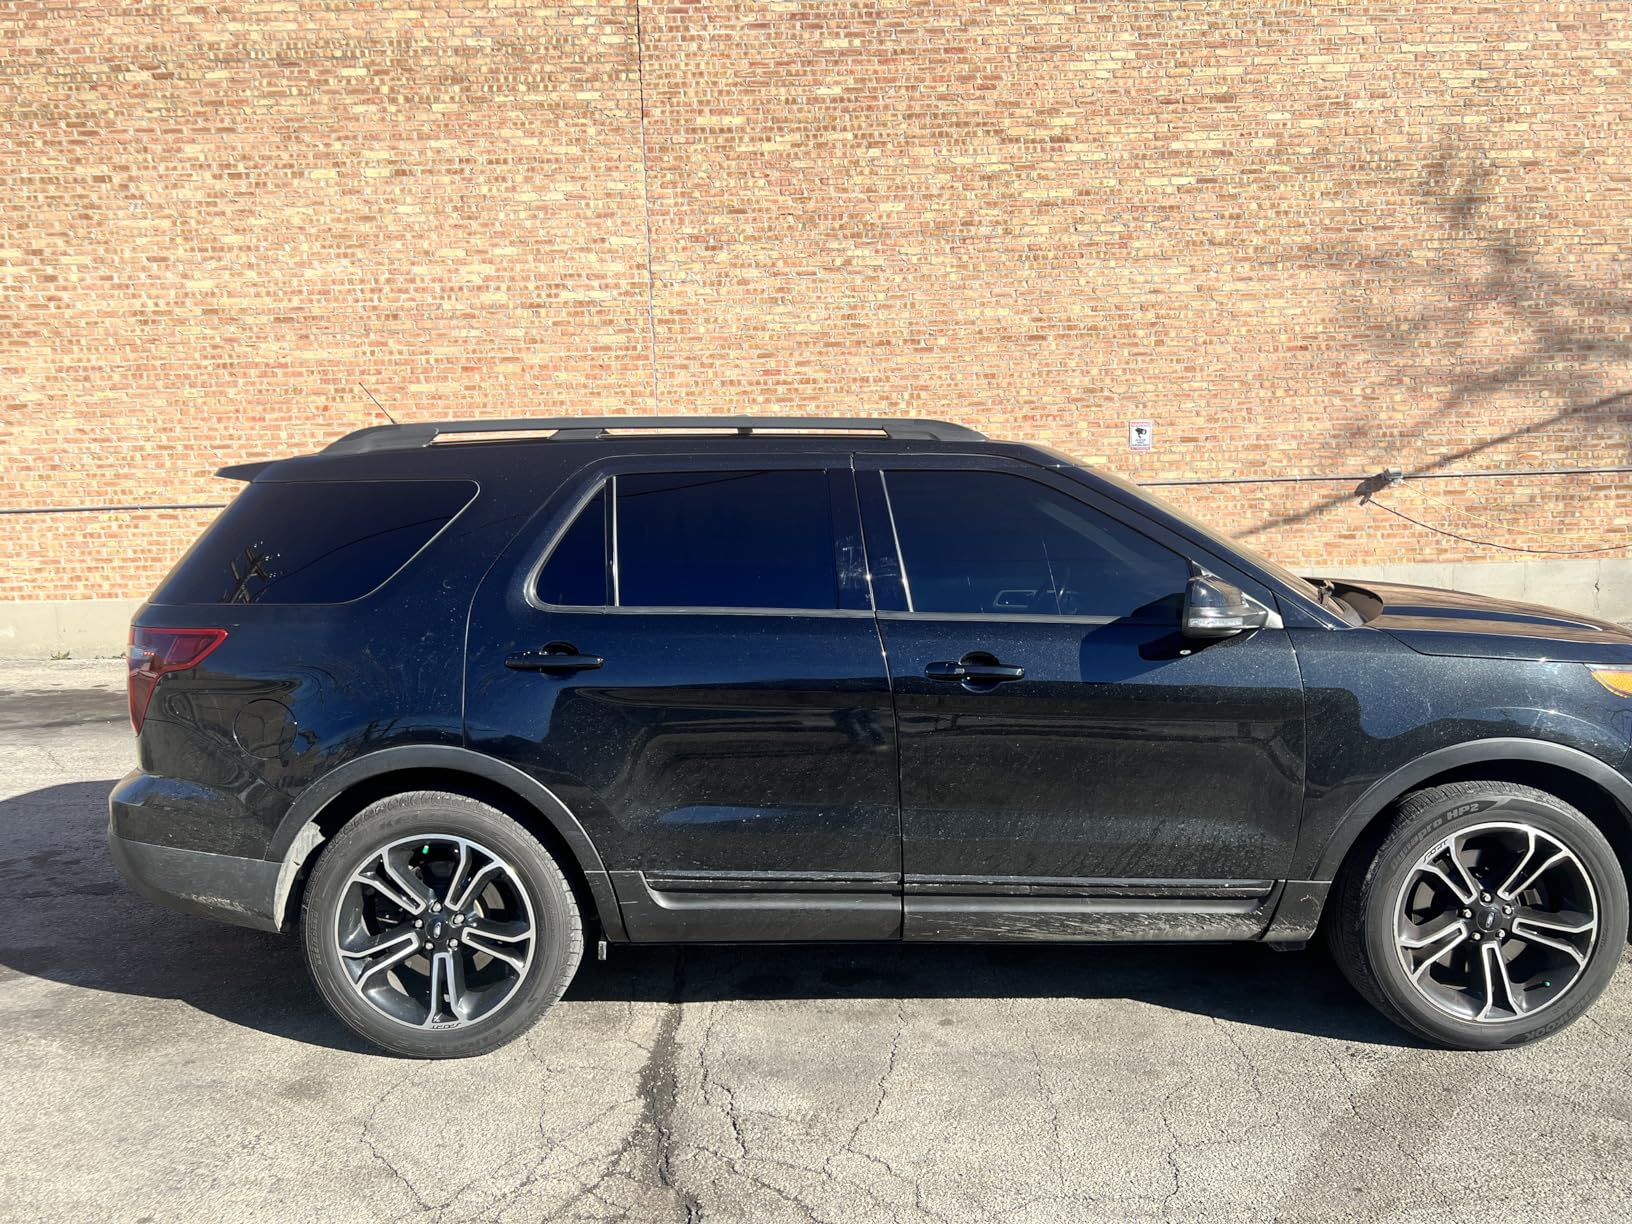
Image: A car door handle meticulously wrapped in gloss black vinyl, demonstrating a finished application.
Step 5: Working with Curves and Edges
- For curved or complex surfaces, use a heat gun on a low setting to gently warm the vinyl. This makes it more pliable and conformable.
- Stretch the warmed vinyl slowly and evenly over the curve, then squeegee it into place. Avoid overstretching, which can lead to discoloration or premature failure.
- Use the yellow detailer squeegee for tight corners and small areas.
- Once applied, apply heat again to the entire wrapped area and press firmly with the squeegee to ensure maximum adhesion and post-heating.
Step 6: Trimming Excess
Once the vinyl is fully applied, use a sharp razor blade or utility knife to carefully trim any excess material along the edges of the panel. Cut precisely to achieve a clean, finished look.
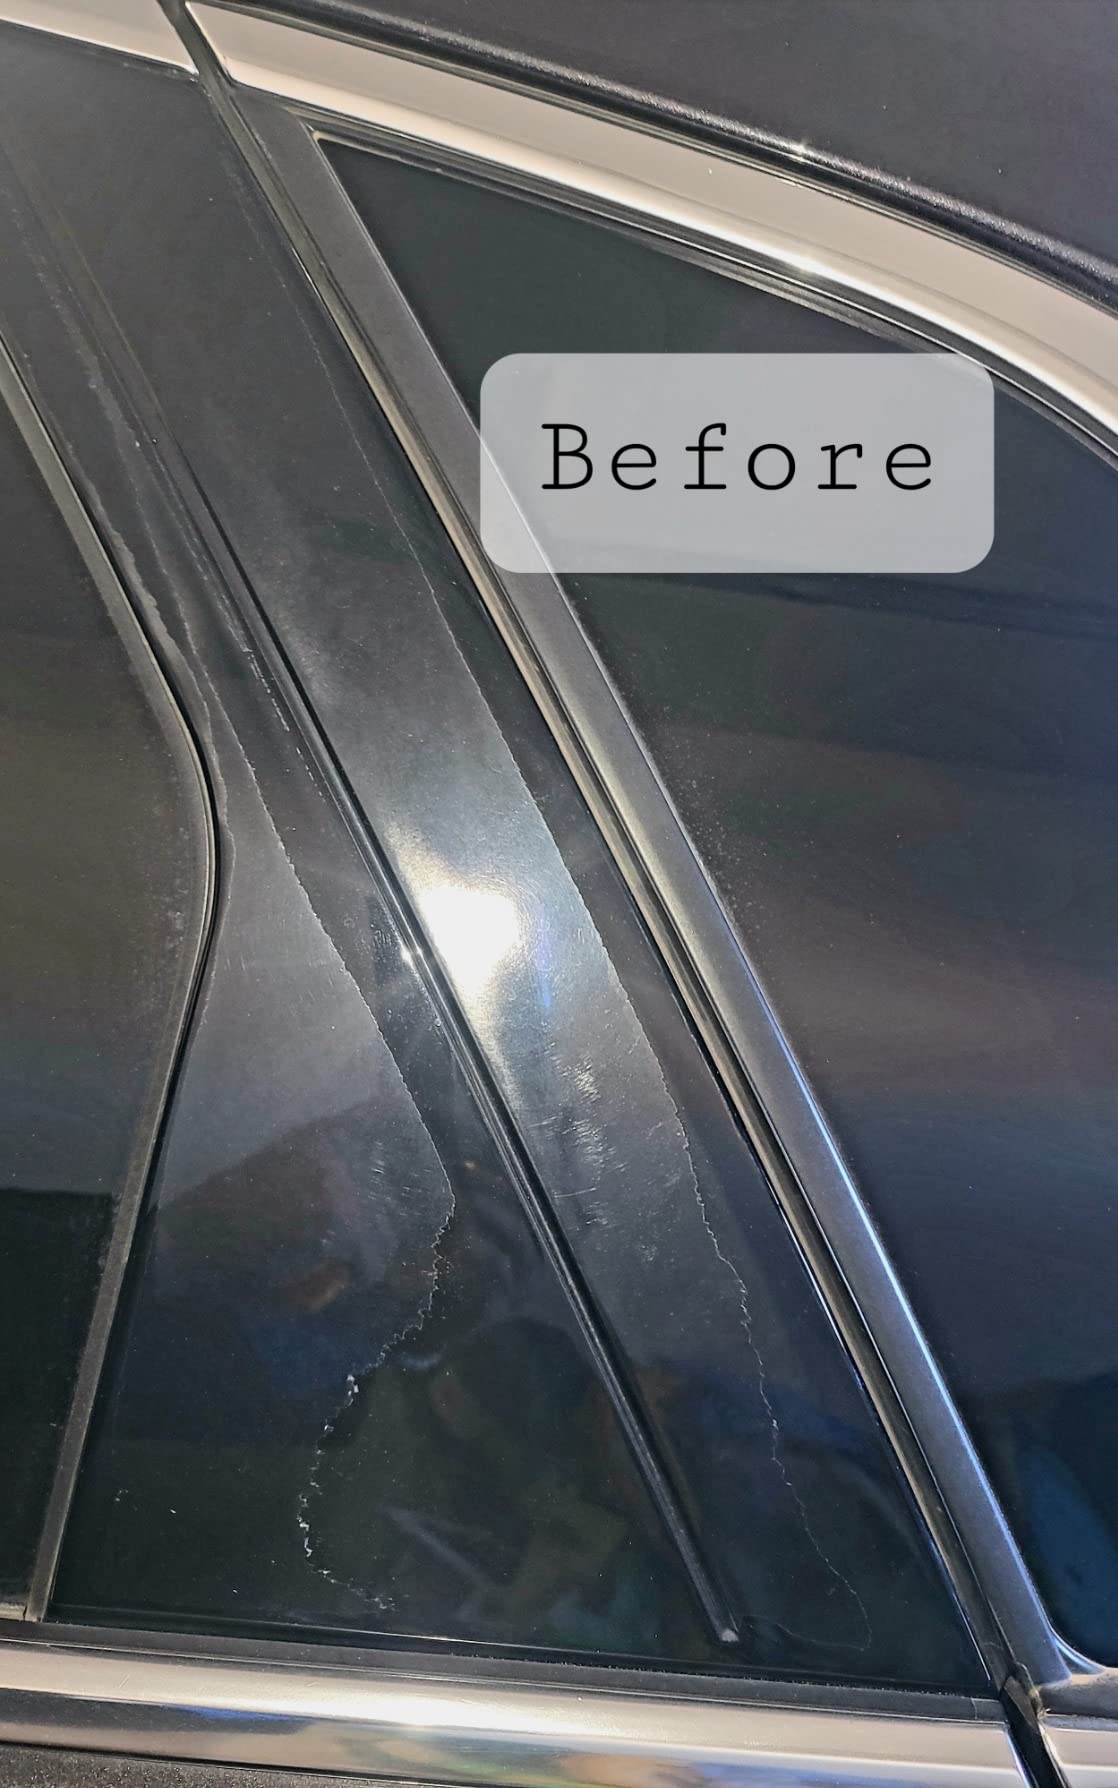
Image: A vehicle's window pillar, demonstrating how vinyl wrap can cover sun damage for a restored appearance.
Maintenance and Care
Proper care will extend the life and appearance of your vinyl wrap.
- Washing: Hand wash with mild automotive soap and water. Avoid abrasive cleaners or brushes.
- Pressure Washing: If using a pressure washer, keep the nozzle at least 12 inches (30 cm) away from the vinyl surface and avoid directing high-pressure water at edges.
- Stains: For stubborn stains, use a soft cloth with isopropyl alcohol or a specialized vinyl cleaner. Test on an inconspicuous area first.
- Waxing: Avoid using waxes or sealants that contain petroleum distillates, which can damage the vinyl.
Troubleshooting
| Issue | Possible Cause | Solution |
|---|---|---|
| Bubbles or Air Pockets | Insufficient squeegee pressure, rapid application, or trapped air. | Gently lift the vinyl and re-squeegee from the nearest edge. For small bubbles, press firmly with your thumb or use a pin to prick and release air, then smooth. |
| Creases or Wrinkles | Vinyl was not stretched evenly or applied too quickly on a curved surface. | Apply gentle heat with a heat gun to relax the vinyl, then carefully lift and re-apply, stretching evenly. |
| Edges Lifting | Improper surface preparation (dirt, wax), insufficient post-heating, or overstretching. | Clean the lifting edge, apply heat, and firmly press down. Ensure proper post-heating after initial application. For severe lifting, re-application may be necessary. |
| Poor Adhesion | Surface not clean, too cold during application, or vinyl not properly squeegeed. | Ensure surface is thoroughly cleaned and degreased. Apply in recommended temperature range. Re-squeegee with firm, overlapping strokes. |
Specifications
| Brand | 3M |
| Model Number | 3mblkmtlglos_01 |
| Size | 1ft x 5ft |
| Color | Gloss Black |
| Material | Vinyl |
| Item Weight | 7.4 ounces |
| UPC | 628856129043 |
| Features | Air-Release Technology, Removable, Dual Cast Film |
Warranty and Support
3M products are manufactured to high-quality standards. For specific warranty information or technical support, please refer to the official 3M website or contact 3M customer service directly. Keep your purchase receipt for any warranty claims.
Online Resources: www.3m.com