1. Introduction
This user manual provides essential information for the safe and efficient operation, maintenance, and troubleshooting of your Powerplus POWX1195 4-in-1 Electric Rotary Hammer Drill. Please read this manual thoroughly before using the tool to ensure proper handling and to prevent injury or damage.
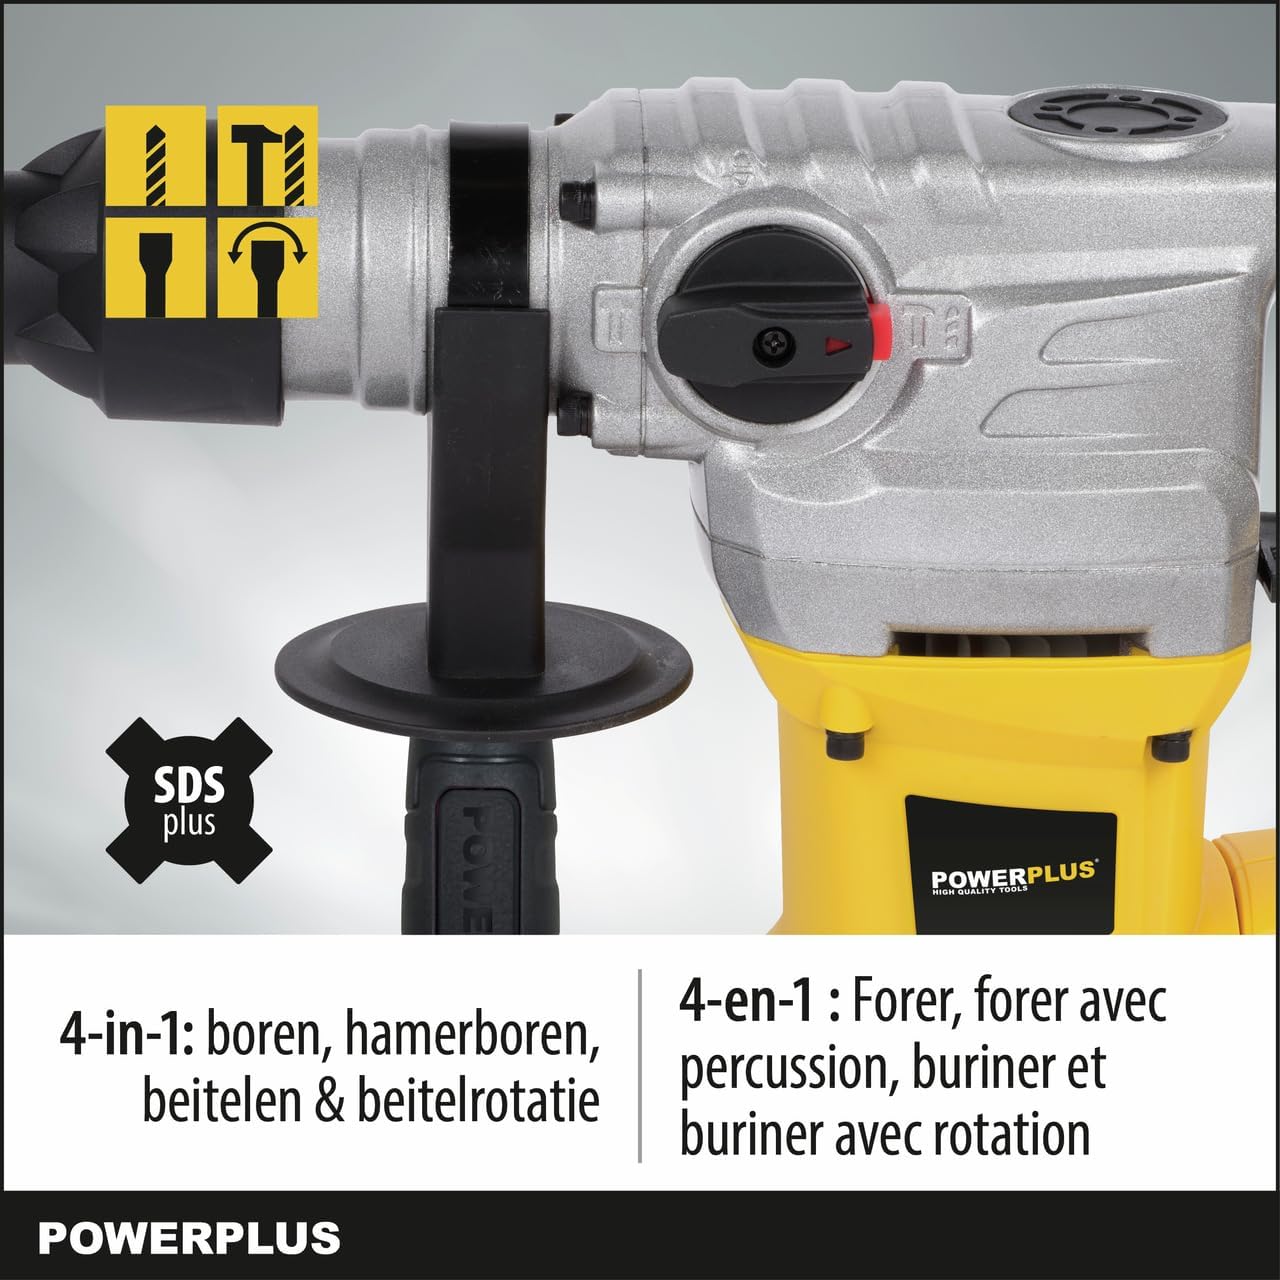
The Powerplus POWX1195 is a robust 1500W rotary hammer designed for various drilling and chiseling tasks. Its four functions allow for versatile use in different materials, including concrete, masonry, natural stone, wood, and steel.
2. Safety Instructions
Always follow basic safety precautions to reduce the risk of fire, electric shock, and personal injury.
General Safety Rules
- Work Area Safety: Keep your work area clean and well-lit. Cluttered or dark areas invite accidents. Do not operate power tools in explosive atmospheres, such as in the presence of flammable liquids, gases, or dust. Power tools create sparks which may ignite the dust or fumes.
- Electrical Safety: Power tool plugs must match the outlet. Never modify the plug in any way. Do not use any adapter plugs with earthed (grounded) power tools. Unmodified plugs and matching outlets will reduce risk of electric shock. Avoid body contact with earthed or grounded surfaces, such as pipes, radiators, ranges and refrigerators. There is an increased risk of electric shock if your body is earthed or grounded.
- Personal Safety: Always wear eye protection. Use a dust mask when working in dusty conditions. Wear non-skid safety shoes and a hard hat when necessary. Dress properly. Do not wear loose clothing or jewelry. Keep your hair, clothing and gloves away from moving parts.
- Tool Use and Care: Do not force the power tool. Use the correct power tool for your application. The correct power tool will do the job better and safer at the rate for which it was designed. Disconnect the plug from the power source before making any adjustments, changing accessories, or storing power tools. Such preventive safety measures reduce the risk of starting the power tool accidentally.
Specific Safety for Rotary Hammer Drills
- Always use the auxiliary handle for better control and stability.
- Be aware of hidden wiring or pipes when drilling into walls. Use a metal detector if unsure.
- Ensure the drill bit or chisel is securely inserted into the SDS-plus chuck before operation.
- The tool generates significant vibration; take breaks to avoid hand-arm vibration syndrome.
- Utilize the dust cap to minimize airborne dust and maintain a clear workspace.
3. Components Identification
Familiarize yourself with the parts of your Powerplus POWX1195 rotary hammer drill.

- SDS-plus Chuck: For quick and secure insertion of drill bits and chisels.
- Mode Selector Switch: Allows selection between drilling, hammer drilling, chiseling, and chisel rotation modes.
- Auxiliary Handle: Provides additional grip and control, adjustable for comfort.
- Depth Stop: For precise drilling depth control.
- Main Handle with Trigger: Ergonomic grip with power trigger and lock-on button.
- Dust Cap: Reduces airborne dust during operation.
- Power Cord: Durable cord for reliable power supply.

Included Accessories:
- SDS-plus Drill Head Adapter
- 3 x SDS-plus Drill Bits
- 1 x Pointed Chisel
- 1 x Flat Chisel
- Storage Case
4. Setup
4.1 Unpacking
Carefully remove the rotary hammer drill and all accessories from the packaging. Inspect for any damage that may have occurred during transit. Keep the packaging for future storage or transport.
4.2 Attaching the Auxiliary Handle
- Loosen the auxiliary handle by twisting it counter-clockwise.
- Slide the handle over the chuck and onto the main body of the drill.
- Adjust the handle to a comfortable position for your grip.
- Tighten the handle by twisting it clockwise until secure.
4.3 Inserting Drill Bits/Chisels (SDS-plus System)
- Clean the shank of the drill bit or chisel.
- Pull back the chuck collar on the rotary hammer.
- Insert the SDS-plus shank into the chuck until it clicks into place.
- Release the chuck collar. The bit should have a slight amount of play (back and forth movement) which is normal for SDS-plus systems.
- To remove, pull back the chuck collar and pull the bit out.
5. Operation
The Powerplus POWX1195 offers four distinct operating modes:
- Drilling Mode (Rotation Only):
Use this mode for drilling in wood, metal, plastics, or when precise drilling without impact is required. Set the mode selector to the drill icon.
- Hammer Drilling Mode (Rotation with Impact):
This is the primary mode for drilling into hard materials like concrete, masonry, and natural stone. The tool provides both rotation and powerful impacts. Set the mode selector to the hammer drill icon.

Figure 5.2: Hammer Drilling in Action. The image shows the rotary hammer drill being used to drill into a brick wall, demonstrating its capability for hard materials like wood (up to 40mm), steel (up to 13mm), and concrete (up to 32mm). - Chiseling Mode (Impact Only):
Ideal for light demolition work, removing tiles, or breaking up concrete. In this mode, the chuck does not rotate, only impacts. Set the mode selector to the chisel icon.
- Chisel Rotation Mode:
This mode allows you to adjust the angle of the chisel without impact, useful for positioning the chisel correctly before starting chiseling work. Set the mode selector to the chisel rotation icon, adjust the chisel, then switch back to chiseling mode.
5.1 General Operating Tips
- Always hold the tool firmly with both hands, using the auxiliary handle.
- Apply steady, even pressure. Do not force the tool.
- For deep holes, periodically withdraw the drill bit to clear debris.
- When drilling metal, use a cutting lubricant.
- Ensure proper ventilation in your workspace.
- The improved vibration reduction system helps minimize hand and wrist fatigue during extended use.


6. Maintenance
Regular maintenance ensures the longevity and optimal performance of your Powerplus POWX1195 rotary hammer drill.
6.1 Cleaning
- Always disconnect the tool from the power supply before cleaning.
- Wipe the tool's exterior with a soft, damp cloth. Do not use harsh chemicals or abrasive cleaners.
- Clean the SDS-plus chuck regularly to ensure smooth operation. Remove any dust or debris from the chuck mechanism.
- Ensure ventilation openings are clear of dust and debris to prevent overheating.
6.2 Lubrication
The internal components are factory-lubricated. Do not attempt to lubricate internal parts unless specified by a qualified service technician.
6.3 Storage
- Store the tool in its original storage case in a dry, secure place, out of reach of children.
- Protect the power cord from damage during storage.
7. Troubleshooting
This section addresses common issues you might encounter with your Powerplus POWX1195 rotary hammer drill.
| Problem | Possible Cause | Solution |
|---|---|---|
| Tool does not start. | No power supply; Faulty power cord/plug; Trigger switch fault. | Check power outlet and connections. Inspect power cord for damage. If issues persist, contact qualified service personnel. |
| Reduced impact force. | Worn carbon brushes; Insufficient lubrication; Damaged internal components. | Carbon brushes should be checked and replaced by a qualified technician. Do not attempt internal lubrication. Contact service. |
| Drill bit/chisel not holding in chuck. | Chuck collar not fully engaged; Damaged SDS-plus shank; Worn chuck. | Ensure chuck collar is fully released after insertion. Inspect bit shank for damage. If chuck is worn, it may need replacement by a technician. |
| Excessive vibration or noise. | Loose components; Damaged bearings; Worn internal parts. | Stop using the tool immediately. Contact a qualified service center for inspection and repair. |
For problems not listed above, or if the suggested solutions do not resolve the issue, please contact Powerplus customer support or an authorized service center.
8. Specifications
| Feature | Specification |
|---|---|
| Model Number | POWX1195 |
| Manufacturer | Varo |
| Power Input | 1500 W |
| Impact Energy | 6 J |
| No-load Speed | 860 rpm |
| Impact Rate | 0 - 4250 bpm |
| Voltage | 230 Volts |
| Amperage | 7 A |
| Chuck Type | SDS-plus |
| Max. Drilling Capacity (Wood) | 40 mm |
| Max. Drilling Capacity (Steel) | 13 mm |
| Max. Drilling Capacity (Concrete) | 32 mm |
| Power Cord Length | 3 Meters |
| Product Dimensions (L x W x H) | 44 x 12 x 34 cm |
| Weight | 6.26 kg |
| Sound Level | 104 dB |
9. Warranty and Support
9.1 Warranty Information
Powerplus products are manufactured to high-quality standards and are guaranteed against defects in materials and workmanship. The specific warranty period may vary by region and product. Please refer to the warranty card included with your purchase or visit the official Powerplus website for detailed warranty terms and conditions.
Keep your proof of purchase (receipt) as it will be required for any warranty claims.
9.2 Customer Support
For technical assistance, spare parts, or service inquiries, please contact your local Powerplus dealer or visit the official Powerplus website for contact information.
When contacting support, please have your product model number (POWX1195) and serial number (if applicable) ready.


