
1. Introduction
The Fantini Cosmi CH180 is a microprocessor-controlled electronic touchscreen backlit chronothermostat designed for precise temperature management in both heating and air conditioning systems. It features weekly programming capabilities, allowing users to set customized temperature schedules for optimal comfort and energy efficiency. This manual provides essential information for the proper installation, setup, operation, and maintenance of your CH180 chronothermostat.
2. Safety Information
- Always disconnect power to the heating/cooling system before performing any installation or maintenance.
- Installation should be performed by a qualified technician to ensure compliance with local electrical codes and safety standards.
- Do not expose the device to extreme temperatures, humidity, or direct sunlight.
- Use only the specified battery type (2 AA batteries) and ensure correct polarity during installation.
- Keep the device away from water and other liquids.
- Do not attempt to open or repair the chronothermostat yourself. Refer to qualified service personnel.
3. Package Contents
Verify that all items are present in the package:
- Fantini Cosmi CH180 Chronothermostat
- Instruction Manual
- Mounting screws and wall anchors
Note: 2 AA batteries required for operation are not included and must be purchased separately.
4. Product Features
- Large backlit touchscreen display for easy interaction.
- Weekly programming for customized temperature schedules.
- Adjustable profiles: Auto, Holiday, Jolly, Manual, Off.
- Battery-operated, requiring no modification to existing electrical installations.
- Simple 2-wire connection to the user's heating/cooling system.
- Flexible mounting options: wall-mounted or on a standard 503 box.
- Adjustable backlight intensity and duration.
- Automatic daylight saving time adjustment.
- Password function lock for enhanced security.
- Temperature recalibration function.
5. Installation
The CH180 chronothermostat is designed for easy installation, either directly on a wall or on a standard 503 electrical box. It requires a 2-wire connection to your heating or air conditioning system.

Figure 1: Technical diagram illustrating the physical dimensions of the CH180 chronothermostat. It shows the width as 127mm, height as 82mm, and depth as 24mm, crucial for installation planning.
Installation Steps:
- Power Off: Before beginning, ensure the main power supply to your heating/cooling system is turned off at the circuit breaker.
- Mounting Location: Choose a suitable location on an interior wall, away from direct sunlight, drafts, or heat sources that could affect temperature readings. The thermostat can be mounted directly on the wall or over a standard 503 electrical box.
- Separate Base: Gently detach the front panel of the chronothermostat from its base.
- Wire Connection: Connect the two wires from your heating/cooling system to the designated terminals on the chronothermostat's base. Ensure connections are secure.
- Mount the Base: Secure the base to the wall or 503 box using the provided screws and wall anchors.
- Insert Batteries: Insert 2 AA batteries into the battery compartment, observing correct polarity (+/-).
- Attach Front Panel: Carefully reattach the front panel to the mounted base, ensuring it clicks securely into place.
- Restore Power: Turn the main power supply back on. The chronothermostat display should illuminate.
6. Setup (Initial Configuration)
Upon initial power-up or after battery replacement, you will need to configure the basic settings of your CH180 chronothermostat.
- Set Date and Time: Follow the on-screen prompts or refer to the 'PROG' menu to set the current day of the week, time, and year.
- Temperature Unit: Select your preferred temperature unit (Celsius or Fahrenheit) if prompted or via the settings menu.
- Operating Mode: Choose between heating or cooling mode, depending on your system.
- Weekly Program: Access the 'PROG' menu to set your desired temperature schedule for each day of the week. You can define different temperature levels for various time slots.
- Automatic Daylight Saving Time: Ensure this feature is enabled in the settings for automatic time adjustments.
- Password Lock (Optional): To prevent unauthorized changes, you can set a password for function lock through the settings menu.
- Temperature Recalibration (Optional): If you find the temperature reading inaccurate, you can recalibrate it in the advanced settings.
7. Operating Instructions
The CH180 features a user-friendly touchscreen interface. The main screen displays the current time, day, and temperature. Use the touch-sensitive buttons at the bottom of the screen to navigate and adjust settings.
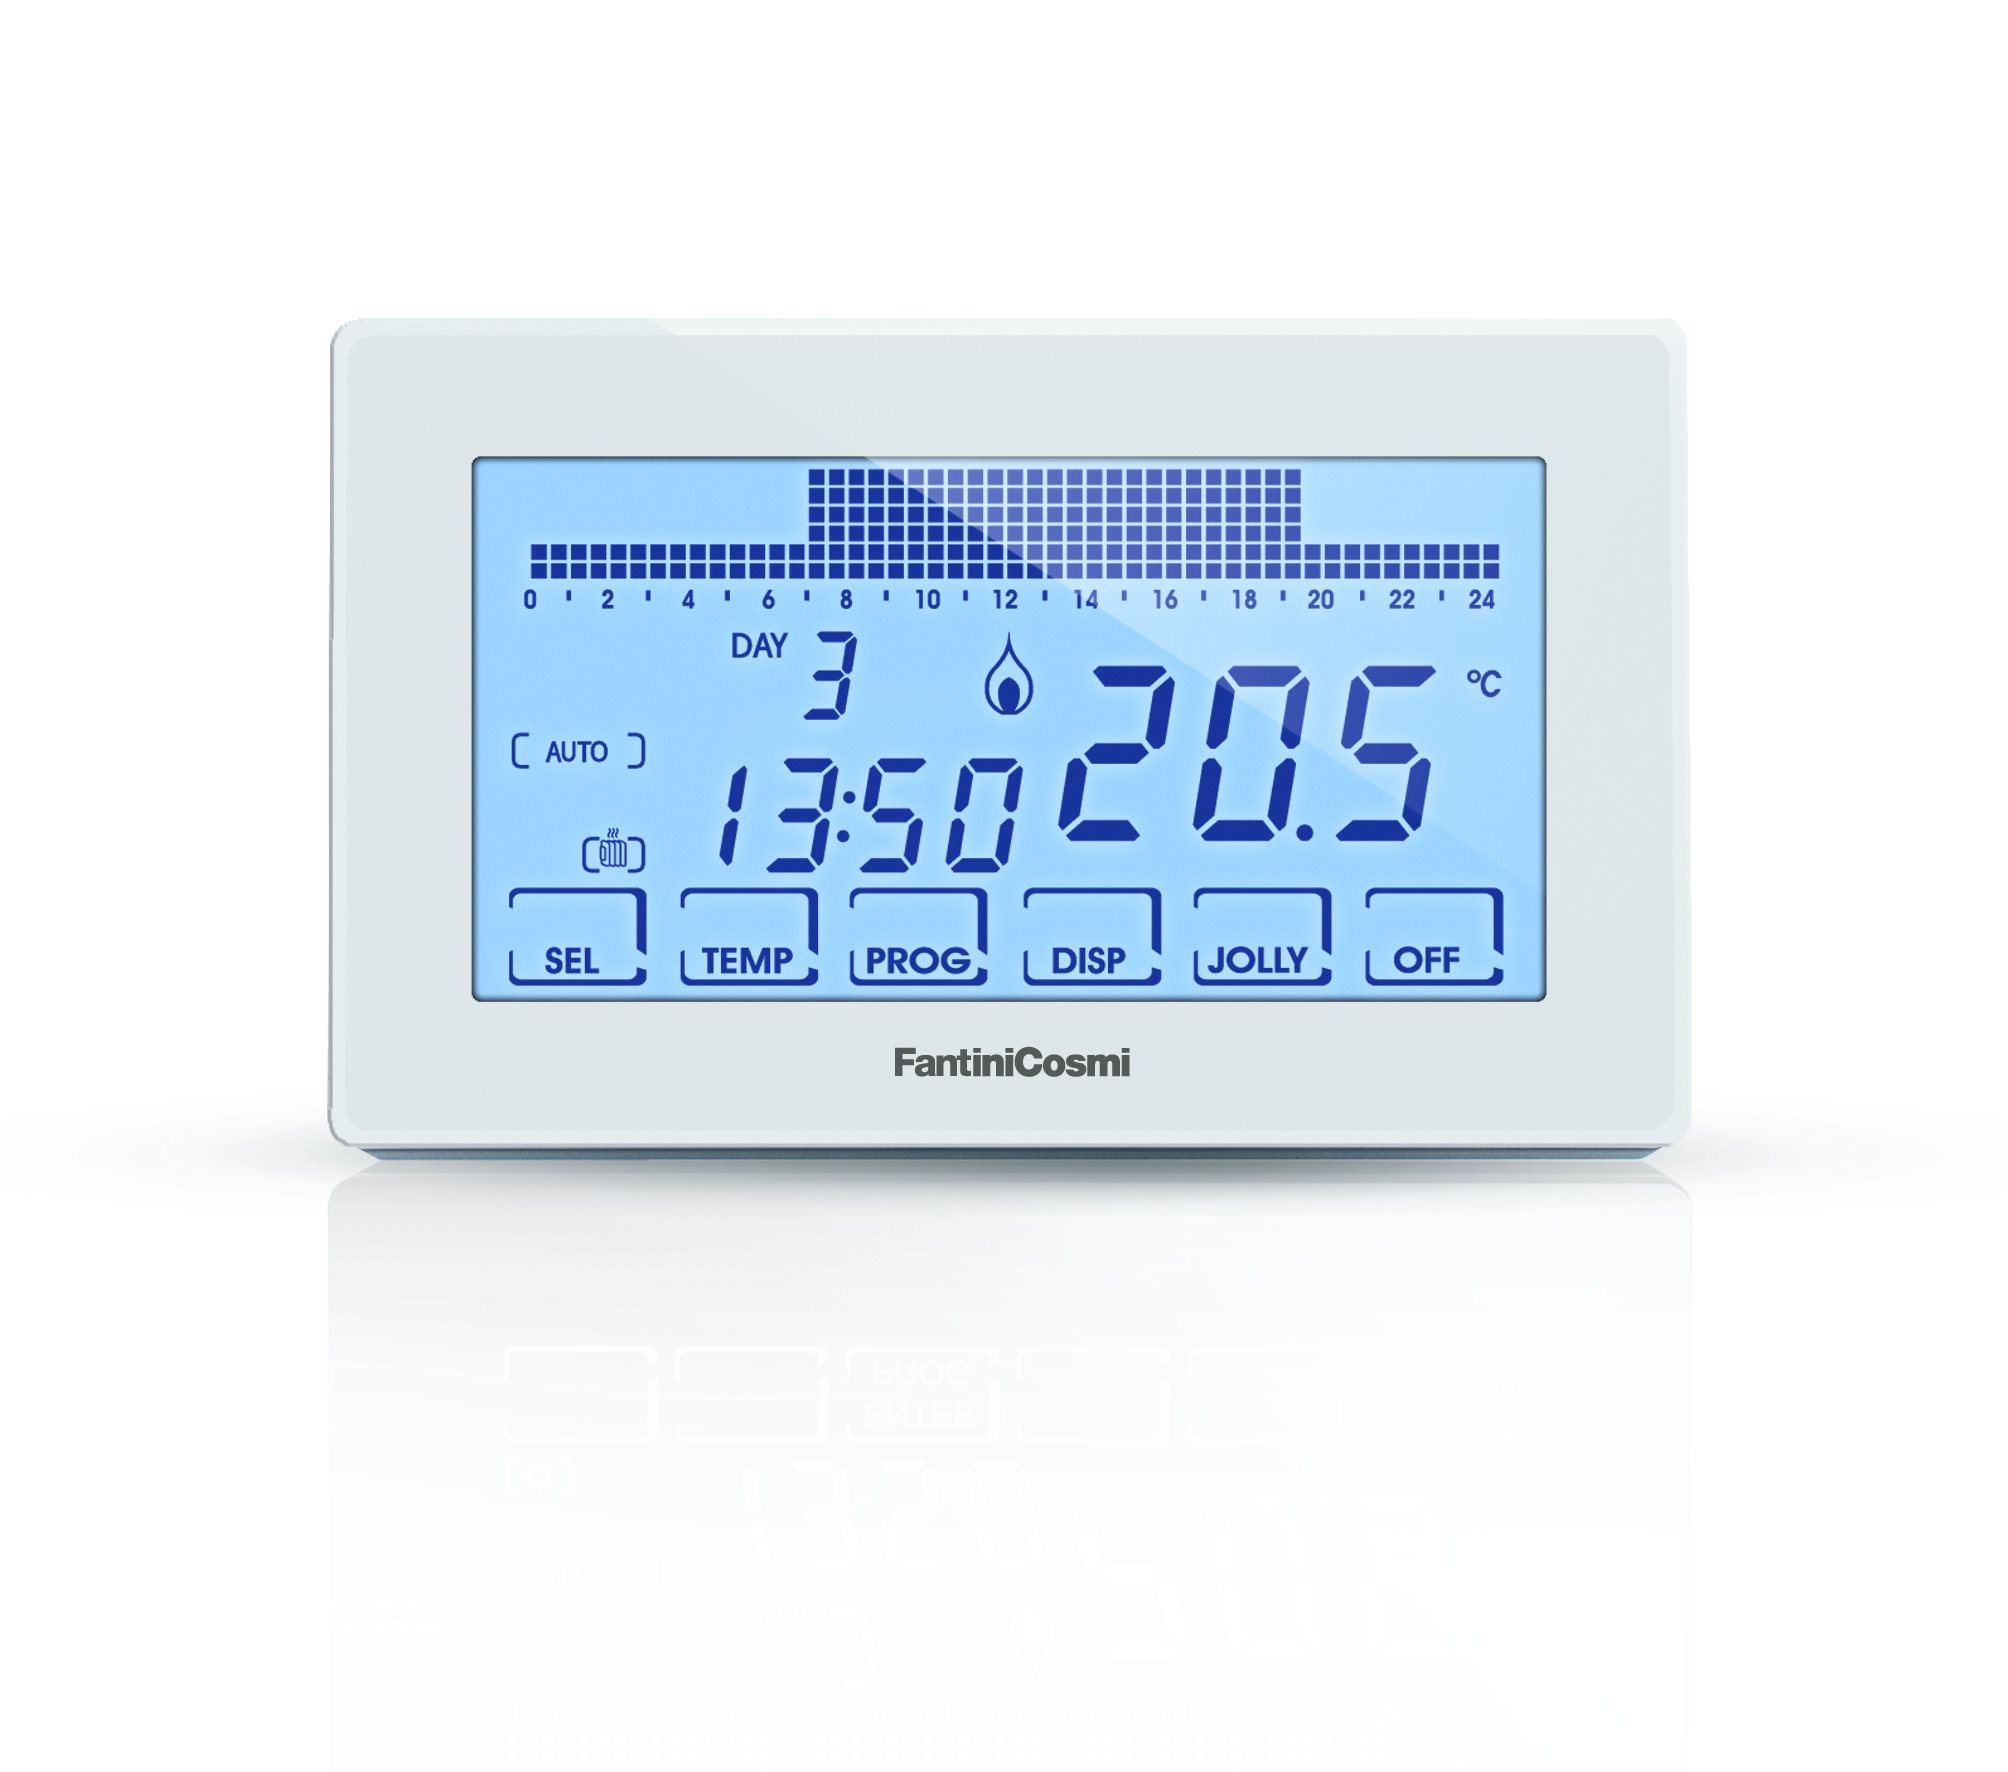
Figure 2: The Fantini Cosmi CH180 chronothermostat's front view, featuring its large backlit touchscreen. The screen shows the current time, set temperature, and active programming schedule, along with touch-sensitive buttons for 'SEL', 'TEMP', 'PROG', 'DISP', 'JOLLY', and 'OFF'.
Operating Modes:
- AUTO: The thermostat follows the programmed weekly schedule.
- HOLIDAY: Sets a constant temperature for a specified duration, ideal for vacations.
- JOLLY: Allows for a temporary temperature override for a short period.
- MANUAL: Maintains a constant temperature set by the user, overriding the program.
- OFF: Turns off the heating/cooling system.
Adjusting Temperature:
In Manual or Jolly mode, use the 'TEMP' button and the on-screen arrows to increase or decrease the desired temperature. In Auto mode, temperature adjustments are made through the 'PROG' menu.
Backlight Control:
The backlight activates when the screen is touched. You can adjust its intensity and duration in the system settings.
8. Maintenance
- Battery Replacement: When the low battery indicator appears on the display, replace the 2 AA batteries promptly. Ensure the power to the system is off before replacing batteries.
- Cleaning: Clean the touchscreen display with a soft, dry cloth. Do not use abrasive cleaners or solvents.
- Dust Removal: Periodically clean any dust accumulation around the thermostat's vents to ensure accurate temperature sensing.
9. Troubleshooting
If you encounter issues with your CH180 chronothermostat, refer to the table below for common problems and solutions.
| Problem | Possible Cause | Solution |
|---|---|---|
| Display is blank or dim. | Low or dead batteries. | Replace the 2 AA batteries. Ensure correct polarity. |
| Thermostat not controlling heating/cooling. | Incorrect wiring; System power off; Incorrect mode selected. | Check wiring connections; Ensure system power is on; Verify the thermostat is in the correct operating mode (Auto, Manual). |
| Inaccurate temperature reading. | Thermostat located near heat/cold source; Needs recalibration. | Relocate thermostat if possible; Use the temperature recalibration function in settings. |
| Touchscreen unresponsive. | Temporary software glitch; Screen dirty. | Remove and reinsert batteries to reset; Clean the screen with a soft, dry cloth. |
| Batteries drain quickly. | Frequent backlight use; Faulty batteries. | Reduce backlight duration/intensity; Use high-quality alkaline batteries. |
10. Specifications
| Feature | Specification |
|---|---|
| Model Number | CH180 |
| Brand | Fantini Cosmi |
| Dimensions (L x W x H) | 12.8 x 2.4 x 8.2 cm |
| Weight | 180 grams |
| Power Source | Battery-powered (2 x AA batteries, not included) |
| Display Type | LCD |
| Control Type | Touchscreen |
| Connectivity | Wired (2-wire connection) |
| Mounting Type | Wall Mount |
| Backlight | Yes |
| Special Features | Automatic Daylight Saving Time adjustment, Password Lock, Temperature Recalibration |
11. Warranty and Support
For warranty information and technical support, please refer to the documentation provided with your purchase or contact Fantini Cosmi customer service directly. Keep your proof of purchase for warranty claims.


