1. Introduction
This manual provides essential information for the safe and effective installation, operation, and maintenance of your Delphi HM10007 Mechanical Pump. Please read this manual thoroughly before attempting any installation or service to ensure proper function and safety.
2. Safety Information
WARNING: Improper installation or handling of fuel system components can lead to serious injury, fire, or explosion. Always follow safety precautions.
- Always disconnect the vehicle's battery before beginning any work on the fuel system.
- Relieve fuel system pressure before disconnecting any fuel lines.
- Wear appropriate personal protective equipment, including safety glasses and gloves.
- Work in a well-ventilated area to avoid inhaling fuel vapors.
- Keep open flames, sparks, and other ignition sources away from the work area.
- Ensure all fuel spills are immediately cleaned up using appropriate absorbents.
- Refer to your vehicle's service manual for specific procedures and torque specifications.
3. Product Overview
The Delphi HM10007 Mechanical Pump is a high-pressure mechanical fuel pump designed to meet Original Equipment (OE) standards. It ensures reliable fuel delivery from the fuel tank to the engine's fuel system. This pump is engineered for durability and performance under various operating conditions, including extreme temperatures and with alcohol fuels and blends.

Image: Front view of the Delphi HM10007 Mechanical Pump, showing the main body, spring assembly, and electrical connector.
Key Features:
- Built to Delphi's OE standards for quality and fitment.
- Designed for operation under extreme temperatures.
- Engineered to avoid low-fuel hesitation.
- Metal tubes routed to eliminate noise and vibration.
- Empty float height and retention match OE specifications for accurate gas gauge readings.
- Restores fast pressure performance and system integrity.
- Lower amperage draw reduces load on the vehicle's electrical system.
4. Installation Guide
Installation of the Delphi HM10007 Mechanical Pump should ideally be performed by a qualified automotive technician. Always refer to your vehicle's specific service manual for detailed instructions and torque specifications.
General Installation Steps:
- Preparation: Park the vehicle on a level surface, engage the parking brake, and disconnect the negative terminal of the battery. Relieve fuel system pressure according to the vehicle manufacturer's instructions. Gather necessary tools and safety equipment.
- Remove Old Pump: Carefully disconnect fuel lines and the electrical connector from the existing mechanical fuel pump. Remove the mounting bolts and detach the old pump. Be prepared for residual fuel leakage.
- Inspect and Clean: Inspect the mounting surface on the engine for any debris or damage. Clean the area thoroughly to ensure a proper seal for the new pump. It is recommended to check and clean the fuel tank to prevent contamination of the new pump.
- Install New Pump: Apply a thin layer of clean engine oil to the new pump's gasket (if applicable) and position it correctly. Install the Delphi HM10007 Mechanical Pump onto the engine, ensuring proper alignment. Secure it with the mounting bolts, tightening them to the vehicle manufacturer's specified torque.
- Connect Fuel Lines: Reconnect the fuel inlet and outlet lines to the new pump. Ensure all connections are secure and free from leaks.
- Connect Electrical: Reconnect the electrical connector to the pump. Ensure it clicks into place securely.
- System Check: Reconnect the vehicle's battery. Turn the ignition to the 'ON' position (without starting the engine) several times to prime the fuel system. Check for any fuel leaks around the pump and connections. Start the engine and re-check for leaks and proper operation.

Image: Top view of the Delphi HM10007 Mechanical Pump, highlighting the fuel inlet and outlet ports.

Image: Close-up of the electrical connector on the Delphi HM10007 Mechanical Pump, showing the pin configuration.
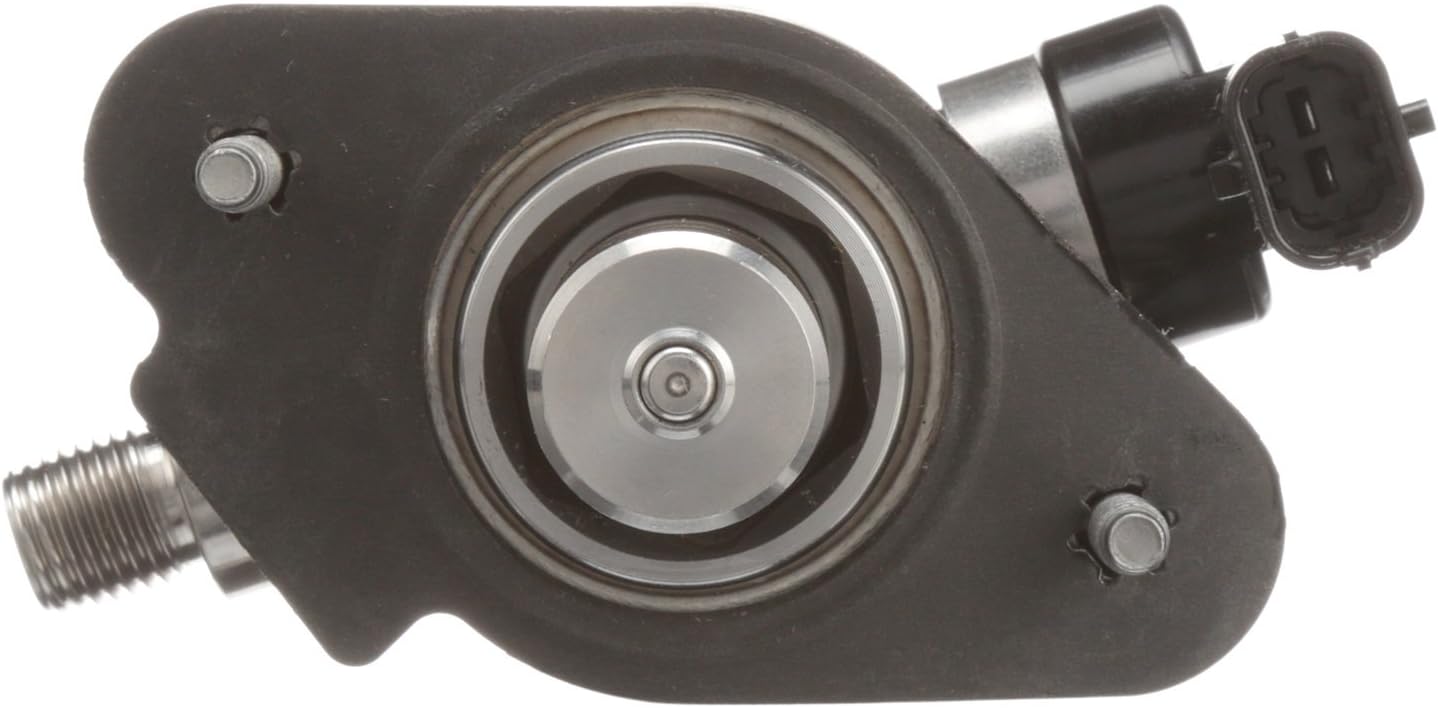
Image: Bottom view of the Delphi HM10007 Mechanical Pump, illustrating the mounting points and piston mechanism.
5. Operating Principles
The Delphi HM10007 Mechanical Pump operates in conjunction with the engine's camshaft or an eccentric lobe. As the engine runs, the mechanical action drives the pump's diaphragm or piston, creating suction to draw fuel from the tank and then pushing it under pressure to the fuel injection system or carburetor. This continuous mechanical action ensures a consistent and reliable fuel supply to the engine.
6. Maintenance
Proper maintenance of your fuel system components contributes to the longevity and performance of your Delphi HM10007 Mechanical Pump. While the pump itself is designed for durability, regular checks of related components are crucial.
- Regular Inspection: Periodically inspect the fuel pump and surrounding fuel lines for any signs of leaks, cracks, or damage. Address any issues promptly.
- Fuel Filter: Ensure your vehicle's fuel filter is replaced at recommended intervals. A clogged fuel filter can put undue strain on the fuel pump.
- Fuel Tank Cleanliness: Maintain a clean fuel tank. Contaminants in the fuel tank can lead to premature pump failure.
- Listen for Unusual Noises: Pay attention to any unusual noises coming from the fuel pump area, which could indicate a developing issue.
7. Troubleshooting
If you experience issues with your fuel system, consult the table below for common problems and potential solutions. Always perform diagnostic steps safely and consider professional assistance for complex issues.
| Problem | Possible Cause | Solution |
|---|---|---|
| Engine cranks but does not start (no fuel) | Clogged fuel filter, faulty fuel pump, electrical issue, empty fuel tank. | Check fuel level. Inspect fuel filter for blockage. Verify electrical connection to pump. Test fuel pump operation. |
| Low engine power or hesitation | Low fuel pressure, restricted fuel lines, clogged fuel filter, partially failing pump. | Check fuel pressure with a gauge. Inspect fuel lines for kinks or blockages. Replace fuel filter. Consider pump replacement if other issues are ruled out. |
| Fuel leaks around pump | Loose connections, damaged fuel lines, faulty gasket, cracked pump housing. | Tighten connections. Replace damaged fuel lines or gasket. If pump housing is cracked, replace the pump. |
| Unusual noise from pump area | Contaminated fuel, worn internal components, air in fuel system. | Check fuel quality. Bleed air from the fuel system if applicable. If noise persists, pump may require replacement. |
8. Specifications
The following specifications apply to the Delphi HM10007 Mechanical Pump:
| Feature | Detail |
|---|---|
| Brand | Delphi |
| Model | HM10007 |
| Item Weight | 2.4 Pounds |
| Product Dimensions (L x W x H) | 6.5 x 3.19 x 4.06 inches |
| Material | Aluminum or Cast Iron |
| Fit Type | Vehicle Specific Fit |
| Vehicle Service Type | Car |
| Operation Mode | Mechanical |
| Gas Type | Gasoline |
| Specification Met | OE |
| Mounting Type | Front Mount |
| Inlet Connection Type | Hose Barb |
| Outlet Connection Type | Threaded |
9. Warranty and Support
The Delphi HM10007 Mechanical Pump comes with a limited lifetime warranty, ensuring confidence in its quality and durability. For specific warranty terms and conditions, please refer to the official Delphi warranty documentation or contact Delphi customer support.
For technical assistance, troubleshooting guidance beyond this manual, or to inquire about warranty claims, please visit the official Delphi website or contact their customer service department. When contacting support, please have your product model number (HM10007) and any relevant purchase information available.


