1. Product Overview
The QUMOX 2.4GHz Wireless Gamepad is designed to provide a comfortable and responsive gaming experience for PC users. Featuring a classic gamepad layout, wireless connectivity, and simple setup, it allows for immersive gameplay without the clutter of cables.

Figure 1.1: Front view of the QUMOX 2.4GHz Wireless Gamepad with its USB receiver.
This controller is powered by two AAA batteries and connects wirelessly to your computer via a dedicated 2.4GHz USB receiver. It is compatible with various PC systems, including Windows 10, offering a plug-and-play experience for most gaming applications.
2. Package Contents
- 1 x QUMOX 2.4GHz Wireless Gamepad
- 1 x 2.4GHz USB Receiver
- (Batteries are not included and must be purchased separately)
3. Setup
3.1 Battery Installation
- Locate the battery compartment on the back of the gamepad.
- Slide the battery cover downwards to open it.
- Insert two (2) AAA batteries, ensuring correct polarity (+/-) as indicated inside the compartment.
- Replace the battery cover by sliding it upwards until it clicks into place.

Figure 3.1: Battery compartment for two AAA batteries.
3.2 Connecting to PC
- Insert the 2.4GHz USB receiver into an available USB port on your PC.
- Turn on the gamepad using the ON/OFF switch, typically located on the front edge of the controller.
- The gamepad will automatically attempt to connect to the receiver. An indicator light on the controller will illuminate or stop blinking once a successful connection is established.
- Your PC should recognize the controller as a standard game controller. For Windows 10, it often functions as a plug-and-play device, requiring no additional driver installation.
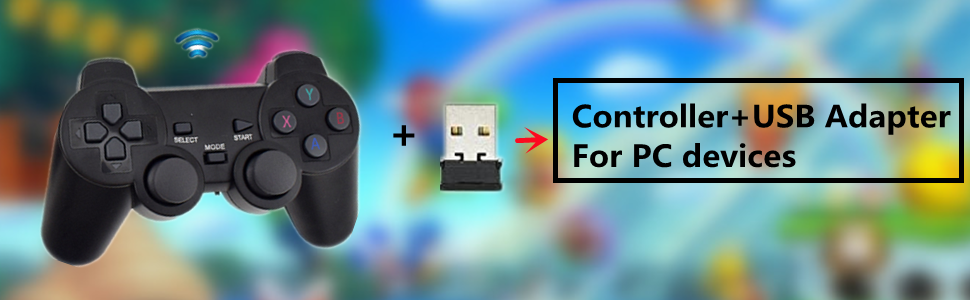
Figure 3.2: The gamepad connects to your PC via the included USB adapter.
4. Operating Instructions
4.1 Button Layout

Figure 4.1: QUMOX Wireless Gamepad button and control layout.
- D-Pad: Directional Pad for precise movement.
- Left Analog Stick: Primary movement control.
- Right Analog Stick: Camera control or secondary movement.
- Action Buttons (A, B, X, Y): Standard action inputs.
- Shoulder Buttons (L1, L2, R1, R2): Additional action inputs, often for triggers or special abilities.
- SELECT Button: Typically used for menu navigation or secondary functions.
- START Button: Used to pause games or access in-game menus.
- MODE Button: May switch between different input modes (e.g., digital/analog).
4.2 Basic Operation
Once connected, the gamepad should be recognized by most PC games that support controller input. You may need to configure controller settings within individual game menus to optimize your experience. The analog sticks provide 360-degree movement, while the D-pad offers precise directional input. The vibration feedback feature enhances immersion in supported games.
5. Maintenance
- Keep the gamepad clean by wiping it with a soft, dry cloth. Avoid using harsh chemicals or abrasive cleaners.
- Store the gamepad in a cool, dry place away from direct sunlight and extreme temperatures.
- Remove batteries if the gamepad will not be used for an extended period to prevent battery leakage.
- Handle the USB receiver with care to prevent damage.
6. Troubleshooting
| Problem | Possible Solution |
|---|---|
| Controller does not turn on. |
|
| Controller does not connect to PC. |
|
| Buttons or analog sticks are unresponsive. |
|
| Controller is not recognized by Windows 10 (despite product title). | While the product title may contain a note about Windows 10, user feedback and specifications indicate compatibility. If you encounter issues:
|
7. Specifications
| Feature | Detail |
|---|---|
| Brand | QUMOX |
| Model Number | L166U |
| Connectivity Technology | 2.4GHz Wireless |
| Controller Type | Gamepad |
| Compatible Devices | PC (Desktop) |
| Operating System Compatibility | Windows (including Windows 10) |
| Power Source | 2 x AAA Batteries (not included) |
| Color | Black |
| Item Weight | 5.3 ounces |
| Package Dimensions | 9.84 x 4.57 x 2.48 inches |
8. Warranty and Support
For warranty information and technical support, please refer to the documentation provided with your purchase or contact QUMOX customer service directly. Keep your purchase receipt as proof of purchase for any warranty claims.
For further assistance, you may visit the official QUMOX website or contact their support channels.