
1. Introduction
This manual provides essential information for the safe and efficient operation of your LG 32 L Convection Microwave Oven, model MC3286BRUM. Please read these instructions thoroughly before using the appliance and retain them for future reference.
2. Safety Information
Always follow basic safety precautions when using electrical appliances to reduce the risk of fire, electric shock, or injury. This appliance is for household use only.
- Do not attempt to operate this oven with the door open as this can result in harmful exposure to microwave energy.
- Do not place any object between the oven front face and the door or allow soil or cleaner residue to accumulate on sealing surfaces.
- Do not operate the oven if it is damaged. It is particularly important that the oven door closes properly and that there is no damage to the: (1) door (bent), (2) hinges and latches (broken or loosened), (3) door seals and sealing surfaces.
- The oven should not be adjusted or repaired by anyone except properly qualified service personnel.
- Ensure proper ventilation around the appliance.
- Do not heat liquids or other foods in sealed containers since they are liable to explode.
- Always use oven mitts when handling hot dishes from the oven.
- Keep children away from the appliance during operation.
3. What's in the Box
Carefully unpack all items and ensure everything is present and undamaged.
- 1U Microwave Oven
- 1U Glass Tray
- 1U Rotating Ring
- 1U User Manual (this document)
- 1U Recipe Manual
- 1 Cook book
- Rotisserie bar and handle
4. Installation and Setup
This microwave oven is designed for countertop installation. Ensure adequate space for ventilation.
- Place the oven on a flat, stable surface capable of supporting its weight (approximately 22.6 kg).
- Ensure there is sufficient clearance around the oven for proper ventilation. Refer to the safety manual for specific clearance requirements.
- Plug the oven into a grounded electrical outlet (230V, 50 Hz).
- Install the rotating ring and glass tray inside the oven cavity.

Image: Product dimensions (Width: 53 cm, Height: 32.2 cm, Depth: 53.3 cm).

Image: Rear view of the microwave oven, highlighting ventilation grilles.
5. Control Panel Overview
The oven features a tact dial control for setting time, weight, and temperature, along with dedicated buttons for various functions.

Image: Close-up of the control panel with various function buttons and a central dial.
- Dial: Used to set cooking time, weight, and temperature.
- STOP/CLEAR: Stops oven operation and clears all entries.
- START/+30 seconds: Quickly sets cooking time or adds 30 seconds during operation.
- More/Less: Adjusts cooking time or temperature for specific functions.
- Auto Cook Mode: Accesses a wide range of pre-programmed recipes.
6. Operating Instructions
Your LG Convection Microwave Oven offers multiple cooking modes to suit various culinary needs.
6.1. Microwave Mode
Ideal for reheating, defrosting, and general cooking.
- Place food in a microwave-safe container on the glass tray.
- Close the oven door.
- Press the 'Micro' button.
- Use the dial to set the desired cooking time.
- Press 'START/+30 seconds' to begin cooking.
6.2. Grill/Combination Mode
For grilling and combining microwave with grill functions.
- Place food on the high rack (if grilling) or suitable dish.
- Press the 'Grill/Combination' button.
- Select desired grill or combination level (e.g., G-1, G-2, C-1, C-2).
- Set cooking time using the dial.
- Press 'START/+30 seconds'.
6.3. Convection Mode
Perfect for baking and roasting, similar to a traditional oven.
- Preheat the oven to the desired temperature using the 'Convection' button and dial.
- Once preheated, place food inside.
- Set the cooking time and press 'START/+30 seconds'.
7. Special Features
Your LG microwave oven is equipped with advanced features for enhanced cooking convenience and versatility.
7.1. Motorised Rotisserie
Enjoy perfectly roasted dishes with the 360° Motorised Rotisserie, ensuring uniform cooking and browning without manual turning.

Image: A chicken roasting on the motorised rotisserie inside the microwave oven.
- Insert the rotisserie bar through the food (e.g., whole chicken).
- Place the rotisserie assembly inside the oven.
- Select the appropriate rotisserie function from the Auto Cook menu.
- Set cooking time and press 'START'.
7.2. Diet Fry™
Prepare healthier fried dishes with significantly less oil. This feature allows you to enjoy crispy food with reduced fat content.

Image: Various fried foods prepared with the Diet Fry feature, indicating reduced oil usage.
- Place food on the Diet Fry tray or a suitable baking tray.
- Select 'Diet Fry/Low Calorie' from the control panel.
- Choose the desired menu option (e.g., Chicken Nuggets, Aloo Chips, Samosa).
- Set quantity/weight if prompted and press 'START'.
7.3. Ghee in 12 Minutes*
Prepare hygienic ghee with no smell in approximately 12 minutes. This feature simplifies the traditional ghee-making process.

Image: Visual representation of the Ghee in 12 minutes feature, showing time efficiency and convenience.
- Place malai (cream) in a microwave-safe bowl.
- Select the 'Ghee' option from the Auto Cook menu.
- Enter the weight of the malai.
- Press 'START'. The oven will automatically process the ghee.
7.4. Indian Roti Basket*
Easily prepare a variety of Indian breads like Naans, Lachha Paranthas, Stuffed Naan, and Kulche at home.

Image: Assortment of Indian breads, such as Naan and Paratha, prepared using the Indian Roti Basket feature.
- Prepare the dough for your desired Indian bread.
- Place the prepared dough on the appropriate accessory (refer to recipe manual).
- Select 'Indian Roti Basket Mode' from the Auto Cook menu.
- Choose the specific roti type and press 'START'.
7.5. Pasteurize Milk
Pasteurize milk to retain nutrition and remove bacteria, offering a convenient and hygienic alternative to traditional boiling.

Image: A child drinking milk, illustrating the benefit of pasteurized milk from the oven.
- Pour milk into a microwave-safe container.
- Select 'Pasteurize Milk/Tea/Dairy Delight' from the control panel.
- Choose the 'Pasteurize Milk' option.
- Press 'START'.
7.6. 301 Auto Cook Menu
Access a vast library of 301 pre-programmed recipes, including Indian Cuisine, Tandoor Se, Soup, Continental, Salad, Sweet Corner, Rice Delight, and more. Simply select a dish and let the oven do the rest.

Image: A collage of various dishes, representing the extensive 301 Auto Cook Menu.
7.7. Stainless Steel Cavity
The stainless steel cavity ensures a more hygienic cooking environment and enhanced durability for your oven.

Image: Interior view of the microwave oven, showcasing the stainless steel cavity.
7.8. Steam Clean
Utilize the Steam Clean function for easy and effective cleaning of the oven interior, helping to loosen food residues.
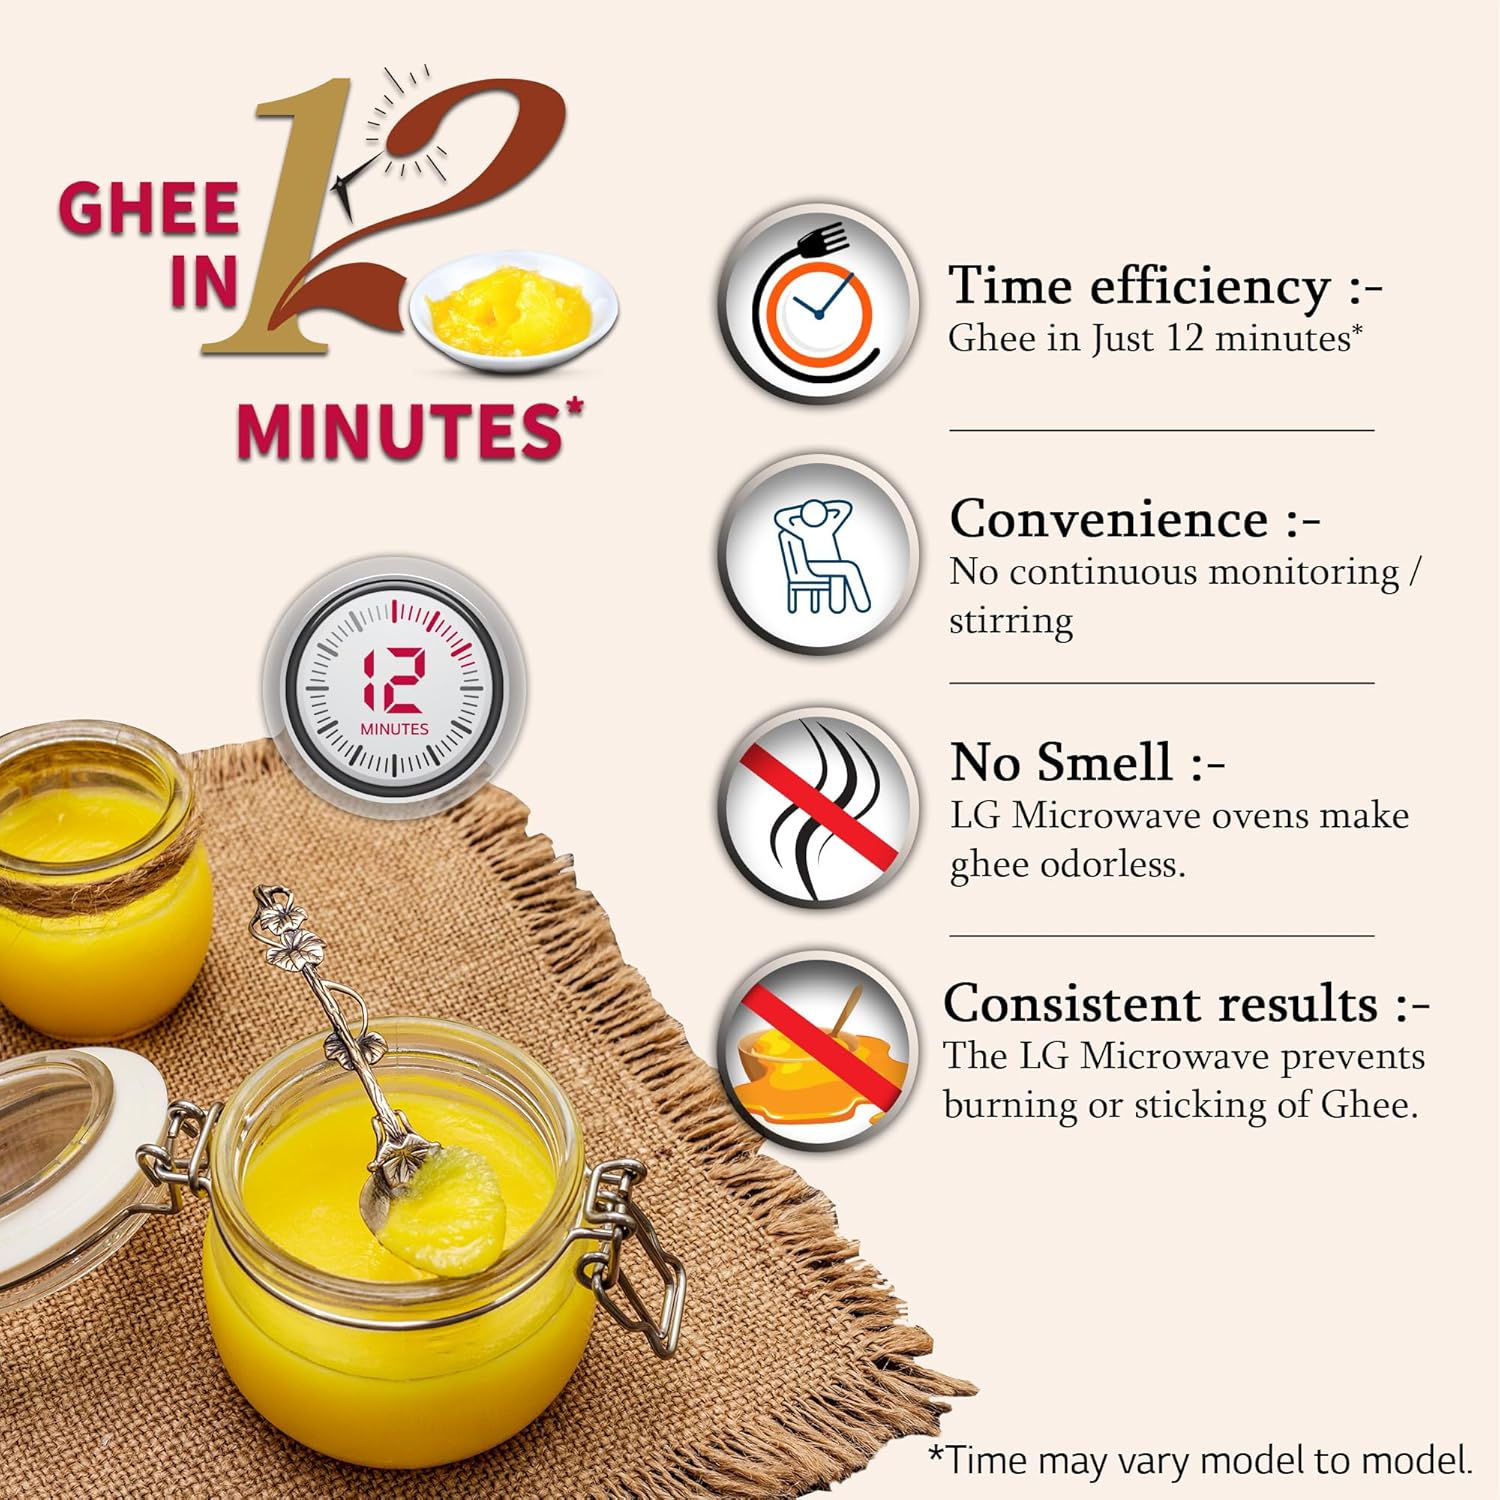
Image: Steam being generated inside the microwave oven during the Steam Clean cycle.
- Place a bowl of water inside the oven.
- Select 'Cooking Aid/Steam Clean' from the control panel.
- Choose the 'Steam Clean' option and press 'START'.
- After the cycle, wipe the interior with a soft cloth.
8. Maintenance and Cleaning
Regular cleaning and maintenance will ensure the longevity and optimal performance of your microwave oven.
- Always unplug the oven before cleaning.
- Clean the oven interior regularly with a mild detergent and a soft cloth. Avoid abrasive cleaners.
- The glass tray and rotating ring can be removed and washed with warm, soapy water.
- Wipe the exterior surfaces with a damp cloth.
- Ensure the door seals are clean and free from food debris to maintain proper sealing.
9. Troubleshooting
If you encounter any issues, refer to the following common troubleshooting steps before contacting service personnel.
| Problem | Possible Cause | Solution |
|---|---|---|
| Oven does not start | Power cord not plugged in; Door not closed properly; Fuse blown or circuit breaker tripped. | Ensure plug is secure; Close door firmly; Check household fuse/circuit breaker. |
| Food not cooking evenly | Food not stirred/turned; Incorrect power level/time; Food placed incorrectly. | Stir/turn food during cooking; Adjust power level/time; Ensure food is centered on turntable. |
| Light not working | Bulb needs replacement. | Contact qualified service personnel for bulb replacement. |
| Excessive steam inside oven | High moisture content in food. | This is normal for foods with high moisture. Wipe interior after use. |
10. Specifications
| Feature | Detail |
|---|---|
| Brand | LG |
| Model | MC3286BRUM |
| Capacity | 32 Litres |
| Oven Cooking Mode | Convection, Electric |
| Power Output (Microwave) | 900 Watts |
| Grill Power Consumption | 1250 Watts |
| Convection Power Consumption | 2400 Watts |
| Voltage / Frequency | 230V / 50 Hz |
| Inner Material Type | Stainless Steel |
| Control Type | Tact Dial |
| Item Dimensions (LxWxH) | 53 x 31.5 x 52 Centimeters |
| Item Weight | 22 kg 600 g |
| Special Features | Auto Cook, Child Lock, Defrost, Interior Light, Programmable, Rotisserie, Rust Resistant, Timer, Turntable |
11. Warranty and Support
Your LG 32 L Convection Microwave Oven comes with a manufacturer's warranty.
- Manufacturer Warranty: 1 year on product from the date of purchase (Terms & Conditions Apply).
- For service, support, or warranty claims, please refer to the contact information provided in your warranty card or visit the official LG India website.
12. Official Product Videos
No official product videos from the seller were found in the provided data. Please refer to the product page for any available videos.