
Introduction
This manual provides detailed instructions for the assembly, operation, and maintenance of your TOOLPORT Sunset Classic Garden Gazebo (3x4m, Gray). Please read these instructions carefully before beginning assembly to ensure safe and correct installation and use of the product. Keep this manual for future reference.
Safety Instructions
Important Safety Information:
- Always ensure the gazebo is securely anchored to the ground using the provided ground anchors.
- In case of strong winds or heavy rain, it is strongly advised to disassemble the gazebo to prevent damage to the structure and potential injury. This product is not designed for extreme weather conditions.
- Do not use open flames or heating devices inside or near the gazebo.
- Regularly inspect all components for wear and tear. Replace damaged parts immediately.
- Keep children and pets away from the assembly area during installation.
Package Contents
Before assembly, verify that all components listed below are present in your package:
- Steel frame with click system
- Approx. 180 g/m² polyester roof tarpaulin
- 4 side walls including rings for hanging
- 8 concrete anchors for secure ground fastening
- Assembly tools
- Easy-to-understand assembly manual (this document)
Setup and Assembly
The TOOLPORT Sunset Classic Garden Gazebo is designed for quick and easy assembly, typically requiring two people and approximately 30 minutes. No additional tools are needed beyond those provided.

Image: The fully assembled TOOLPORT Sunset Classic Garden Gazebo, ready for use.
- Unpack Components: Carefully remove all parts from the packaging and lay them out. Check against the package contents list to ensure everything is present.
- Assemble the Steel Frame: Connect the steel frame components using the integrated click system. Ensure all connections are secure and click into place. The robust 6x6 cm profile provides stability.
- Attach the Roof Tarpaulin: Carefully place the 180 g/m² polyester roof tarpaulin over the assembled frame. Ensure it is centered and evenly distributed. The tarpaulin features an additional PU layer and taped seams for optimal rain and sun protection (UV protection up to 50+).
- Install Side Walls: Hang the four side walls using the provided rings. The side walls offer additional protection and privacy.
- Secure to the Ground: Use the 8 concrete anchors to firmly secure the gazebo to the ground. This is crucial for stability and safety.

Image: Detail of the sturdy steel frame structure, highlighting a corner connection.
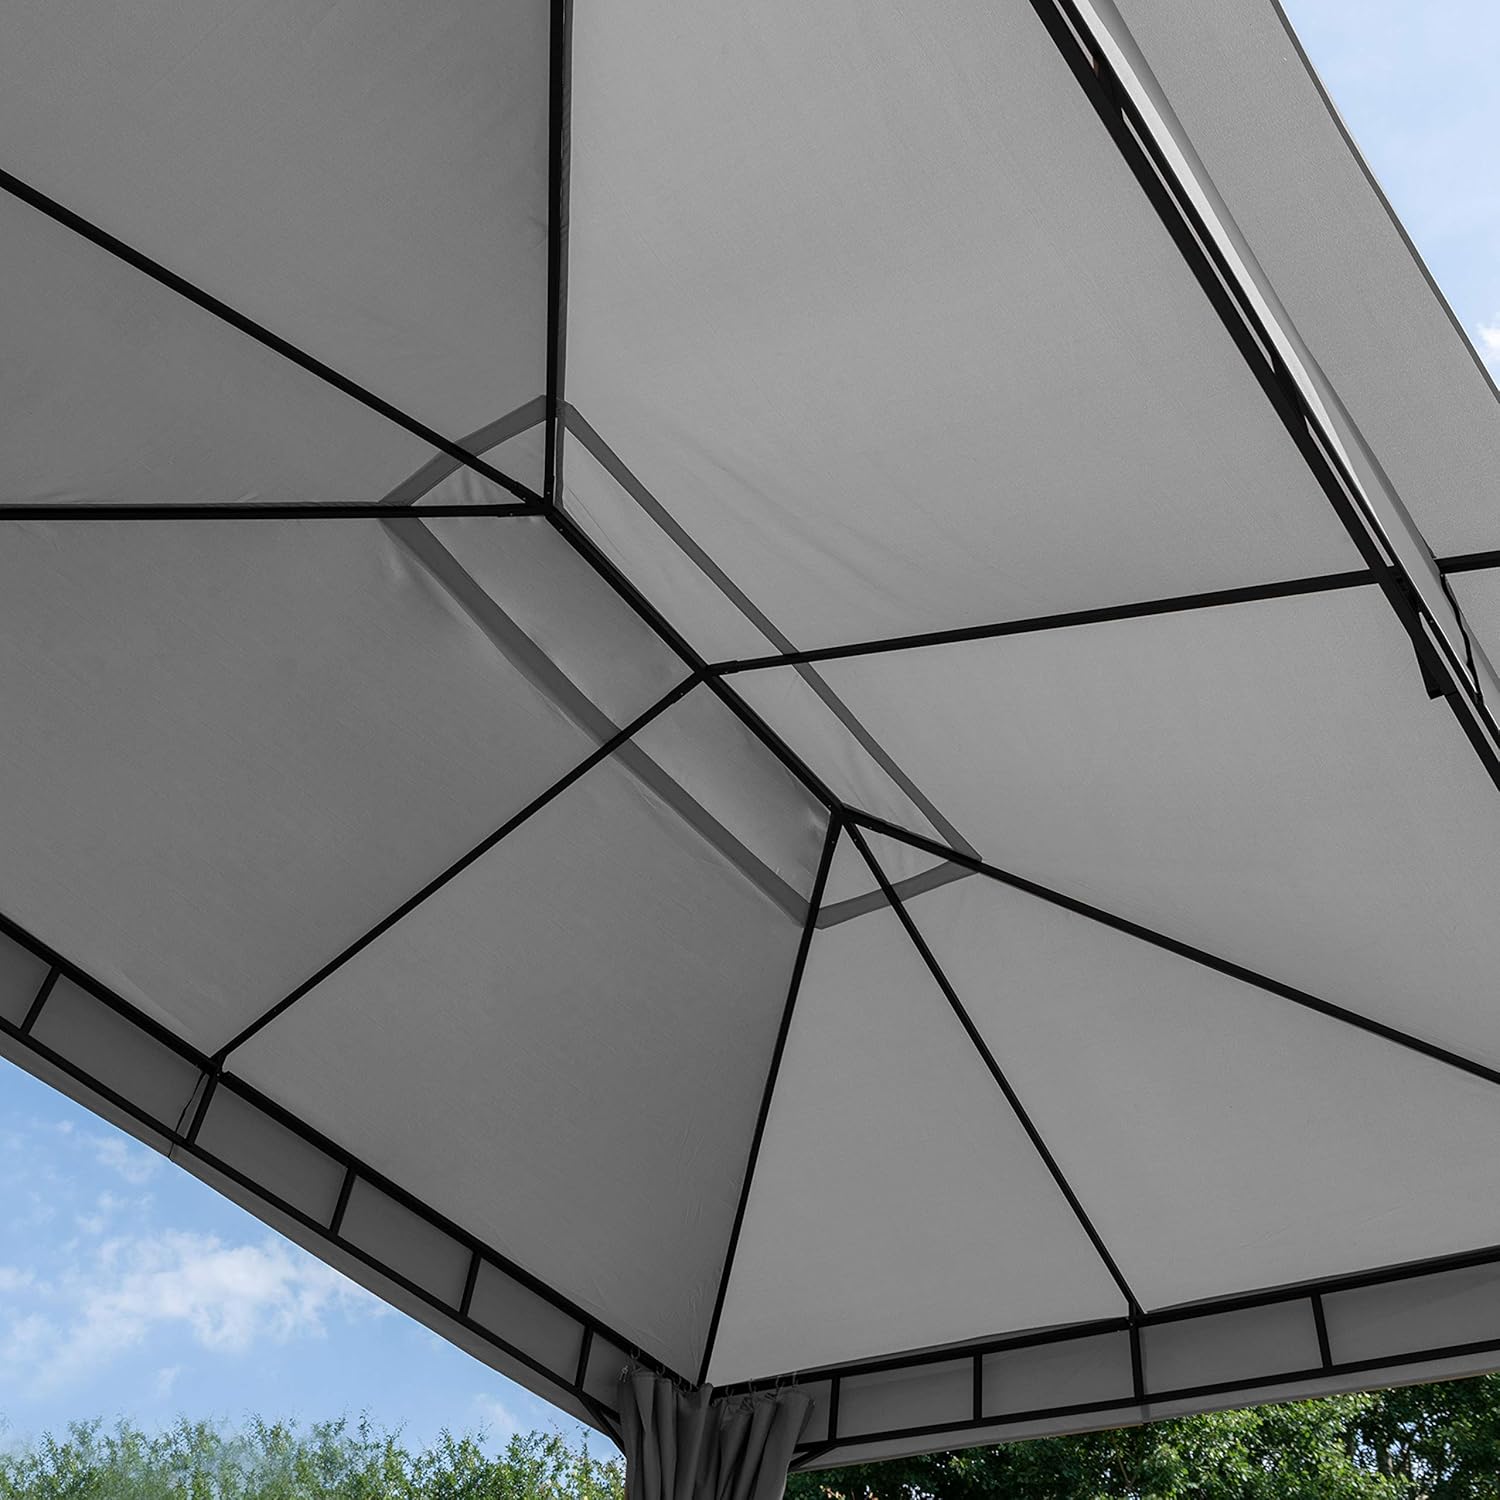
Image: Underside view of the gazebo roof, illustrating the frame and how the tarpaulin is secured.

Image: Demonstrating the attachment of a side wall to the gazebo frame using the provided hooks.

Image: Close-up of a gazebo leg base, showing how it is securely anchored to the ground.
Operation
Your TOOLPORT Sunset Classic Garden Gazebo provides a sheltered outdoor space for various activities. Here are some operational guidelines:
- Weather Protection: The roof tarpaulin offers protection from sun (UV 50+) and light rain. For heavy rain or strong winds, refer to the safety instructions regarding disassembly.
- Side Walls: The four included side walls can be opened or closed as needed for privacy, wind protection, or additional shade. They can be zipped closed for full enclosure.
- Seasonal Use: While designed for outdoor use, it is recommended to disassemble and store the roof tarpaulin and side walls during winter months or periods of prolonged harsh weather to extend their lifespan.

Image: The gazebo with all side walls closed, offering full enclosure and privacy.

Image: A person zipping a side wall, illustrating the ease of closing the gazebo.
Maintenance
Proper maintenance will ensure the longevity and optimal performance of your gazebo:
- Cleaning the Tarpaulin: Clean the polyester roof and side walls with a mild soap solution and water. Do not use harsh chemicals or abrasive cleaners. Allow to air dry completely before storage.
- Frame Care: The powder-coated steel frame is protected against rust. However, regularly wipe down the frame with a damp cloth to remove dirt and debris. Inspect for any scratches or damage to the coating and touch up if necessary to prevent rust.
- Storage: When not in use for extended periods, especially during winter, disassemble the roof and side walls and store them in a dry, protected area. The steel frame can remain outdoors if securely anchored, but seasonal storage is recommended for maximum lifespan.
- Inspection: Periodically check all connections, anchors, and fabric for any signs of wear, damage, or loosening. Tighten any loose bolts and replace damaged parts promptly.
Troubleshooting
| Problem | Possible Cause | Solution |
|---|---|---|
| Gazebo feels unstable. | Anchors not properly secured; loose frame connections. | Ensure all 8 concrete anchors are firmly in place. Check and tighten all frame connections. Disassemble in strong winds. |
| Water pooling on the roof. | Roof tarpaulin not taut enough or improperly installed. | Re-adjust the roof tarpaulin to ensure it is stretched tightly and evenly across the frame. Ensure proper drainage. |
| Side walls do not close properly. | Zippers are stuck or fabric is misaligned. | Check for any obstructions in the zipper path. Gently realign the fabric. Apply a zipper lubricant if necessary. |
| Rust spots on the frame. | Damage to the powder coating exposing the steel. | Clean the rust spot, sand lightly, and apply a rust-inhibiting paint or touch-up paint to protect the exposed metal. |
Specifications

Image: Dimensional diagram of the gazebo, indicating key measurements.
| Brand | TOOLPORT |
| Model Number | Sunset |
| Product Dimensions | 300 x 400 x 270 cm (Length x Width x Height) |
| Item Weight | 52 kg |
| Material (Frame) | Alloy Steel (Powder-coated) |
| Material (Roof/Walls) | Approx. 180 g/m² Polyester with PU layer |
| Color | Gray |
| Water Resistance Level | Waterproof |
| UV Protection | True (up to 50+) |
Warranty and Support
For warranty information, technical support, or to order replacement parts, please contact TOOLPORT customer service. You can find more information and contact details on the official TOOLPORT store page:


