
BN-LINK BND-60/U44
Contents
BN-LINK Indoor Mechanical 2-Prong 24-Hour Timer User Manual
Model: BND-60/U44
Introduction
Thank you for choosing the BN-LINK Indoor Mechanical 2-Prong 24-Hour Timer. This device is designed to automate the operation of your indoor electrical appliances, such as lamps, fans, and small electronics, providing convenience and energy savings. Please read this manual thoroughly before use to ensure proper operation and safety.
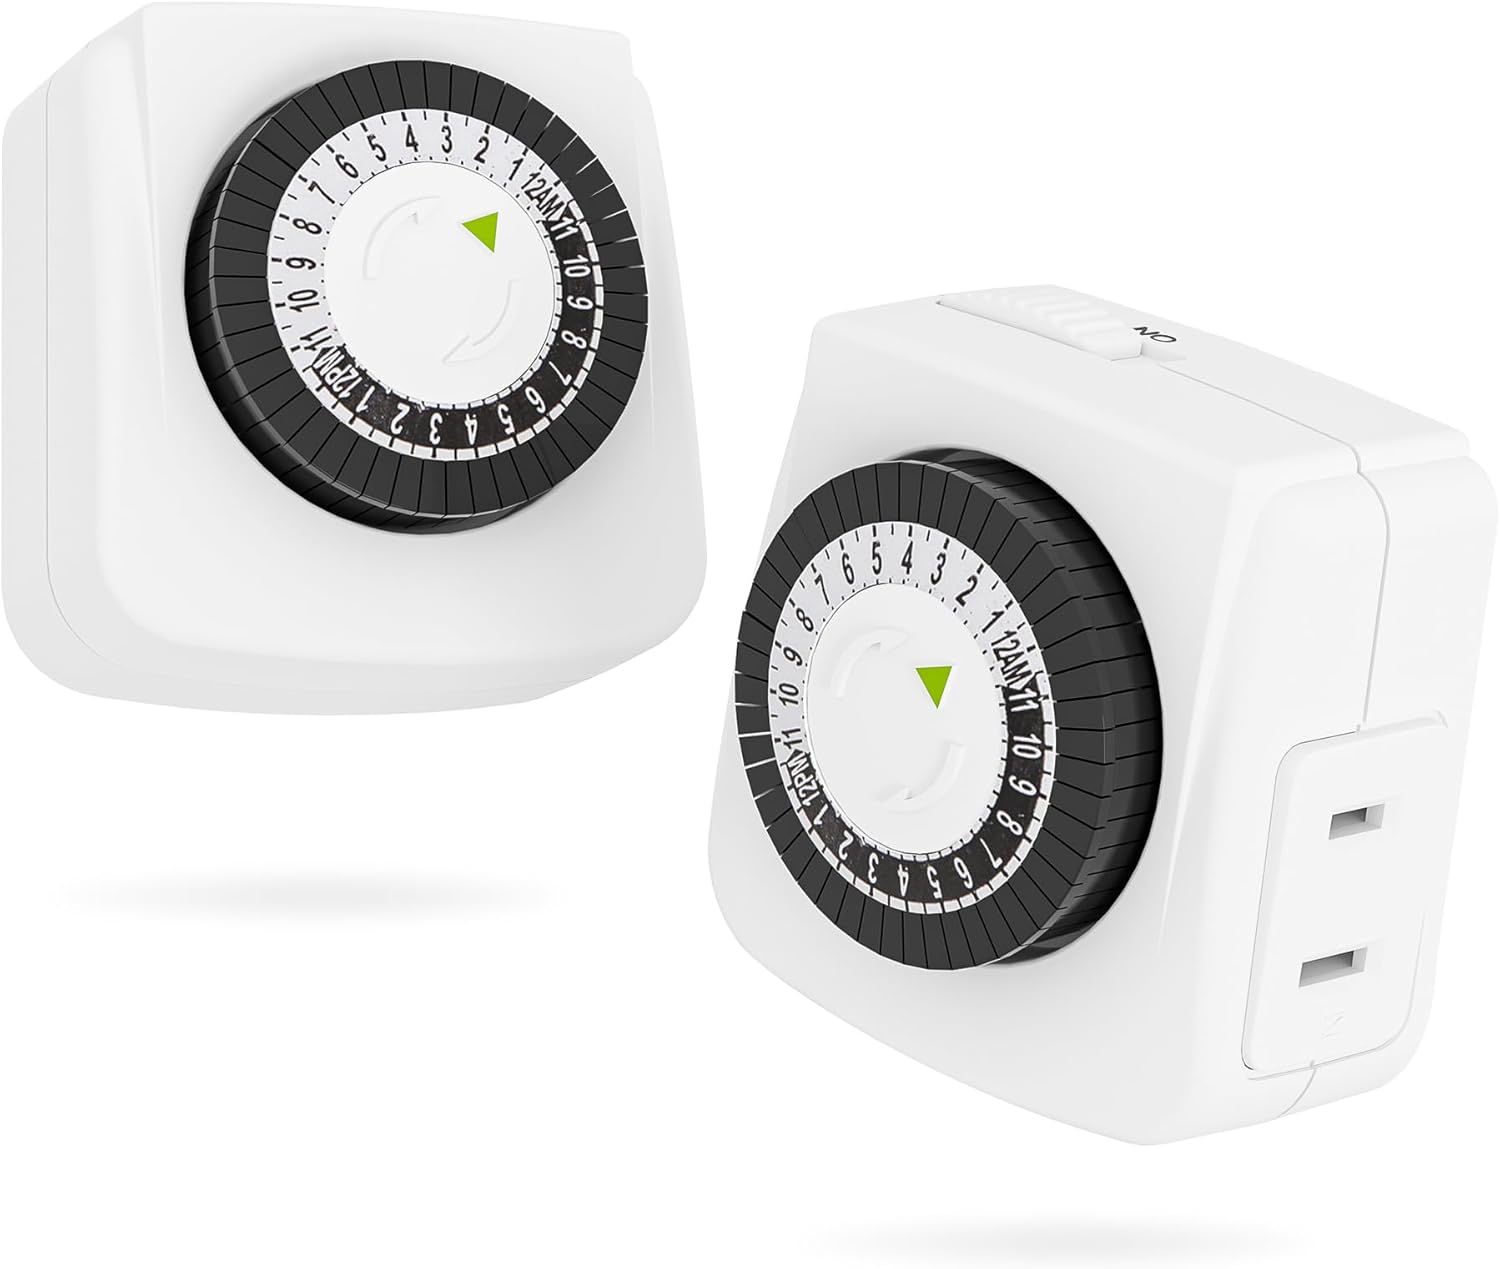
Image: Two BN-LINK mechanical timers, showcasing their compact design and 2-prong plug.
Safety Information
- For indoor use only. Do not expose to water or damp conditions.
- Do not exceed the maximum load ratings: 125V, 60Hz, 15A, 1875W Resistive; 8A, 1000W Tungsten; 5A Ballast.
- Always ensure the timer is securely plugged into a grounded outlet.
- Do not use with appliances that require continuous supervision, such as heaters or irons.
- Keep out of reach of children.
- Do not disassemble or attempt to repair the timer. Contact customer support if the unit is damaged.
Product Overview
The BN-LINK mechanical timer features a simple design for easy operation.

Image: A detailed diagram of the timer highlighting its key components: the slide switch, the timer dial, and the polarized outlet.
- Timer Dial: The rotating dial with numbers representing hours (1-12 AM/PM) and segments for 30-minute intervals.
- Push Pins: Black segments around the dial that are pushed down to activate the timer during specific intervals.
- Slide Switch: Located on the side, this switch allows you to select between 'ON' (always on) and 'TIMER' (programmed schedule).
- Polarized Outlet: The 2-prong outlet where you plug in your appliance.
Setup
Follow these steps for initial setup of your BN-LINK timer:
- Set Current Time: Rotate the entire timer dial clockwise until the green arrow on the dial aligns with the current time of day. Ensure you distinguish between AM and PM hours.
- Program ON/OFF Times: The black segments around the dial represent 30-minute intervals. To set a period for the appliance to be ON, push the corresponding pins DOWN. To set a period for the appliance to be OFF, leave the pins UP. Note: Pins come pressed DOWN from the factory. Pull them UP to set OFF times.
- Select Operating Mode: Use the slide switch on the side to choose your desired mode:
- ON: The connected appliance will remain continuously on, bypassing the timer settings.
- TIMER: The connected appliance will operate according to your programmed ON/OFF schedule.
- Plug into Wall Outlet: Insert the timer into a standard 2-prong wall outlet.
- Connect Appliance: Plug your appliance into the timer's polarized outlet.

Image: Visual guide for setting the timer, illustrating the function of the pins (up for OFF, down for ON), setting the current time, and using the override switch.

Image: An example of setting a schedule, showing pins up for power off and pins down for power on, with a visual representation of start and end times on the dial.
Operating Instructions
Once set up, the timer will automatically cycle your connected appliance daily according to your programmed schedule. The timer dial will continuously rotate, indicating the current time and activating/deactivating the appliance as the pins pass the green arrow marker.

Image: A collage showcasing the versatile applications of the timer, including use with humidifiers, fans, fish tanks, lamps, and kitchen appliances.
Video Guide: BN-LINK Indoor Timers Plug
Video: An official BN-LINK video demonstrating the features and use of the indoor mechanical timer.
Video Guide: Century Mini Indoor 24-Hour Mechanical Outlet Timer
Video: An official merchant video providing a detailed overview of the Century Mini Indoor 24-Hour Mechanical Outlet Timer, which is functionally similar to the BN-LINK model.
Maintenance
The BN-LINK timer requires minimal maintenance. Follow these guidelines:
- Cleaning: Disconnect the timer from the power outlet before cleaning. Wipe the exterior with a soft, dry cloth. Do not use liquid cleaners or abrasive materials.
- Storage: When not in use, store the timer in a cool, dry place away from direct sunlight and extreme temperatures.
- Inspection: Periodically inspect the timer and its cord for any signs of damage. If damage is found, discontinue use and replace the unit.
Troubleshooting
| Problem | Possible Cause | Solution |
|---|---|---|
| Appliance does not turn ON/OFF at programmed times. |
|
|
| Timer dial is not rotating. |
|
|
| Appliance is always ON or always OFF. |
|
|
Specifications
- Model: BND-60/U44
- Voltage: 125 VAC
- Frequency: 60 Hz
- Max Load: 15A Resistive, 1875W; 8A Tungsten, 1000W; 5A Ballast
- Minimum Setting Interval: 30 minutes
- Daily Programs: Up to 24 ON/OFF settings per day
- Dimensions (approx.): 2.83"D x 2.87"W x 3.74"H
- Weight (approx.): 6.4 ounces (181 grams)
- Material: Polypropylene
- Mounting Type: Plug-In Mount
- Certifications: ETL Listed

Image: A visual representation of the timer's dimensions and electrical specifications, including voltage, amperage, and wattage ratings.
Warranty and Support
BN-LINK products are designed and manufactured to the highest quality standards. For warranty information or technical support, please refer to the official BN-LINK website or contact their customer service directly.
You can also refer to the official user manual PDF for additional details: BN-LINK User Manual (PDF)
Ask a question about this manual
Ask about setup, troubleshooting, compatibility, parts, safety, or missing instructions. Manuals+ will review the question and use this page’s manual context to help answer it.