
1. Introduction
This manual provides essential instructions for the safe and effective assembly, operation, and maintenance of your TOOLPORT 6x12m PVC 850 N Storage Tent. This robust tent is designed for year-round use, offering significant storage capacity and protection. Please read all instructions carefully before proceeding with assembly or use.
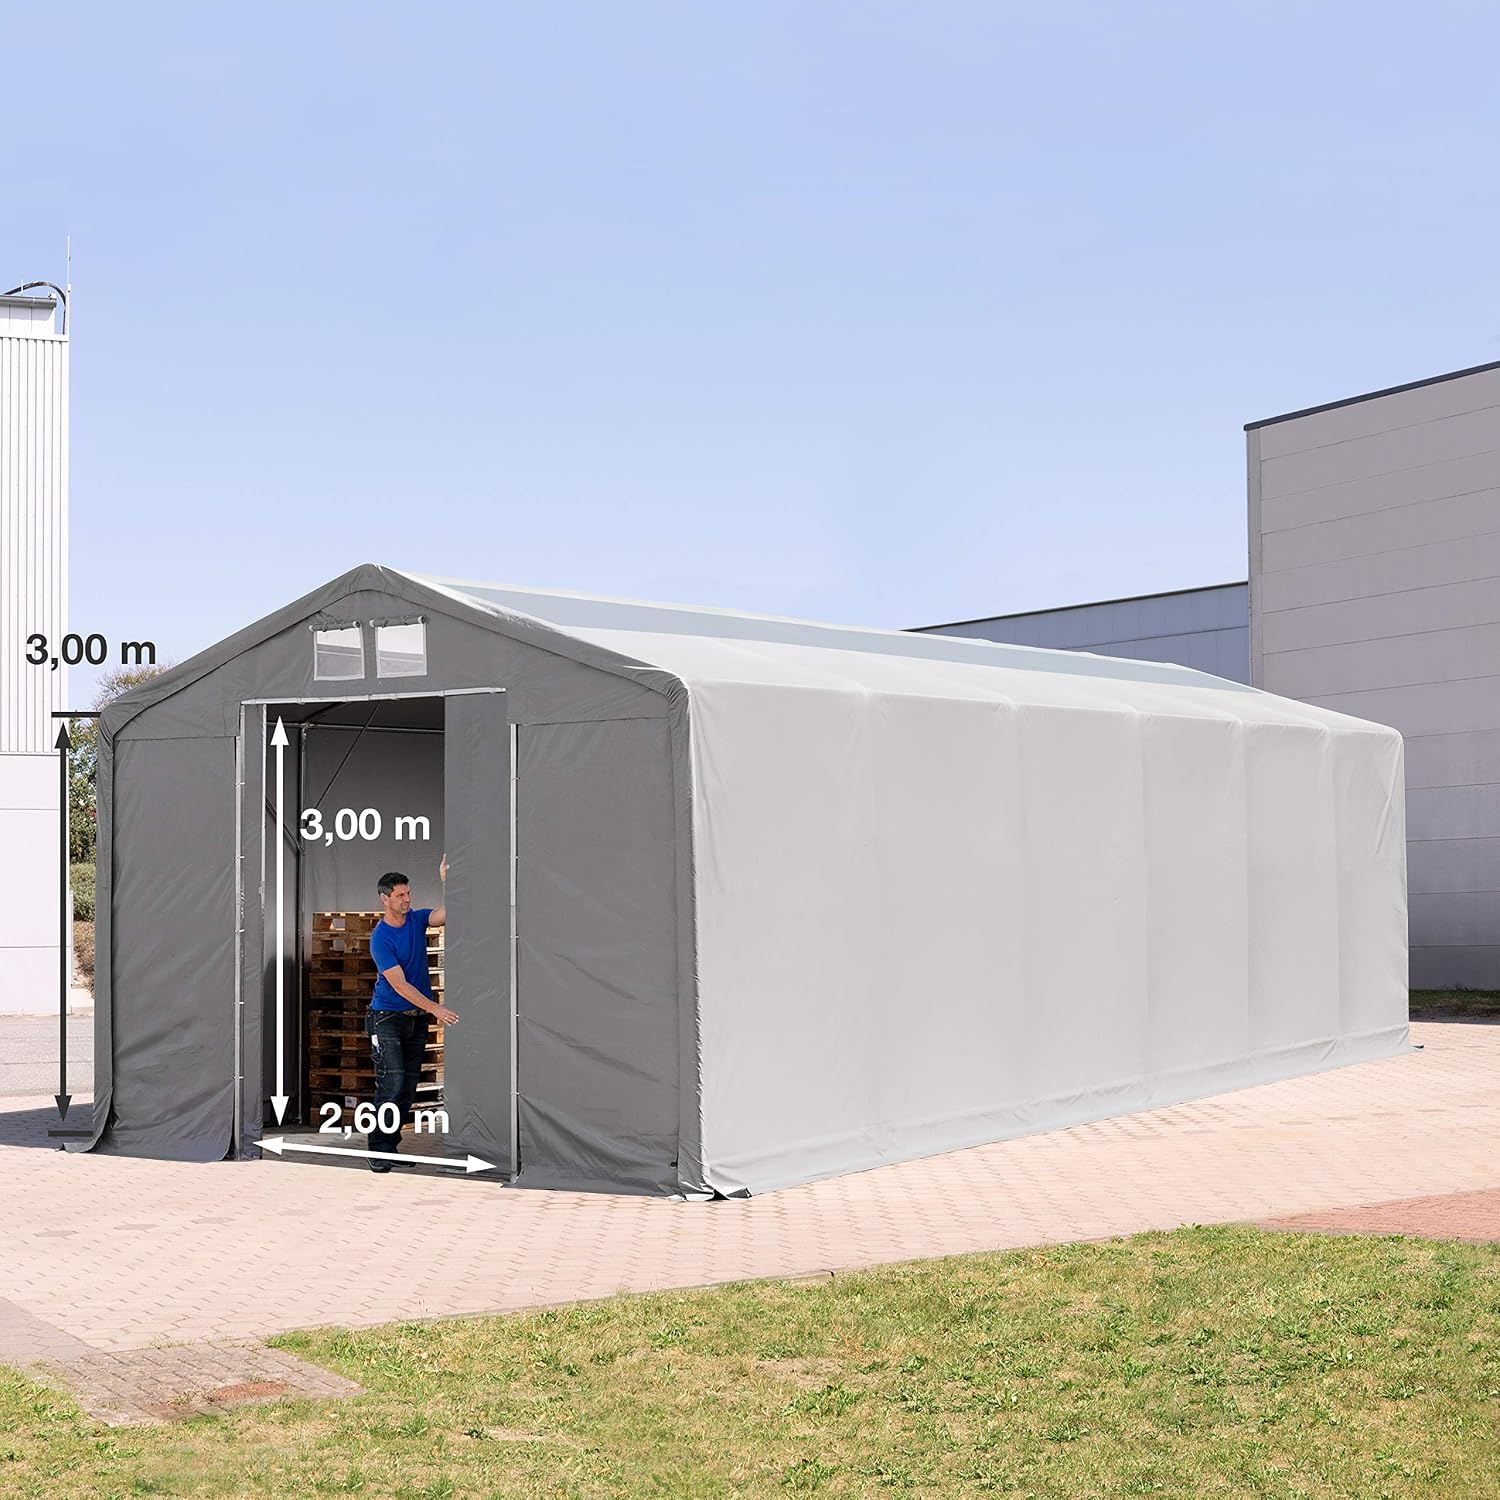
Image 1.1: Exterior view of the TOOLPORT 6x12m PVC 850 N Storage Tent, showing its overall structure and dimensions.
2. Safety Instructions
WARNING: Failure to follow these safety instructions may result in injury or damage to the product.
- Ensure the tent is correctly anchored and secured before use. Proper anchoring is critical for stability.
- Avoid using the tent in strong winds, heavy snow, or other severe weather conditions. Disassemble or reinforce the tent if extreme weather is anticipated.
- Regular inspections and maintenance are necessary to ensure the safety and longevity of the tent. Check all connections and anchoring points periodically.
- Keep all heat sources and open flames away from the tent fabric. The PVC material is not fireproof.
- Ensure adequate ventilation if using equipment that produces fumes or heat inside the tent.
3. Components Overview
The TOOLPORT Storage Tent is constructed with robust materials designed for durability.
3.1. Tarpaulin
- Made from tear-resistant PVC with an internal grid fabric.
- 100% waterproof due to heat-sealed seams.
- The roof and side tarpaulins are made from a single piece, which is crucial for structural stability.
- Features transparent PVC skylights with a robust internal fabric mesh for natural light.
- A tensioning system ensures continuous tautness of the tarpaulin, reducing wind susceptibility.
3.2. Frame
- All frame elements are securely connected using a bolting system.
- All support legs feature double bolting for enhanced structural stability.
- Extra-strong, fully galvanized steel tubes:
- Vertical diameter: approx. 50 mm; Wall thickness: approx. 1.6 mm
- Horizontal diameter: approx. 38 mm; Wall thickness: approx. 1.2 mm
- Extra-strong steel tube connectors:
- Vertical diameter: approx. 54 mm; Wall thickness: approx. 1.7 mm
- Horizontal diameter: approx. 42 mm; Wall thickness: approx. 1.4 mm

Image 3.1: View of the tent's robust roof structure and integrated PVC skylights.
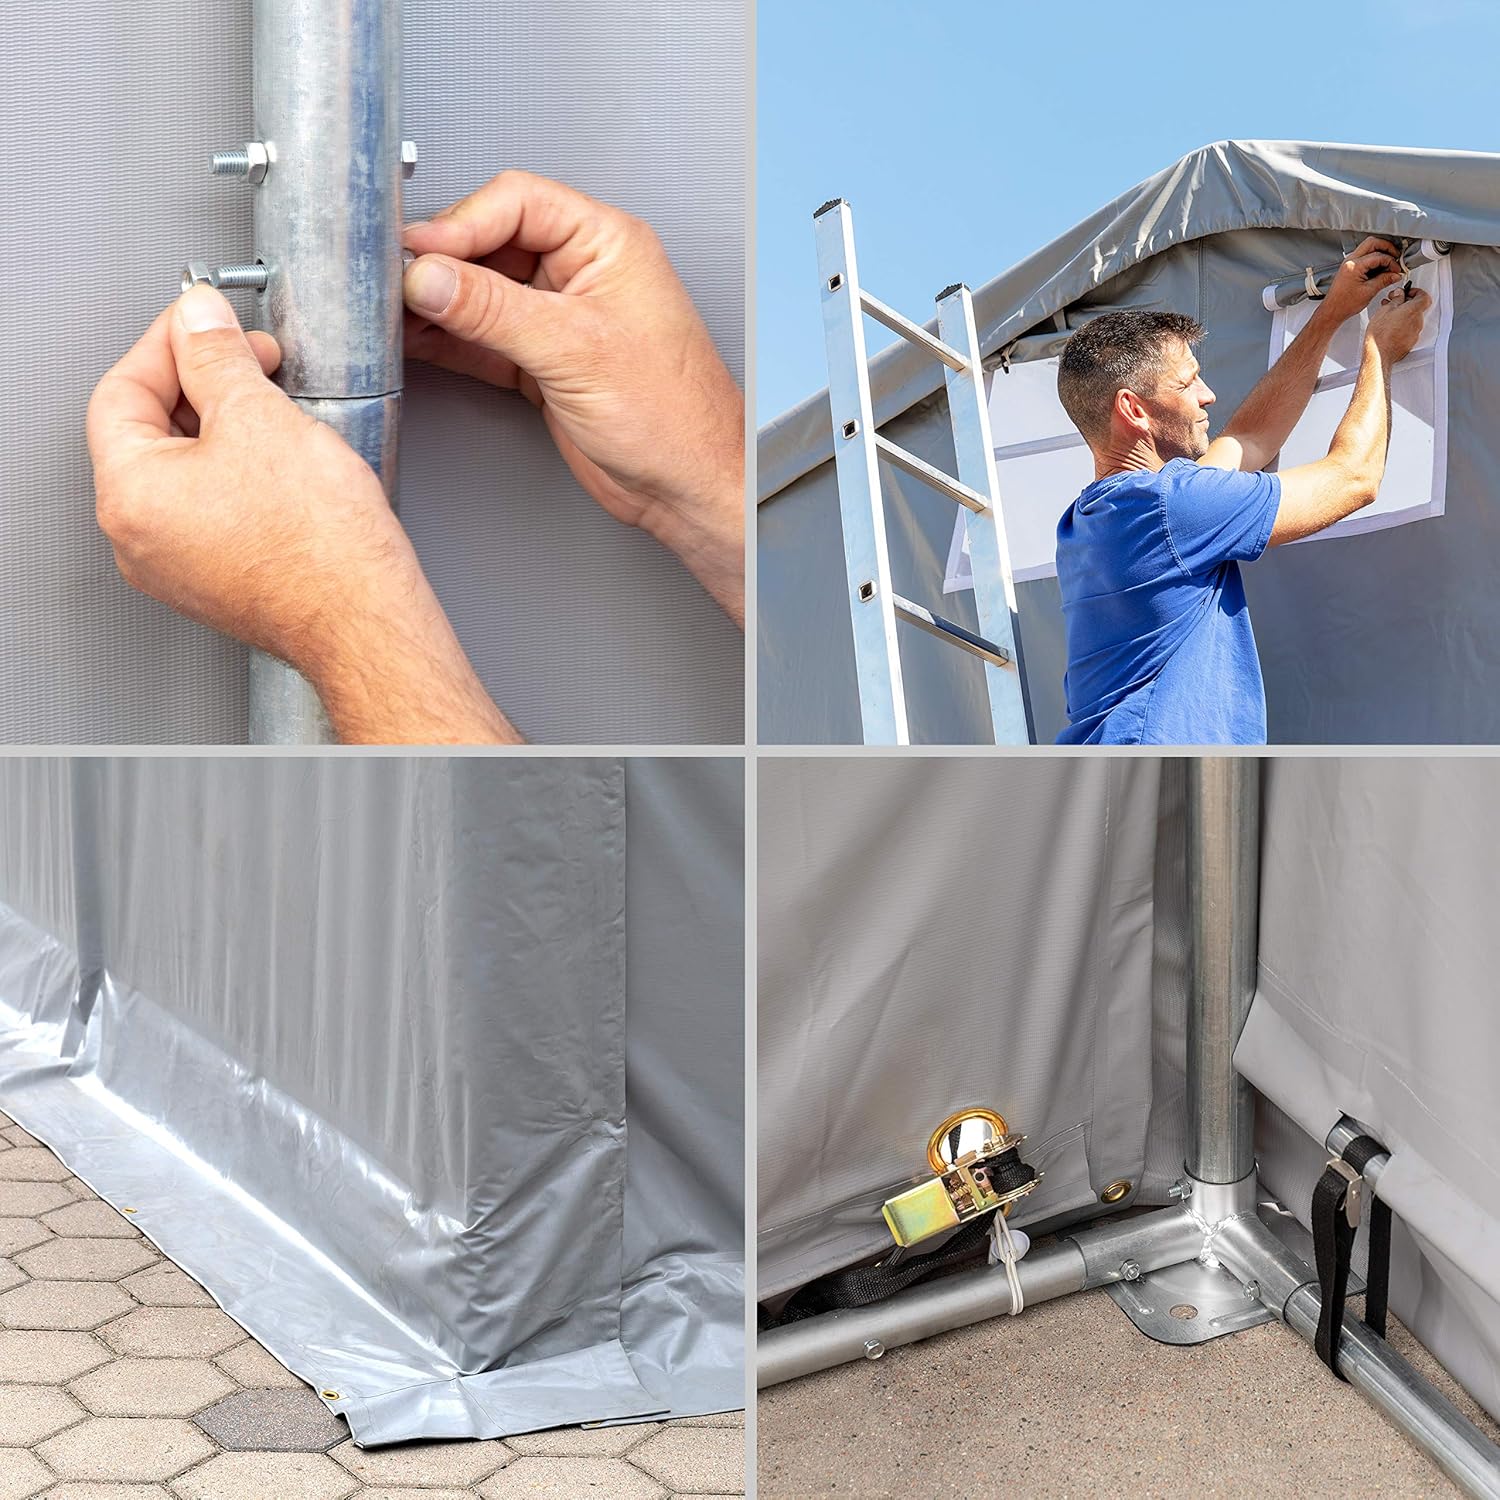
Image 3.2: Detailed views of frame connections, base anchoring, and tarpaulin features.
4. Setup and Assembly
Assembly requires careful attention to detail to ensure structural integrity. It is recommended to have multiple people for assembly due to the size and weight of components.
- Prepare the Site: Choose a level, stable surface for the tent. Clear any debris or sharp objects.
- Assemble the Frame: Connect all galvanized steel tubes using the provided bolting system. Ensure all bolts are tightened securely. Pay attention to the double bolting on support legs for added stability.
- Install the Roof Tarpaulin: Carefully place the one-piece roof tarpaulin over the assembled frame. Ensure it is centered and aligned correctly.
- Attach Side Tarpaulins: Secure the one-piece side tarpaulins to the frame.
- Install Front and Rear Gables: Attach the front gable with the sliding door and the rear gable with the zippered entrance.
- Tension the Tarpaulins: Use the tensioning system to ensure all tarpaulins are taut and securely fastened to the frame. This reduces wind susceptibility.
- Anchor the Tent: Securely anchor the tent to the ground using appropriate anchoring methods for your specific ground conditions. The tent is equipped with extra-large footplates and a removable ground frame for enhanced stability.
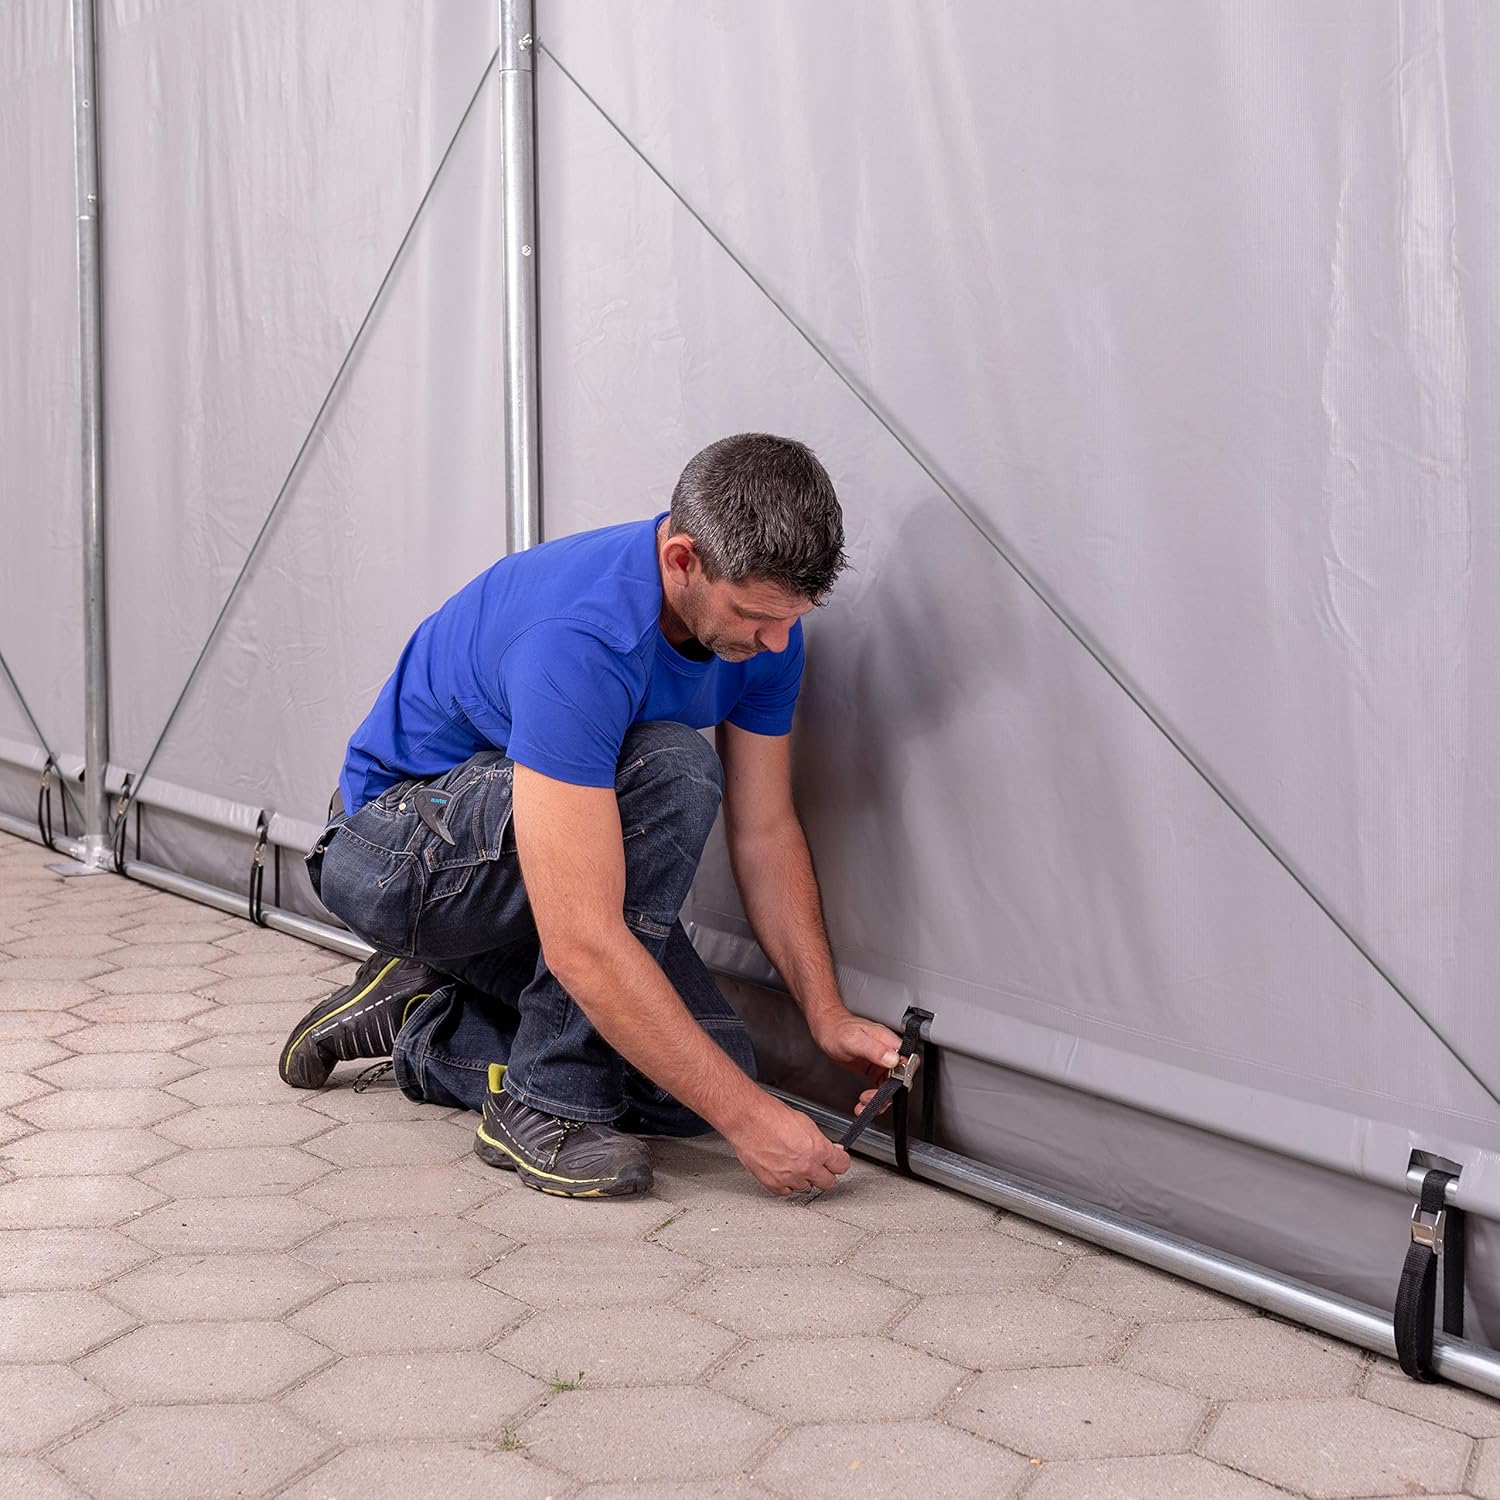
Image 4.1: Demonstrates securing the tent base to the ground for stability.
5. Operating Instructions
The tent features two entry points for maximum usability.
5.1. Main Sliding Door
The main entrance is a robust sliding door located at the front of the tent. It features anti-corrosion aluminum side guides and integrated transverse struts for increased stability.
- To open, gently slide the door along its guides.
- To close, slide the door back into position and secure any latches or fasteners.

Image 5.1: A person demonstrating the operation of the main sliding door.
5.2. Secondary Zippered Entrance
The rear gable features a secondary entrance with a double-stitched zipper system.
- Unzip to open and zip to close. Ensure the zipper is fully closed to maintain weather protection.

Image 5.2: Illustrates a forklift entering the tent, showcasing the wide access provided by the main entrance.

Image 5.3: Interior perspective of the tent, demonstrating ample space for equipment and storage.
6. Maintenance
Regular maintenance is crucial for extending the lifespan of your storage tent.
- Regular Inspections: Periodically check all frame connections, bolts, and anchoring points for tightness and signs of wear or corrosion. Tighten any loose connections.
- Tarpaulin Condition: Inspect the PVC tarpaulins for tears, punctures, or excessive wear. Repair minor damage promptly to prevent further deterioration. Ensure the tensioning system keeps the tarpaulins taut.
- Cleaning: Clean the PVC tarpaulins with mild soap and water. Avoid harsh chemicals or abrasive cleaners that could damage the material.
- Snow Removal: In areas with heavy snowfall, regularly remove snow from the roof to prevent excessive load on the structure.
- Anchoring: Re-check ground anchors after severe weather or if the ground conditions change.
7. Troubleshooting
This section addresses common issues you might encounter.
- Water Leakage: Check for tears in the tarpaulin or loose tensioning. Ensure all seams are intact. Repair any damage with appropriate PVC repair kits.
- Frame Instability: Verify that all bolts are securely tightened and that the tent is properly anchored to the ground. Ensure the ground is level.
- Difficulty with Sliding Door: Inspect the aluminum guides for obstructions or damage. Clean the tracks if necessary.
- Zipper Malfunction: Check for fabric caught in the zipper or damage to the zipper teeth. Lubricate the zipper if it is stiff.
For issues not covered here, please contact customer support.
8. Specifications
| Feature | Detail |
|---|---|
| Product Dimensions (L x W x H) | 1200 x 600 x 300 cm (12 x 6 x 3 meters) |
| Product Weight | 506 kg |
| Material Type | PVC 850 N |
| Color | Grey |
| Vertical Tube Diameter | approx. 50 mm |
| Vertical Tube Wall Thickness | approx. 1.6 mm |
| Horizontal Tube Diameter | approx. 38 mm |
| Horizontal Tube Wall Thickness | approx. 1.2 mm |
| Vertical Connector Diameter | approx. 54 mm |
| Vertical Connector Wall Thickness | approx. 1.7 mm |
| Horizontal Connector Diameter | approx. 42 mm |
| Horizontal Connector Wall Thickness | approx. 1.4 mm |
| Recommended Use | Storage Tent |

Image 8.1: Dimensional diagram of the 6x12m tent, indicating height, width, and length.
9. Warranty and Support
This product is eligible for returns within 30 days of receipt. For specialized customer assistance, please refer to the seller's contact information provided at the time of purchase or visit the TOOLPORT store on Amazon.
For further inquiries or support, please contact TOOLPORT customer service.
TOOLPORT Store: Visit TOOLPORT Store