1. Introduction
Thank you for choosing OSRAM Night Breaker Laser H7 Halogen Headlight Bulbs. These high-performance bulbs are engineered to provide significantly brighter light, a longer beam, and a whiter light color compared to standard halogen bulbs, enhancing visibility and safety during night driving. This manual provides essential information for the safe and correct installation, operation, and maintenance of your new headlight bulbs.

Figure 1: Packaging for OSRAM Night Breaker Laser H7 Halogen Headlight Bulbs.
2. Safety Information
Please read and understand all safety warnings before handling or installing the bulbs. Failure to follow these instructions may result in personal injury or damage to your vehicle.
- Electrical Hazard: Always disconnect the vehicle's battery before attempting any electrical work to prevent electric shock.
- Hot Surfaces: Headlight bulbs become extremely hot during operation. Allow the headlight assembly to cool completely before handling.
- Eye Protection: Wear appropriate eye protection when working on your vehicle.
- Handle with Care: Avoid touching the glass part of the bulb with bare hands. Oils from your skin can create hot spots, leading to premature bulb failure. Use clean gloves or a lint-free cloth.
- Professional Installation: If you are unsure about the installation process, it is recommended to seek assistance from a qualified automotive technician.
3. Setup and Installation
3.1 Before Installation
- Verify Bulb Type: Ensure your vehicle uses H7 type halogen bulbs for its headlights. Consult your vehicle's owner's manual.
- Gather Tools: You may need a screwdriver, pliers, and clean gloves.
- Vehicle Preparation: Park your vehicle on a level surface, turn off the engine, engage the parking brake, and allow the headlights to cool down. Disconnect the negative terminal of the vehicle's battery.
3.2 Installation Steps
- Locate Headlight Assembly: Open the hood and locate the back of the headlight assembly. Access may vary by vehicle model; some require removing the entire headlight unit.
- Disconnect Power: Carefully disconnect the electrical connector from the back of the existing H7 bulb.
- Remove Old Bulb: Release the retaining clip or twist the bulb holder to remove the old H7 bulb from its housing.
- Install New Bulb: Holding the new OSRAM Night Breaker Laser H7 bulb by its base (using gloves), insert it into the headlight housing. Ensure it is seated correctly and securely.
- Secure Bulb: Re-engage the retaining clip or twist the bulb holder to lock the new bulb in place.
- Reconnect Power: Reattach the electrical connector to the new bulb.
- Test Functionality: Reconnect the vehicle's battery, turn on the headlights, and verify that both new bulbs are functioning correctly. Check both low and high beams.

Figure 2: An OSRAM Night Breaker Laser H7 bulb, showing its base and filament structure.
4. Operating Instructions
Once installed, your OSRAM Night Breaker Laser H7 bulbs operate like standard halogen headlights. They are designed to provide enhanced performance for improved visibility.
- Brighter Light: Experience up to 130% more brightness on the road compared to minimum legal standards.
- Longer Beam: The light beam can extend up to 40 meters further, allowing for earlier detection of obstacles and hazards.
- Whiter Light: Enjoy up to 20% whiter light, which is closer to daylight, reducing eye strain and improving contrast.

Figure 3: An OSRAM Night Breaker Laser H7 bulb in operation, emitting bright light.

Figure 4: Chart illustrating the increased brightness, distance, and light color of Night Breaker Laser bulbs compared to standard bulbs.

Figure 5: Visual comparison of the light beam on a dark road, highlighting the improved illumination provided by Night Breaker Laser bulbs.
5. Maintenance
OSRAM Night Breaker Laser H7 bulbs require minimal maintenance. Proper care can help ensure their longevity and optimal performance.
- Keep Lenses Clean: Regularly clean your vehicle's headlight lenses to ensure maximum light output. Dirt and grime can significantly reduce visibility.
- Avoid Touching Glass: As mentioned in the safety section, avoid touching the glass envelope of the bulb. If accidentally touched, clean it with an alcohol wipe and a lint-free cloth before installation or operation.
- Regular Inspection: Periodically check your headlights to ensure both bulbs are working and emitting light evenly.
6. Troubleshooting
If you encounter issues with your OSRAM Night Breaker Laser H7 bulbs, consider the following troubleshooting steps:
- Bulb Not Lighting:
- Check the electrical connection to the bulb; ensure it is secure.
- Inspect the vehicle's fuse box for a blown headlight fuse.
- Test the bulb in another working headlight socket if possible, or test the socket with a known working bulb.
- Dim Light Output:
- Ensure the correct wattage bulb (55W) is installed.
- Check for dirty or hazy headlight lenses that may be obstructing light.
- Verify the vehicle's charging system is providing adequate voltage.
- Flickering Bulb:
- Inspect electrical connections for looseness or corrosion.
- Check for voltage fluctuations in the vehicle's electrical system.
If these steps do not resolve the issue, consult a professional automotive technician.
7. Specifications
| Feature | Specification |
|---|---|
| Brand | OSRAM |
| Model | 64210NBL |
| Bulb Type | H7 Halogen |
| Wattage | 55 watts |
| Voltage | 12 Volts |
| Item Weight | 3.77 ounces |
| Product Dimensions | 3.46 x 1.77 x 1.69 inches |
| Global Trade Identification Number (GTIN) | 04052899436596 |
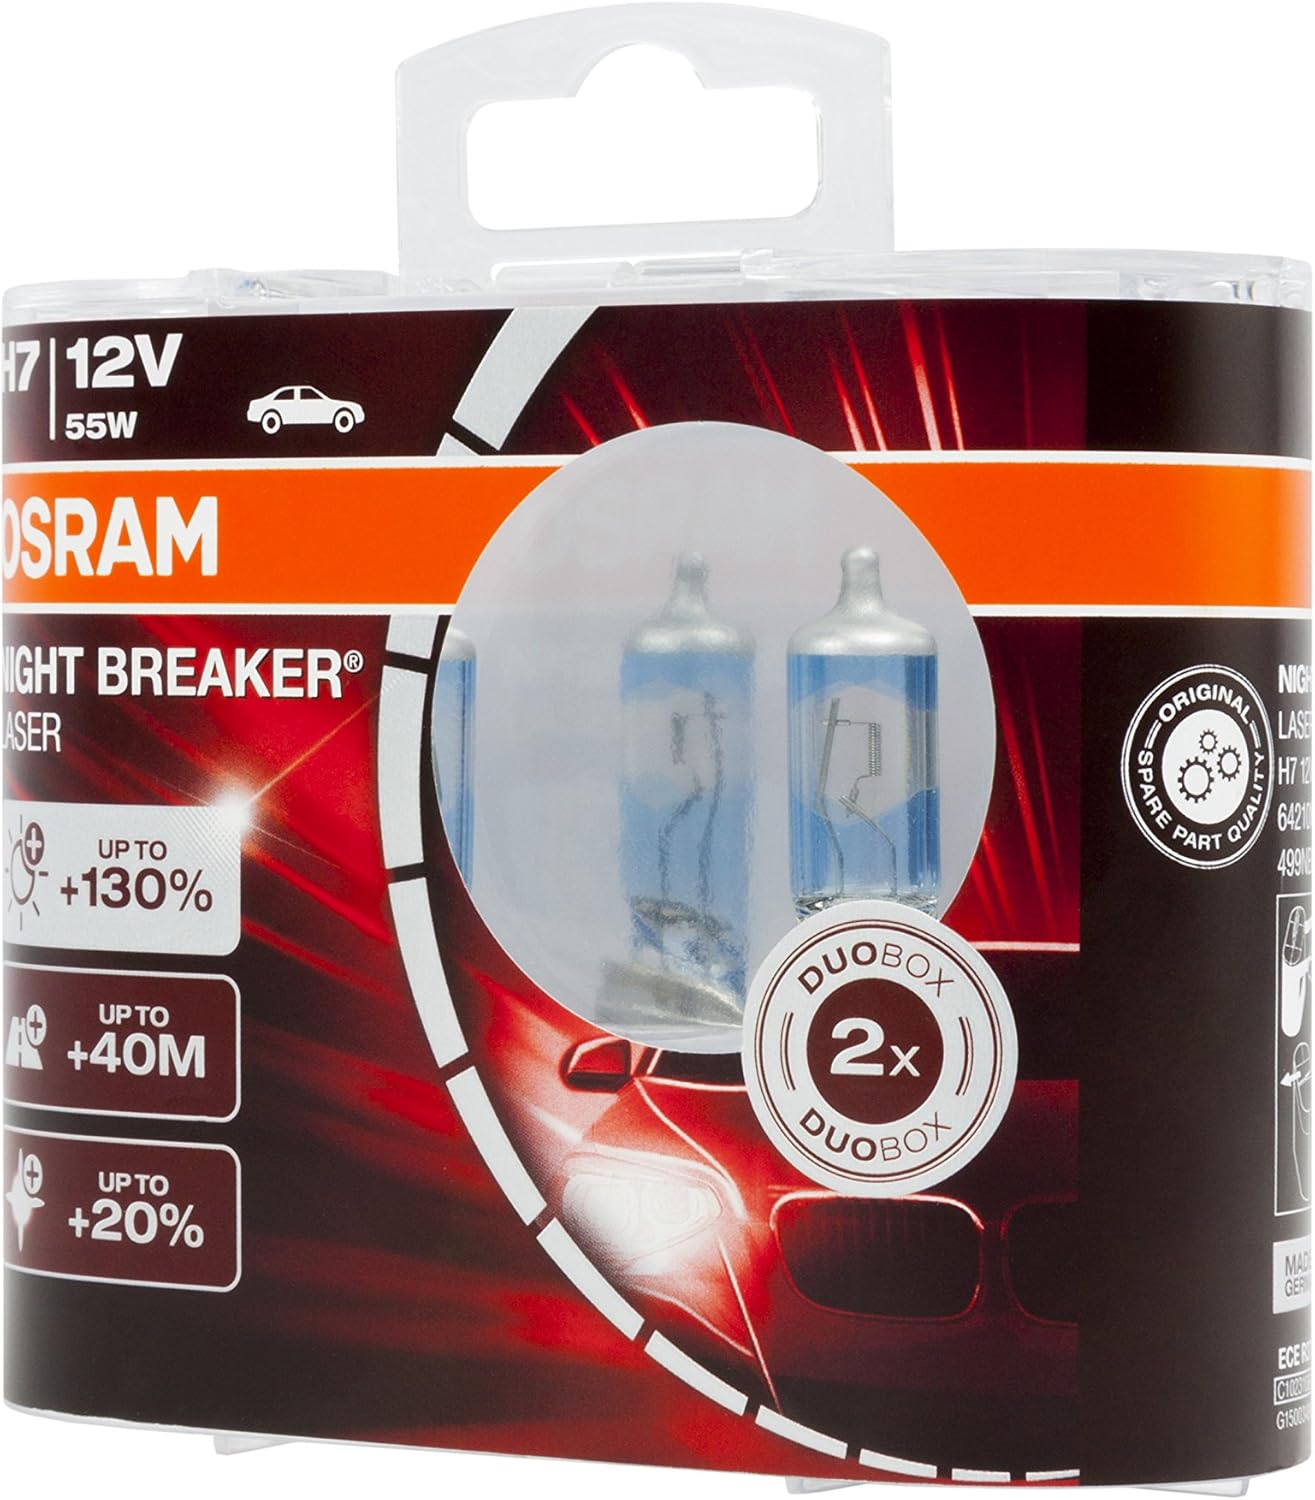
Figure 6: Rear view of the product packaging, displaying detailed specifications and certifications.
8. Warranty and Support
For detailed warranty information and customer support, please refer to the official OSRAM website or contact their customer service directly. Warranty terms and conditions may vary by region and retailer.
You can find more information and support resources by visiting the OSRAM Store on Amazon.


