Introduction
Thank you for choosing the JUKI HZL-F370 Electronic Sewing Machine. This manual provides essential information for the safe and efficient operation, maintenance, and troubleshooting of your new sewing machine. Please read these instructions carefully before using the machine and keep them for future reference.
The JUKI HZL-F370 is an advanced electronic sewing machine designed for a wide range of sewing projects. It features a powerful rectangular feed dog system, derived from industrial technology, ensuring smooth fabric feeding. With 106 stitch patterns, including 3 alphabets, and 16 automatic buttonhole styles, this machine offers versatility for creative expression. Key features include an automatic thread trimmer, efficient automatic needle threader, LED lighting, and adjustable presser foot pressure.
Safety Instructions
To ensure safe operation, always follow these basic safety precautions:
- Always unplug the machine from the electrical outlet immediately after use, before cleaning, or when making any adjustments.
- Do not operate the machine with a damaged cord or plug. If the machine is not working properly, has been dropped, or damaged, contact a qualified service technician.
- Keep fingers away from all moving parts. Special care is required around the sewing machine needle.
- Use the proper needle plate. The wrong plate can cause the needle to break.
- Do not pull on the power cord to disconnect. Grasp the plug, not the cord.
- Never drop or insert any object into any opening.
- Do not use outdoors.
- Do not operate where aerosol (spray) products are being used or where oxygen is being administered.
- This appliance is not intended for use by persons (including children) with reduced physical, sensory or mental capabilities, or lack of experience and knowledge, unless they have been given supervision or instruction concerning use of the appliance by a person responsible for their safety.
Setup
1. Unpacking and Placement
Carefully remove the machine from its packaging. Place the machine on a stable, flat surface. Ensure there is adequate space around the machine for comfortable operation.
2. Power Connection
Connect the power cord to the machine's power input and then to a suitable electrical outlet. Ensure the voltage matches your local power supply.
3. Foot Pedal Connection
Insert the foot pedal plug into the designated receptacle on the machine. The foot pedal controls the sewing speed and features a heel-activated automatic thread trimming function.
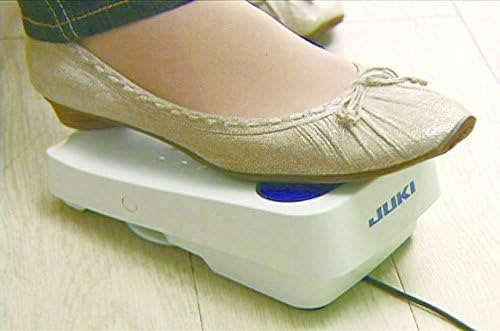
The foot pedal for the JUKI HZL-F370 sewing machine, featuring the automatic thread trimming function activated by the heel.
4. Needle Installation
- Turn the handwheel towards you to raise the needle to its highest position.
- Loosen the needle clamp screw.
- Insert a new needle with the flat side facing the back of the machine, pushing it up as far as it will go.
- Tighten the needle clamp screw securely.
5. Bobbin Winding
The JUKI HZL-F370 features a separate motor for bobbin winding, allowing you to wind bobbins even while sewing. Follow the winding path indicated on the machine, place the bobbin on the winder spindle, and engage the winder. The machine will automatically stop when the bobbin is full.
6. Threading the Machine
Follow the numbered threading path on the machine. Utilize the efficient automatic needle threader for quick and easy needle threading.

This image shows a detailed view of the needle, presser foot, and the thread correctly routed through the machine, ready for sewing.
7. Presser Foot Attachment
To attach a presser foot, align the pin on the foot with the groove on the presser foot holder and lower the presser foot lever until it snaps into place. To remove, raise the presser foot and press the release button.

The machine is actively sewing a strap onto a piece of fabric, illustrating the presser foot's function during operation.
Operating Instructions
1. Basic Sewing
Select a straight stitch using the control panel. Place your fabric under the presser foot, lower the presser foot lever, and gently press the foot pedal to begin sewing. Guide the fabric smoothly without forcing it.

A user operating the JUKI HZL-F370 sewing machine, demonstrating its use in a home environment.
2. Selecting Stitches
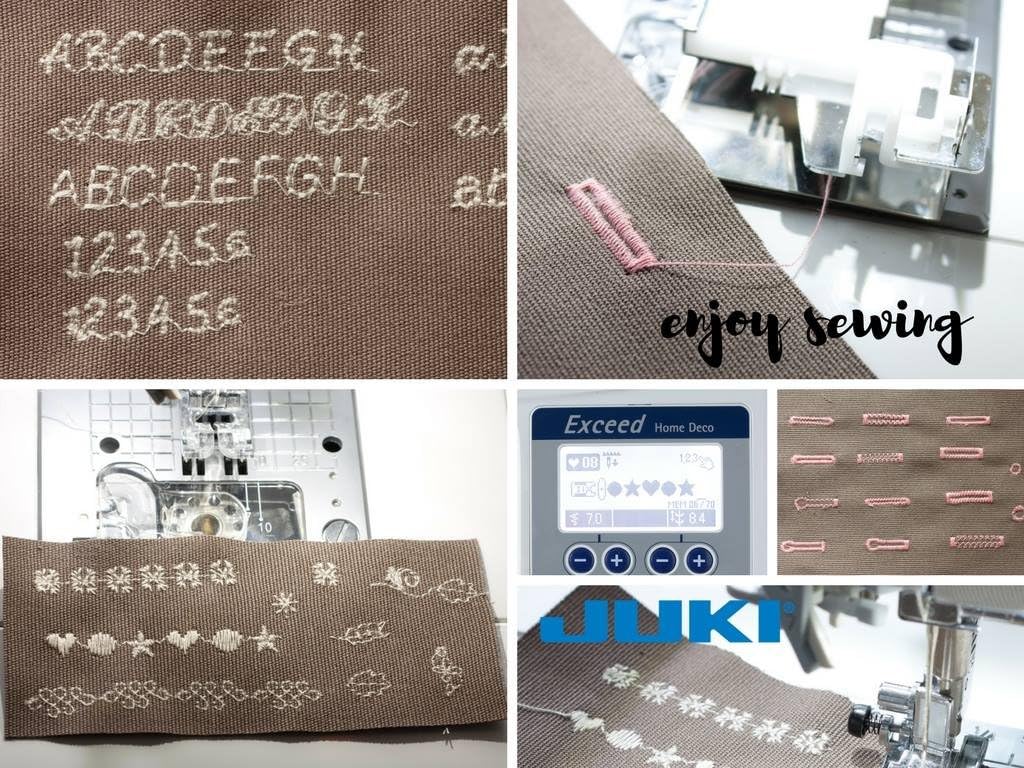
The HZL-F370 offers 106 stitch patterns, including utility stitches, decorative stitches, and 3 alphabets. Use the LCD screen and control buttons to navigate and select your desired stitch. The maximum zigzag width is 7 mm.

A collage displaying various decorative stitches, including different alphabets and utility patterns, available on the JUKI HZL-F370 electronic sewing machine.
3. Automatic Thread Trimmer
The machine features an automatic thread trimmer. This can be activated by pressing a dedicated button on the machine or by pressing your heel on the foot pedal's heel-activated function.
4. Buttonholes
The HZL-F370 includes 16 automatic buttonhole styles with 3 cutting width options. Attach the buttonhole foot and follow the on-screen instructions for precise buttonhole creation.
5. Adjusting Presser Foot Pressure
The presser foot pressure can be adjusted to suit different fabric thicknesses. Refer to the machine's specific dial or lever for this adjustment to ensure even feeding and stitch quality.
6. Knee Lifter (Optional)
If you have the optional knee lifter lever, insert it into the designated slot. This allows you to raise and lower the presser foot with your knee, keeping your hands free to guide the fabric.

The JUKI HZL-F370 sewing machine is shown with an optional extension table attached, providing a larger work surface, and the knee lifter for hands-free presser foot control.
7. Free Motion Sewing/Quilting
For free-motion sewing or quilting, lower the feed dogs using the lever located at the back of the needle plate. Attach a darning or free-motion foot. This allows you to move the fabric freely to create custom designs.
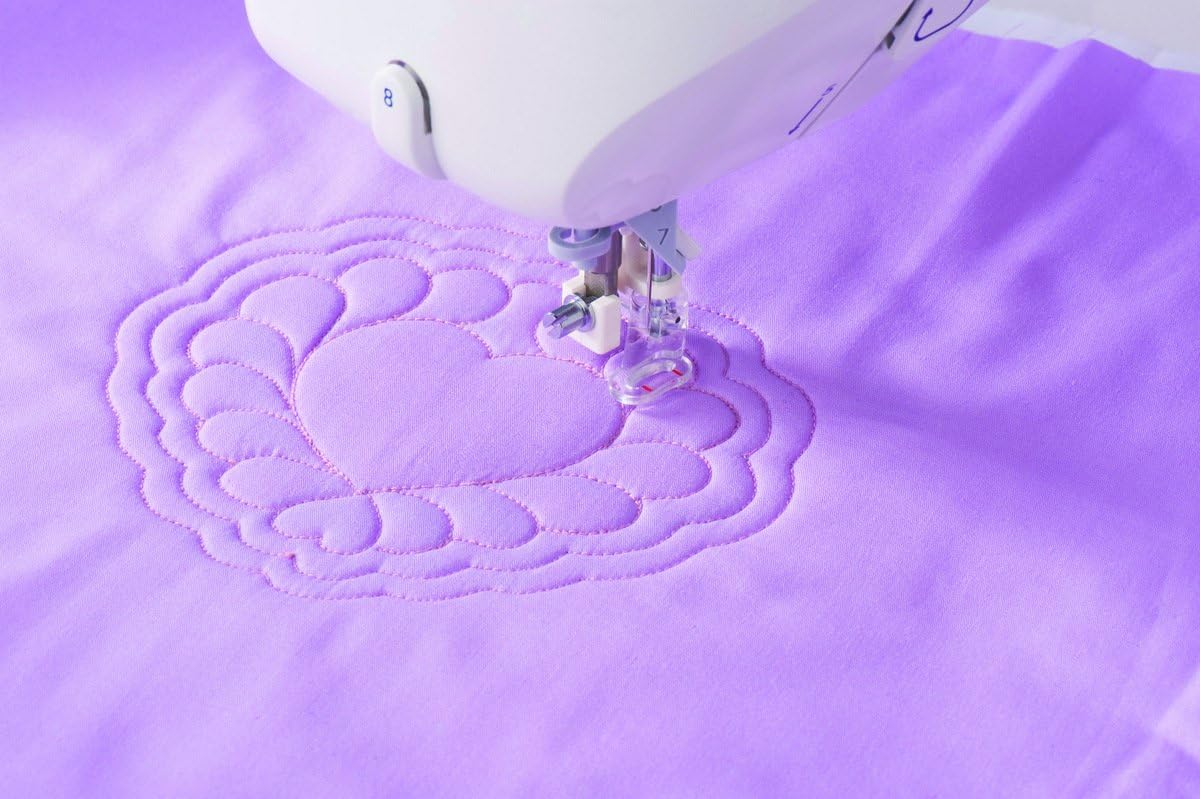
An example of free-motion quilting being performed on the JUKI HZL-F370, showcasing its capability for intricate decorative stitching.
Maintenance
1. Cleaning the Machine
Regular cleaning is crucial for optimal performance. Always unplug the machine before cleaning.
- Feed Dogs and Bobbin Area: Remove the needle plate and bobbin case. Use a small brush to remove lint and dust from the feed dogs and the bobbin area.
- Exterior: Wipe the exterior surfaces with a soft, dry cloth. Do not use harsh chemicals or abrasive cleaners.

A detailed view of the sewing machine's feed dogs and needle plate, highlighting the powerful rectangular feed system for smooth fabric movement.
2. Needle Replacement
Replace the needle regularly, especially after sewing for extended periods or if it becomes bent or dull. A dull needle can cause skipped stitches or fabric damage.
Troubleshooting
This section addresses common issues you might encounter. For more complex problems, consult a qualified service technician.
| Problem | Possible Cause | Solution |
|---|---|---|
| Skipped Stitches | Incorrect needle, bent needle, improper threading, wrong tension. | Replace needle, re-thread machine, adjust tension. |
| Thread Breakage | Improper threading, high tension, poor quality thread, bent needle. | Re-thread, reduce tension, use quality thread, replace needle. |
| Fabric Puckering | Too much tension, incorrect stitch length, wrong presser foot pressure. | Adjust tension, increase stitch length, reduce presser foot pressure. |
| Machine Not Starting | Power cord not connected, foot pedal not connected, machine in bobbin winding mode. | Check power and foot pedal connections, disengage bobbin winder. |
Specifications
An overview of the JUKI HZL-F370 electronic sewing machine, showcasing its compact design and control panel.
| Feature | Detail |
|---|---|
| Model Number | HZL-F370 |
| Dimensions (L x W x H) | 44.5 x 21 x 29 cm (17.5 x 8.3 x 11.4 inches) |
| Weight | 9.7 Kilograms (21.4 lbs) |
| Material | Metal chassis, ABS cover |
| Stitch Patterns | 106 (including 3 alphabets) |
| Buttonhole Styles | 16 automatic, with 3 cutting width options |
| Max Zigzag Width | 7 mm |
| Presser Foot Lift | Up to 12 mm |
| Hook Type | Horizontal rotary hook |
| Lighting | LED lamp |
| Power Source | Electric cable |
| Special Features | Automatic thread trimmer, automatic needle threader, presser foot pressure adjustment, 2 separate motors (bobbin winding/drive), hard case included. |
Warranty Information
This product is intended for sale and use in France. Consequently, the warranty will only cover products sold in France. Please refer to your purchase documentation for specific warranty terms and conditions provided by your retailer or JUKI.
Support & Contact
For technical assistance, spare parts, or service inquiries, please contact your authorized JUKI dealer or the customer support provided by your place of purchase. Always provide your machine's model number (HZL-F370) and serial number when seeking support.


