
Introduction
The Luminoodle Color Bias Lighting kit enhances your viewing experience by providing ambient backlighting for your TV or monitor. This USB-powered LED strip helps reduce eye strain, improves perceived contrast, and offers versatile lighting options with multiple colors and brightness levels. This manual provides detailed instructions for installation, operation, and maintenance to ensure optimal performance.
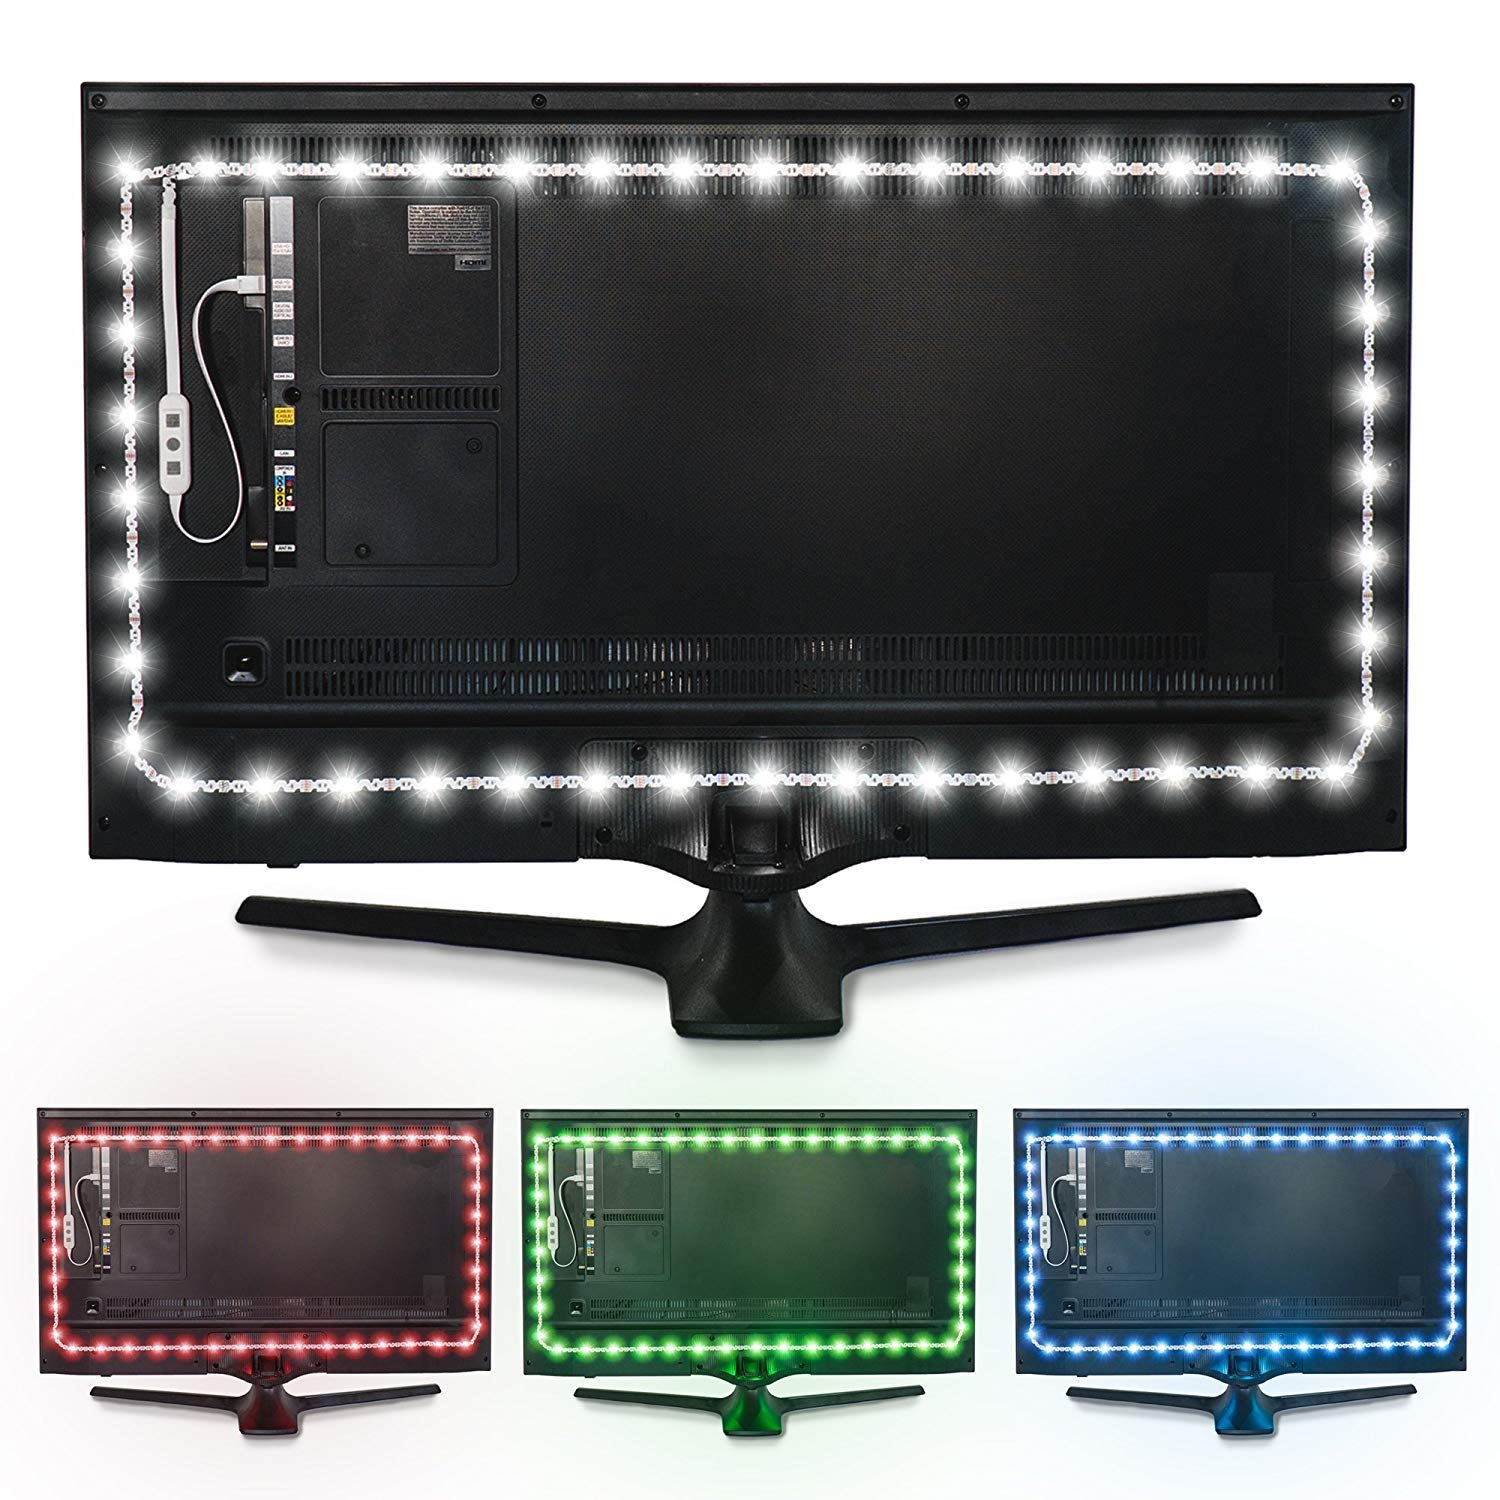
Image: The Luminoodle Color Bias Lighting kit, showing the LED strip, remote, and USB connector.
Benefits of Bias Lighting
- Reduces Eye Strain: 6500K True White color temperature helps alleviate eye fatigue and headaches during prolonged viewing.
- Improves Contrast: Enhances the perceived contrast of your screen, making blacks appear darker and colors more vibrant.
- Customizable Ambiance: Adjust LED TV backlight colors and brightness settings using the wireless remote for optimal viewing and mood.

Image: A television screen with green bias lighting behind it, illustrating enhanced contrast and reduced eye strain.

Image: A television screen without bias lighting, showing reduced contrast and potential for eye strain.
What's in the Box
- 78-inch LED strip lights
- 3M adhesive backing
- Wireless remote control
Setup and Installation
- Clean the Surface: Ensure the back of your TV or monitor is clean and free of dust or debris for optimal adhesive performance.
- Measure and Plan: Determine the desired placement of the LED strip around the perimeter of your screen. The strip is trimmable every 2 inches to fit various TV sizes.
- Peel and Stick: Carefully peel off the red 3M adhesive backing from the LED strip. Apply the strip firmly to the back of your TV or monitor. The S-style LED strip design allows for easy 90-degree bends around corners.
- Connect to USB: Plug the USB connector of the LED strip into a 5W USB port (5V, 1A) on your TV or monitor. The reversible USB design ensures easy connection. The lights will typically turn on and off with your television.

Image: A hand plugging the Luminoodle LED strip's USB connector into a TV's USB port.

Image: A close-up of the Luminoodle LED strip being installed around the corner of a TV, demonstrating its flexibility.
Video: A demonstration of the Luminoodle LED TV Backlight installation process, showing how to attach the strip to the back of a TV and connect it via USB.
Operating Instructions
The Luminoodle Color Bias Lighting kit comes with a wireless remote control for easy operation. If the remote is unavailable, basic controls are also available on the in-line controller attached to the LED strip.
- Power On/Off: Use the ON/OFF buttons on the remote or the in-line controller.
- Color Selection: Choose from 15 vibrant colors using the dedicated color buttons or the COLOR arrows on the remote.
- Brightness Adjustment: Adjust the light intensity with 10 levels of brightness using the BRIGHT +/- buttons on the remote.
- Mode Selection: Select between two modes: Solid Color Mode (Mode 1) or Crossfade Mode (Mode 2) using the MODE button.

Image: The wireless remote control for the Luminoodle LED strip, showing buttons for power, brightness, color selection, and mode.
Specifications
| Feature | Detail |
|---|---|
| Brand | Power Practical |
| Model | B01LG99NW4 |
| Color | White (with color changing options) |
| Light Source Type | LED |
| Power Source | USB (5V, 1A) |
| Color Temperature | 6500 Kelvin |
| Special Feature | Color Changing, Dimmable |
| Control Method | Remote Control |
| Length | 78 inches (6.6 ft) |
| Water Resistance Level | Not Water Resistant |
Maintenance
- Keep the LED strip clean and free from dust to maintain optimal light output.
- Avoid exposing the LED strip to water or excessive moisture as it is not water resistant.
- Store the remote control in a safe place to prevent loss or damage.
Troubleshooting
- Lights not turning on:
- Test all USB ports on your TV to ensure a stable power connection.
- If your TV has constant USB power even when off, consider purchasing a Luminoodle Switch to turn it off with the wireless remote when not in use.
- Alternatively, use a USB wall adapter for power.
- Remote not working: Ensure the remote's battery is functional. Point the remote directly at the in-line controller.
- Adhesive not sticking: Ensure the surface was clean and dry before application. Apply firm pressure for several seconds during installation.
If you continue to experience issues, please contact customer support.
Warranty and Support
Power Practical offers a 1-year warranty on all products. For any assistance or inquiries, please contact our U.S.-based customer support team. We pride ourselves on making sure we solve any problems or issues that anyone has and we try to go above and beyond to just make the customer experience that much better.
Return Policy: This product is eligible for a 30-day refund/replacement policy.
Contact Support: support@powerpractical.com