1. Introduction
This manual provides instructions for the installation, operation, and maintenance of your Swann 8-Channel 1080p Surveillance Kit. This system is designed to provide high-definition video surveillance for your property, featuring an 8-channel Digital Video Recorder (DVR) and four 1080p cameras.
2. Package Contents
Please check the contents of your package. If any items are missing or damaged, contact your retailer.
- Swann 8-Channel 1080p DVR with 1TB Hard Drive
- 4 x 1080p Surveillance Cameras
- Power Adapters for DVR and Cameras
- Video Cables for Cameras
- HDMI Cable
- Ethernet Cable
- USB Mouse
- Mounting Screws and Plugs
- Quick Start Guide
3. Product Overview
3.1 Digital Video Recorder (DVR)
The DVR is the central unit for recording, storing, and managing video footage from your cameras. It features 8 channels for connecting up to 8 cameras and a pre-installed 1TB hard drive for continuous recording.
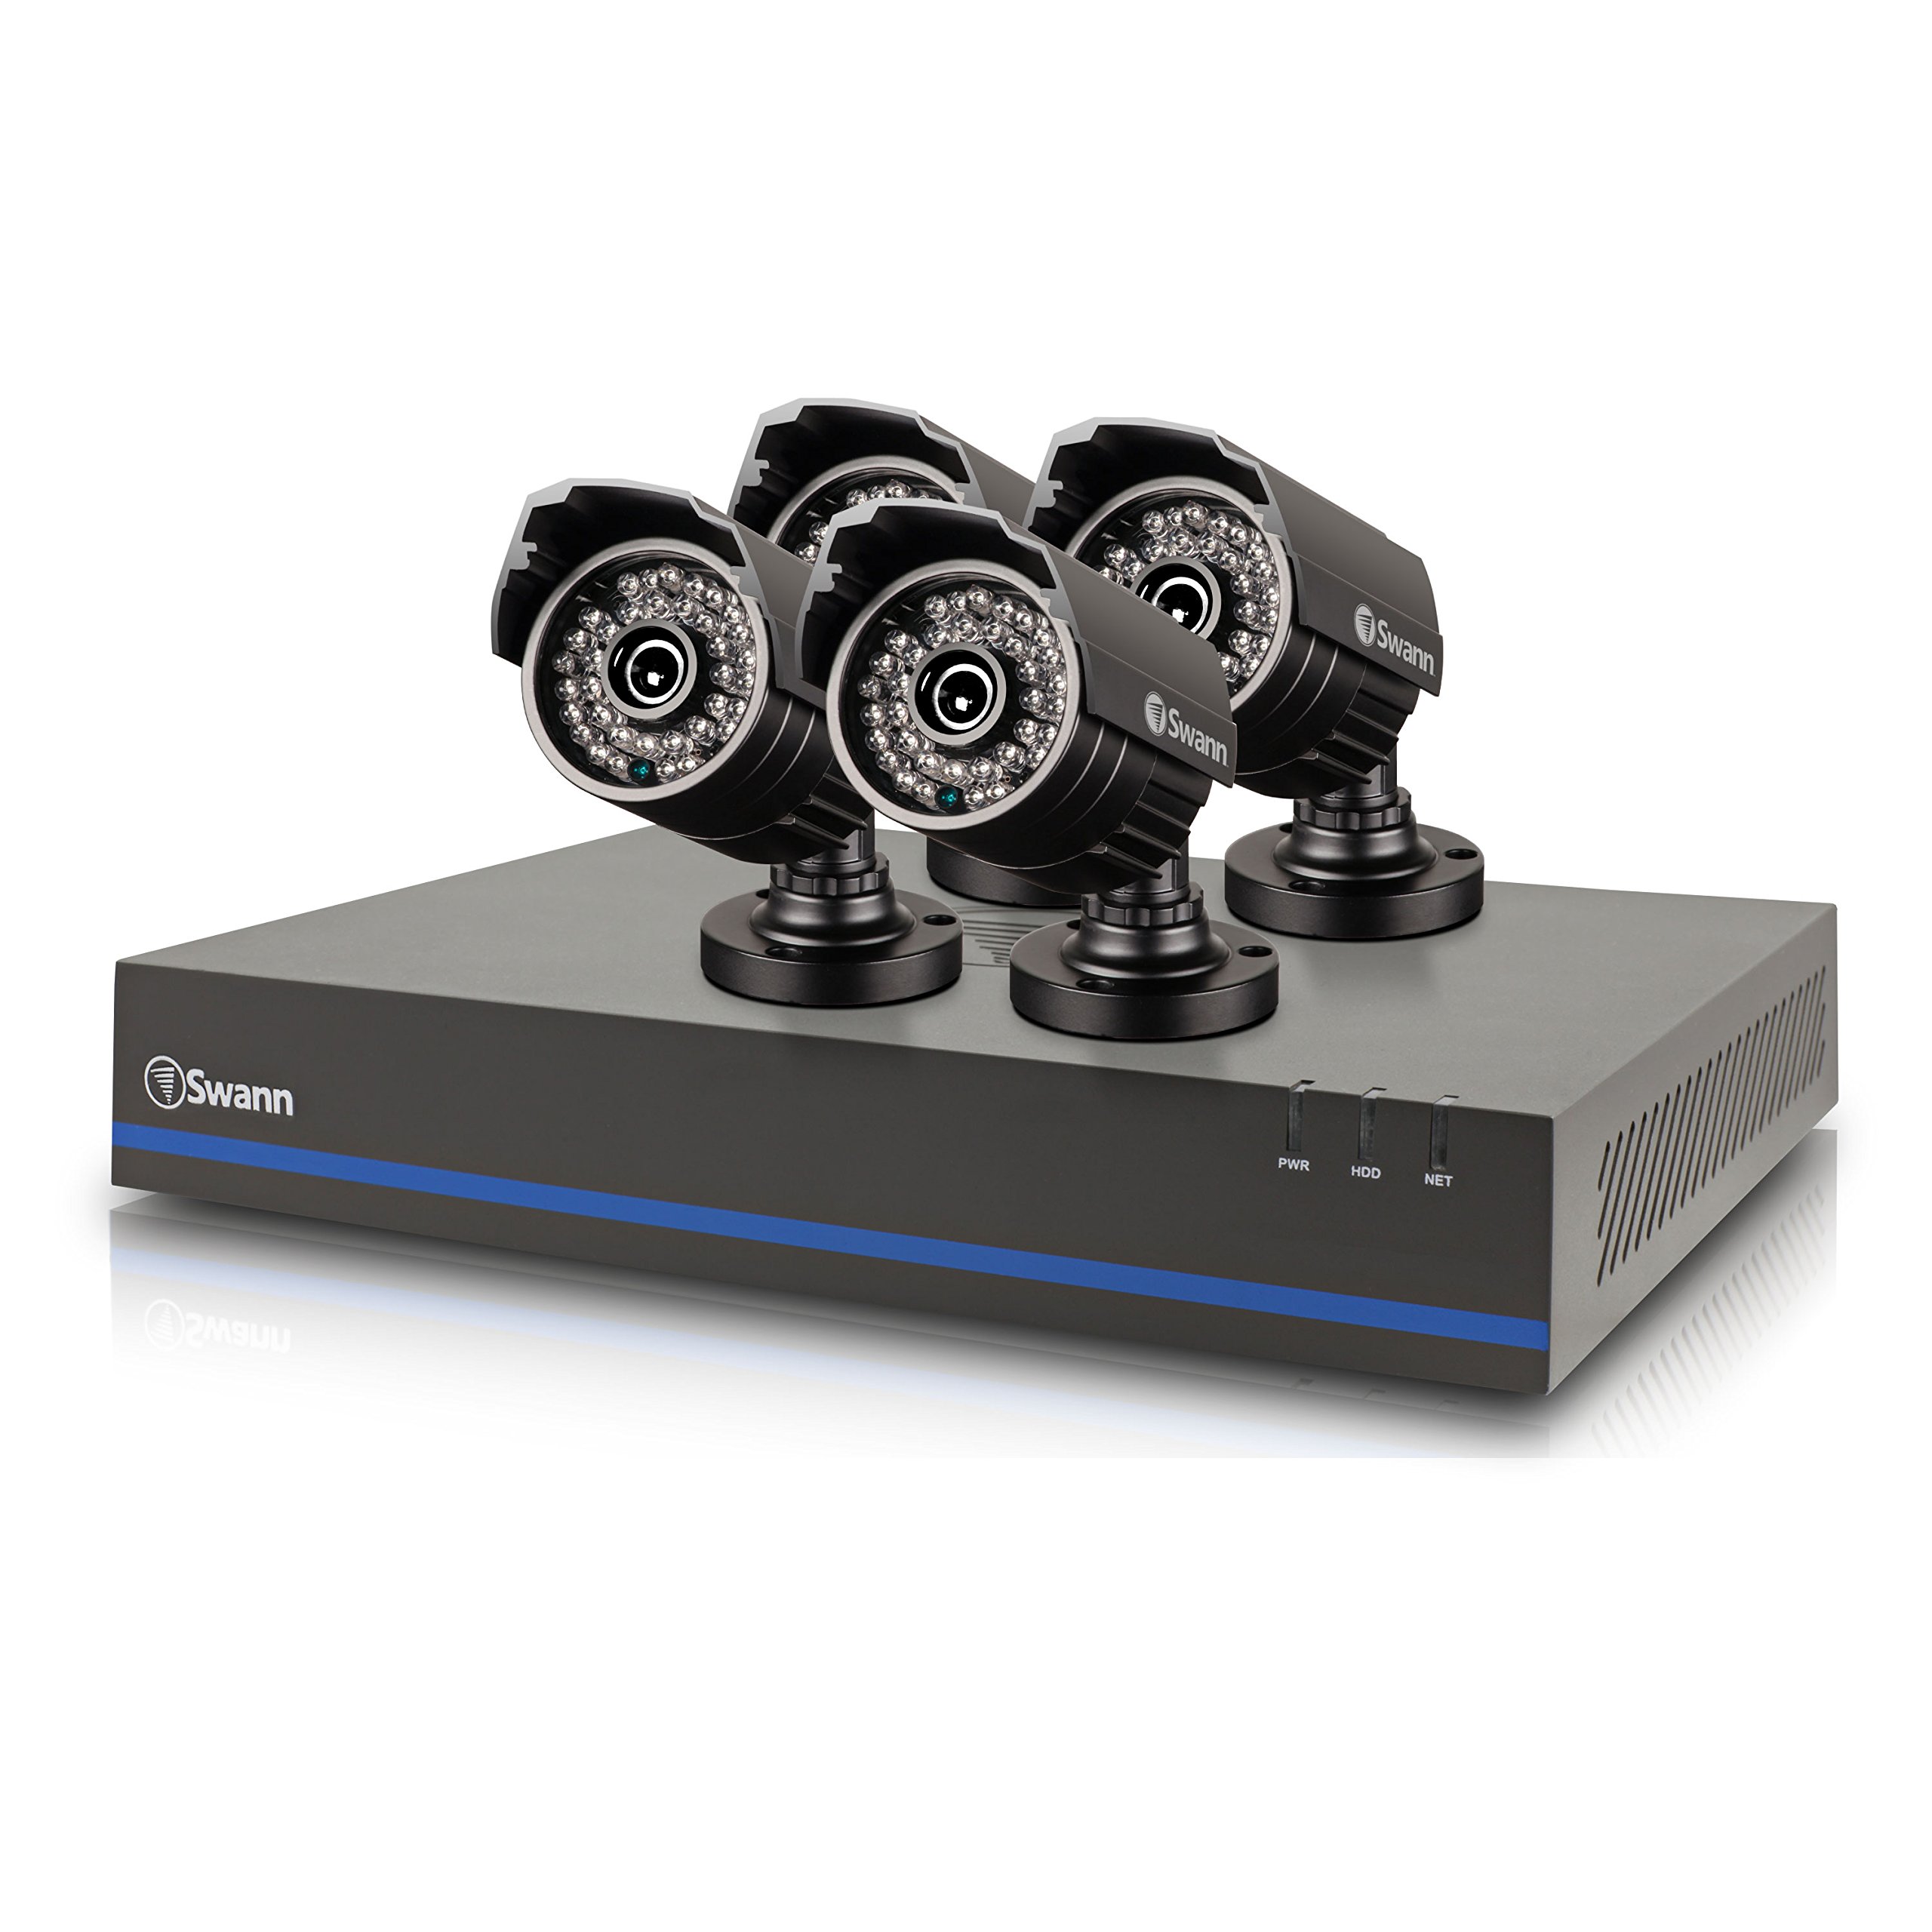
Image 1: Swann 8-Channel DVR (Angled View). This image shows the DVR unit from an angle, highlighting its compact design and front panel indicators.
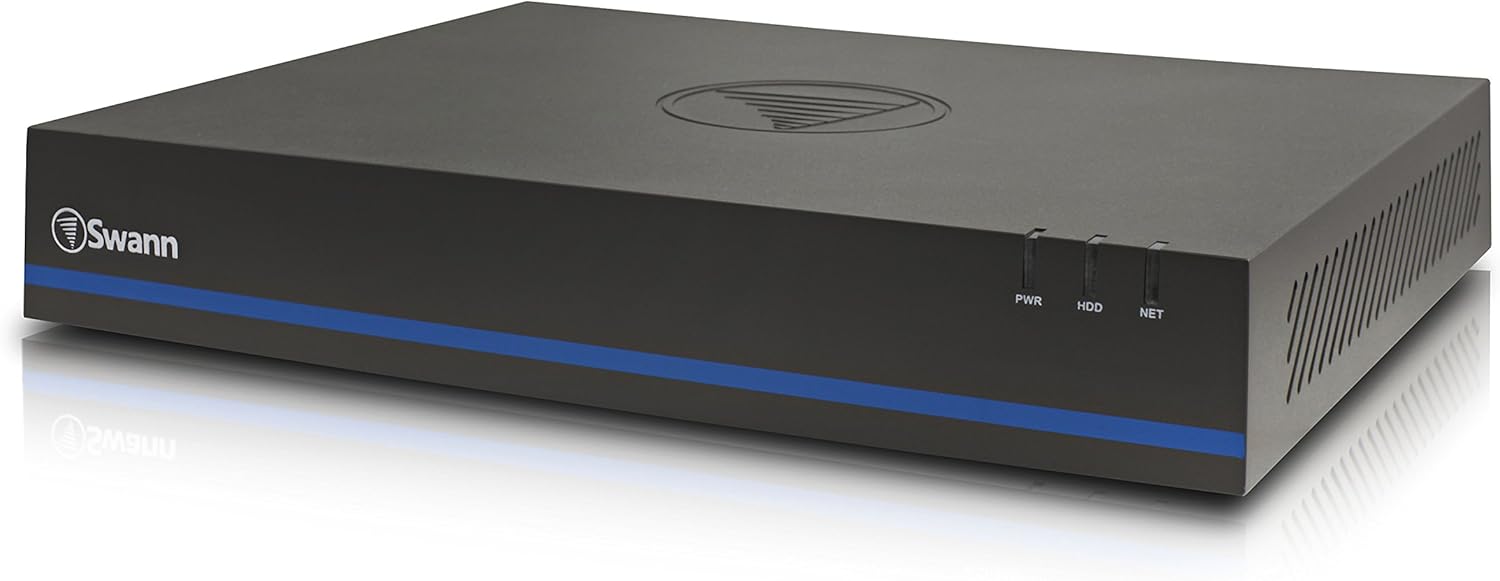
Image 2: Swann 8-Channel DVR (Front View). This image displays the front of the DVR, showing the PWR, HDD, and NET indicator lights.
3.2 Surveillance Cameras
The kit includes four 1080p cameras designed for both indoor and outdoor use. They provide crystal-clear 1920 x 1080 pixel video and are equipped with IR-cut filters for powerful night vision up to 100 feet (30 meters). The cameras have an IP66 weather-resistant rating.
4. Setup
4.1 Hardware Installation
- Positioning the DVR: Place the DVR in a secure, well-ventilated area, away from direct sunlight and moisture.
- Connecting Cameras: Connect each camera to an available video input port on the DVR using the provided video cables. Ensure connections are secure.
- Powering Cameras: Connect the camera power adapters to the cameras and then to a power outlet.
- Connecting to a Monitor: Connect the DVR to a monitor (e.g., HDTV, LCD screen) using the HDMI or VGA cable.
- Connecting the Mouse: Plug the USB mouse into a USB port on the DVR.
- Network Connection (Optional but Recommended): Connect an Ethernet cable from the DVR to your router for remote viewing capabilities.
- Powering the DVR: Connect the DVR power adapter to the DVR and then to a power outlet. The DVR will power on automatically.
4.2 Initial Software Configuration
Upon first power-on, the DVR will guide you through an initial setup wizard. Follow the on-screen prompts to:
- Set up a password for the administrator account.
- Configure date and time settings.
- Adjust video output resolution.
- Perform a software update if prompted. (Note: Some users have reported needing to manually check for updates.)
- Configure network settings (if connected to a router).
4.3 Mobile App Setup
For remote viewing on your smartphone or tablet (iOS/Android), download the SwannView Plus app from your device's app store. (Note: The older SwannView app is not compatible with this system.) Follow the in-app instructions to add your DVR using its unique ID or QR code.
5. Operating the System
5.1 Live Viewing
Once the system is set up, you can view live footage from all connected cameras on your monitor or via the SwannView Plus mobile app. Use the USB mouse to navigate the DVR's on-screen interface.
5.2 Recording
The DVR supports various recording modes:
- Continuous Recording: Records 24/7, overwriting older footage when the hard drive is full.
- Motion Detection Recording: Records only when motion is detected by a camera. Sensitivity and recording schedules can be configured.
- Scheduled Recording: Records during specific times of the day or week.
Access the DVR's menu to configure recording settings for each camera.
5.3 Playback
To review recorded footage:
- Access the DVR's main menu and select the 'Playback' option.
- Choose the date and time range you wish to review.
- Select the camera(s) whose footage you want to view.
- Use the playback controls (play, pause, fast forward, rewind) to navigate through the footage.
You can also transfer incident video to external storage via USB or network.
5.4 Remote Access
The SwannView Plus app allows you to:
- View live camera feeds from anywhere with an internet connection.
- Play back recorded footage.
- Receive push notifications for motion detection events.
Ensure your DVR is connected to the internet and the app is correctly configured.
6. Maintenance
- Regular Cleaning: Keep camera lenses clean for optimal image clarity. Use a soft, damp cloth.
- DVR Ventilation: Ensure the DVR's ventilation openings are clear to prevent overheating.
- Firmware Updates: Periodically check the Swann support website for firmware updates for your DVR to ensure optimal performance and security.
- Hard Drive Management: The 1TB hard drive will automatically overwrite the oldest footage when full. Back up important footage regularly.
7. Troubleshooting
| Problem | Possible Cause | Solution |
|---|---|---|
| No video on monitor | Loose cable connection, incorrect input source on monitor, DVR not powered on. | Check HDMI/VGA cable connections. Ensure monitor is on correct input. Verify DVR power. |
| No remote viewing via app | DVR not connected to network, incorrect app (SwannView Link vs. SwannView Plus), network configuration issues. | Ensure DVR is connected to router. Confirm you are using the SwannView Plus app. Check DVR network settings. |
| Poor night vision quality | Obstructions in front of camera, camera too far from subject, IR lights blocked. | Clear obstructions. Ensure camera is within 82 feet (25 meters) of the area of interest. |
| DVR making loud humming noise | Normal operation of internal fan/hard drive, poor ventilation. | Ensure adequate ventilation around the DVR. If noise is excessive, contact support. |
| False motion alerts (e.g., from insects) | High motion sensitivity, insects near camera at night. | Adjust motion detection sensitivity in DVR settings. Consider scheduling email alerts to avoid notifications during specific times. |
8. Specifications
- Brand: Swann
- Model Number: LYSB01LG2GSMY-ELECTRNCS
- Connectivity Technology: Wired
- Video Capture Resolution: 1080p
- Special Features: Motion Sensor, Night Vision
- Number of Channels: 8
- Memory Storage Capacity: 1 TB (Hard Drive)
- Power Source: Corded Electric
- Item Dimensions (L x W x H): 16.5 x 12.6 x 8.3 inches
- Operating System Compatibility: Android, iOS (for mobile app)
- Recommended Uses: Indoor, Outdoor Surveillance
- Night Vision Range: Up to 82 Feet (25 meters)
- Viewing Angle: 90 Degrees
- Item Weight: 12.8 pounds
- UPC: 840236117031
9. Warranty and Support
For warranty information and technical support, please refer to the documentation included with your product or visit the official Swann website. Keep your purchase receipt as proof of purchase for warranty claims.
Online Resources:
- Swann Official Website: www.swann.com
- Product Support Page: Refer to the Swann website for specific support pages related to your model.


