1. Introduction
This manual provides essential information for the proper installation, operation, and maintenance of the MikroTik LHG 5 Light Head Grid 5GHz CPE device. Please read this manual thoroughly before using the device to ensure safe and efficient operation.
Product Overview
The MikroTik LHG 5 is a compact and lightweight 5GHz 802.11 a/n wireless device featuring an integrated dual-polarization 24.5 dBi grid antenna. It is designed for point-to-point links or as a Customer Premises Equipment (CPE) for longer distances, supporting the Nv2 TDMA protocol. The grid antenna design offers protection against wind, and the integration of the antenna element directly into the wireless unit minimizes cable loss.
Key Features
- Integrated 24.5 dBi dual-polarization grid antenna.
- 5GHz 802.11 a/n wireless standard.
- Supports Nv2 TDMA protocol for efficient long-distance links.
- Passive Power over Ethernet (PoE) input.
- One 10/100 Ethernet port.
- 600 MHz CPU, 64 MB RAM, 16 MB storage.
- Wind-resistant grid design.
2. Safety Information
- Always follow local electrical codes and regulations during installation.
- Ensure the device is securely mounted to prevent falling.
- Do not operate the device near water or in excessively humid environments.
- Disconnect power before performing any maintenance or installation procedures.
- Only use power adapters and cables specified by the manufacturer.
- This device should be installed by trained personnel.
3. Hardware Overview
The LHG 5 consists of a central unit with an integrated antenna feed and a grid reflector assembly. The Ethernet port and power input are located on the central unit.
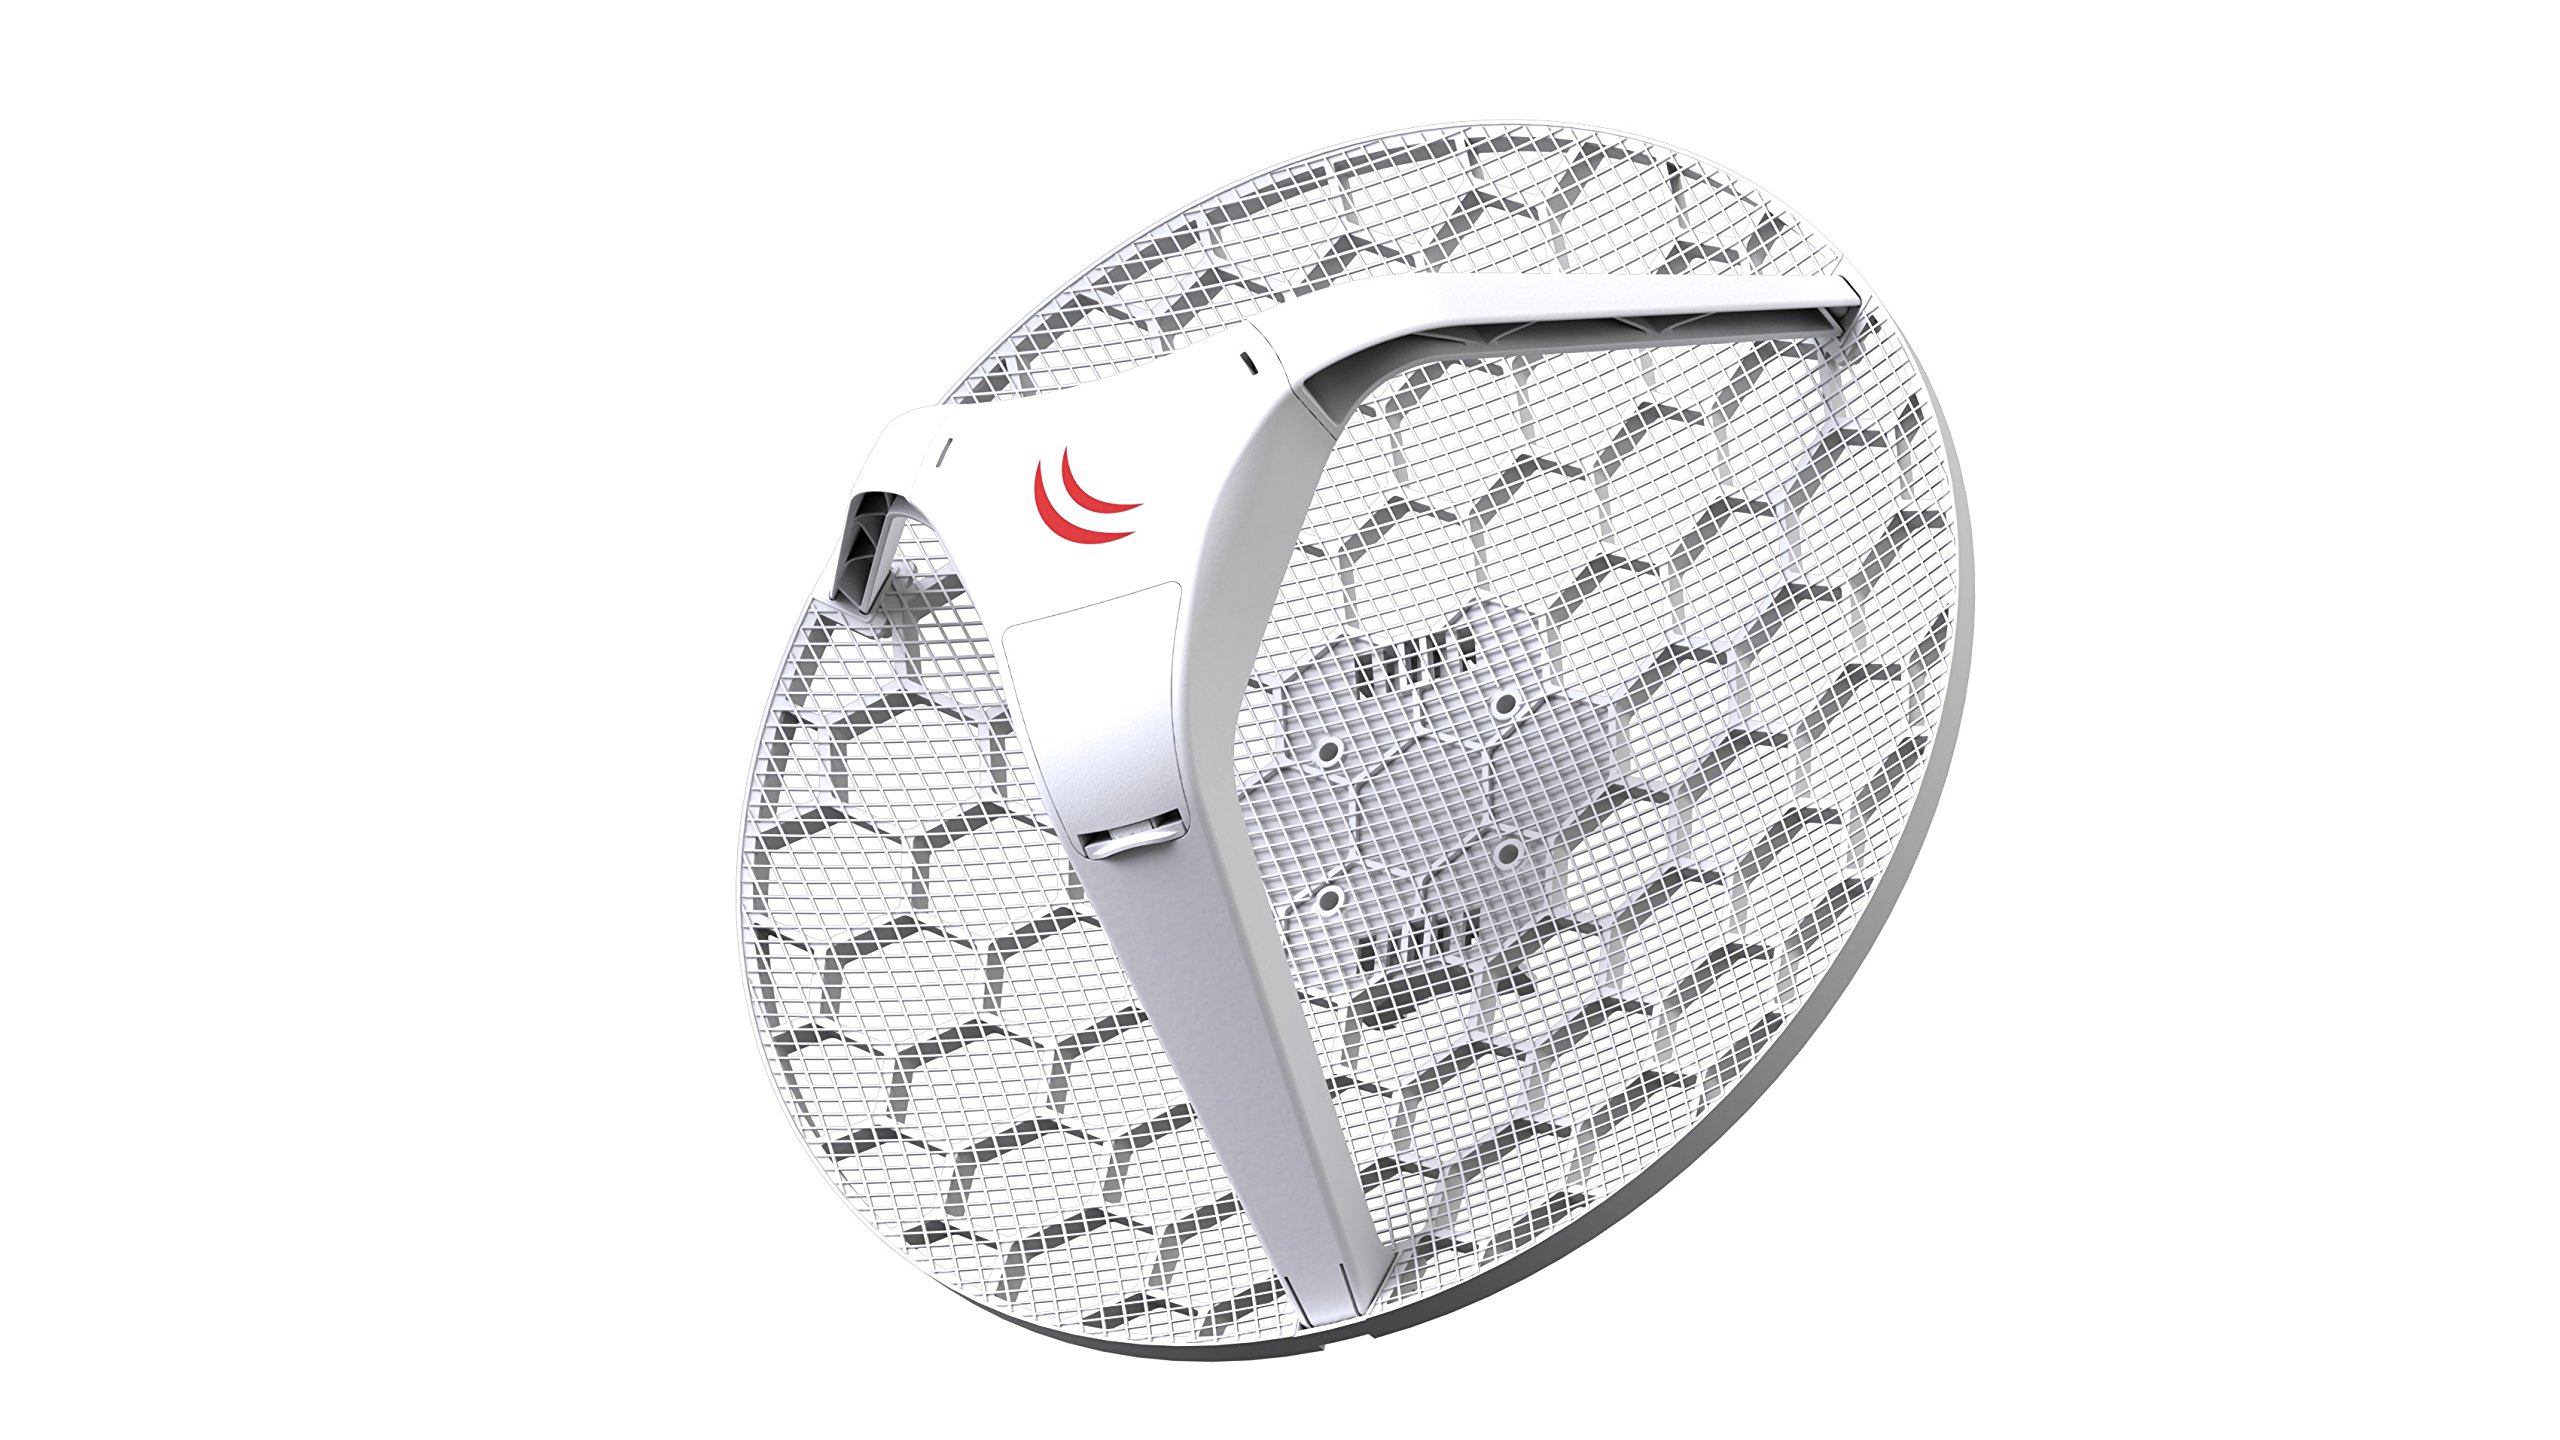
Figure 1: Front view of the MikroTik LHG 5 central unit, showing the integrated antenna feed and the Ethernet port with a yellow cable connected.
Components:
- Central Unit: Houses the wireless electronics, CPU, RAM, storage, and Ethernet port.
- Integrated Antenna Feed: Part of the central unit, connected directly to the wireless electronics.
- Grid Reflector: The large mesh dish that focuses the radio signal.
- Mounting Bracket: For attaching the device to a pole or mast.
- Ethernet Port: 10/100 Mbps port for data and Passive PoE input.
4. Setup and Installation
4.1 Package Contents
Please verify that all components are present in your package. Refer to the product packaging for a detailed list of included items, which typically includes the LHG 5 unit, mounting kit, and a PoE injector (may vary by region/bundle).
4.2 Mounting the Device
The LHG 5 is designed for outdoor pole mounting. Ensure the mounting surface is stable and capable of supporting the device, especially in windy conditions. The grid design helps reduce wind load.
- Assemble the grid reflector according to the diagrams provided in the separate assembly guide (if applicable).
- Attach the central unit to the assembled grid reflector.
- Secure the mounting bracket to the back of the central unit.
- Mount the entire assembly to a pole or mast using the provided U-bolts or clamps. Ensure the device is oriented correctly for optimal signal alignment.
- Tighten all fasteners to prevent movement due to wind or vibration.

Figure 2: Various views of the MikroTik LHG 5, illustrating its components, assembly, and an example of pole mounting.
4.3 Powering the Device
The LHG 5 supports Passive Power over Ethernet (PoE). It requires a PoE injector or a PoE-capable switch to provide power and data over a single Ethernet cable.
- Connect one end of an Ethernet cable to the LHG 5's Ethernet port.
- Connect the other end of the Ethernet cable to the "PoE" or "Data+Power" port of a Passive PoE injector.
- Connect a standard Ethernet cable from the "LAN" or "Data" port of the PoE injector to your network switch or computer.
- Plug the PoE injector's power adapter into an electrical outlet. The device will power on.
Note: Ensure the PoE injector provides the correct voltage for the LHG 5 (typically 10-30V DC, refer to device label for exact requirements).
5. Operating the Device
The MikroTik LHG 5 runs on MikroTik's RouterOS operating system. Initial configuration is typically done via a web browser (WebFig) or a dedicated utility (WinBox).
5.1 Initial Configuration
- After powering on, connect your computer directly to the LAN port of the PoE injector.
- Open a web browser and navigate to the default IP address of the device (commonly 192.168.88.1, refer to MikroTik documentation for specifics).
- Log in using the default credentials (usually admin with no password).
- Follow the on-screen prompts or refer to the RouterOS documentation for detailed configuration steps, including setting up wireless modes (Access Point, Station), IP addresses, and security settings.
5.2 Point-to-Point (PtP) Links
For PtP links, two LHG 5 devices are typically used, one configured as an Access Point (AP) and the other as a Station (Client). Ensure clear line-of-sight between the two devices for optimal performance.
5.3 CPE Usage
When used as CPE, the LHG 5 acts as a client device connecting to a central Access Point. Configure it in Station mode and scan for available networks.
6. Maintenance
- Cleaning: Periodically inspect the grid antenna for dirt, debris, or ice accumulation. Gently clean with a soft cloth and mild detergent if necessary. Do not use abrasive cleaners.
- Firmware Updates: Regularly check the MikroTik website for firmware updates for RouterOS. Keeping the firmware updated ensures optimal performance, security, and access to new features.
- Physical Inspection: Annually inspect mounting hardware for corrosion or loosening. Ensure all cables are securely connected and free from damage.
7. Troubleshooting
7.1 Device Not Powering On
- Verify the PoE injector is properly connected to a working power outlet.
- Check the Ethernet cable between the PoE injector and the LHG 5 for damage or improper connection.
- Ensure the PoE injector is compatible with Passive PoE and provides the correct voltage.
7.2 No Network Connectivity
- Confirm the Ethernet cable from the PoE injector's LAN port to your network is functional.
- Check the device's IP configuration. Ensure your computer is on the same subnet for initial access.
- Verify wireless settings (SSID, security, frequency) are correctly configured for your network.
- Ensure clear line-of-sight and proper antenna alignment for wireless links.
7.3 Poor Wireless Performance
- Check antenna alignment. Even slight misalignment can significantly reduce signal strength.
- Ensure there are no obstructions (trees, buildings) in the line-of-sight.
- Scan for interference from other 5GHz devices in the area and adjust channels if necessary.
- Verify RouterOS settings for transmit power and data rates.
8. Specifications
| Feature | Detail |
|---|---|
| Product Model | RBLHG-5ND |
| Wireless Standard | 5GHz 802.11 a/n |
| Antenna Gain | 24.5 dBi (Dual Polarization) |
| Ethernet Ports | 1 x 10/100 Mbps |
| PoE Input | Passive PoE |
| CPU Nominal Frequency | 600 MHz |
| RAM Size | 64 MB |
| Storage Size | 16 MB |
| Max Wireless Data Rate | 300 Mbit/s |
| Dimensions | 15.39 x 8.74 x 15.39 inches |
| Weight | 4 pounds |
| Manufacturer | Mikrotik |
9. Warranty and Support
For detailed warranty information, please refer to the official MikroTik website or the warranty card included with your product. Technical support and additional resources, including the full RouterOS documentation, can be found on the MikroTik support portal.
Official MikroTik Website: mikrotik.com


