1. Introduction
This user manual provides essential information for the safe and effective operation of your Philips AC1215/20 Air Purifier. This device is designed to improve indoor air quality by removing airborne pollutants, allergens, and harmful particles.

Figure 1.1: Front view of the Philips AC1215/20 Air Purifier, showcasing its sleek white design and perforated air intake.
The Philips AC1215/20 features Vitashield Intelligent Purification, capable of sensing air quality and removing 99.97% of airborne pollutants as small as 0.003 microns. It utilizes a 4-stage filtration process including a pre-filter, activated carbon filter, and a double-layered H13 Grade TRUE HEPA Filter. It is designed to purify a standard room (226-333 sq ft) in approximately 12 minutes.
2. Important Safety Information
Please read this safety information carefully before using the appliance and save it for future reference. Failure to follow these instructions may result in electric shock, fire, or serious injury.
- Ensure the voltage indicated on the appliance matches the local mains voltage before you connect the appliance.
- Do not operate the appliance if the plug, the mains cord, or the appliance itself is damaged.
- Keep the appliance out of reach of children.
- Do not block the air inlet or outlet.
- Do not insert fingers or other objects into the air outlet.
- Do not use the appliance near gas appliances, heating devices, or open flames.
- Always unplug the appliance before cleaning or replacing filters.
- Place the appliance on a stable, horizontal, and level surface.

Figure 2.1: The air purifier in a child's room, highlighting the importance of safe placement and the child lock feature for household safety.
3. What's in the Box
Upon unboxing your Philips AC1215/20 Air Purifier, please ensure all the following components are present:
- Philips AC1215/20 Air Purifier Unit
- Pre-filter (pre-installed or separate)
- Activated Carbon Filter
- H13 Grade TRUE HEPA Filter
- User Manual (this document)
4. Setup and Filter Installation
The air purifier is shipped with its filters packed separately to ensure their integrity. Follow these steps for initial setup:
- Unpack the Filters: Carefully remove all packaging materials from the air purifier unit and the individual filters.
- Open the Filter Unit: The main filter unit's front panel can be released. Refer to the appliance's design for the latch or release mechanism.
- Install Filters in Order: The filters must be aligned in the central space in a specific order for optimal performance.
- First: HEPA Filter. Ensure correct installation by matching the indication on top or by keeping the Philips branding on the top-left corner.
- Second: Activated Carbon Filter. Similar to the HEPA filter, ensure correct orientation using the indication or Philips branding.
- Third: Pre-filter. This filter clips into place and is designed to capture larger dust and impurities, preventing them from clogging the other main filters.
- Close the Panel: Securely close the front panel of the filter unit.
- Placement: Place the air purifier on a firm, level surface. Ensure there is adequate space around the unit for proper airflow.

Figure 4.1: Illustrates the approximate size of the air purifier (23 inches / 57 cm tall) relative to a person, aiding in placement decisions.
- Connect to Power: Plug the power cord into a suitable electrical outlet.
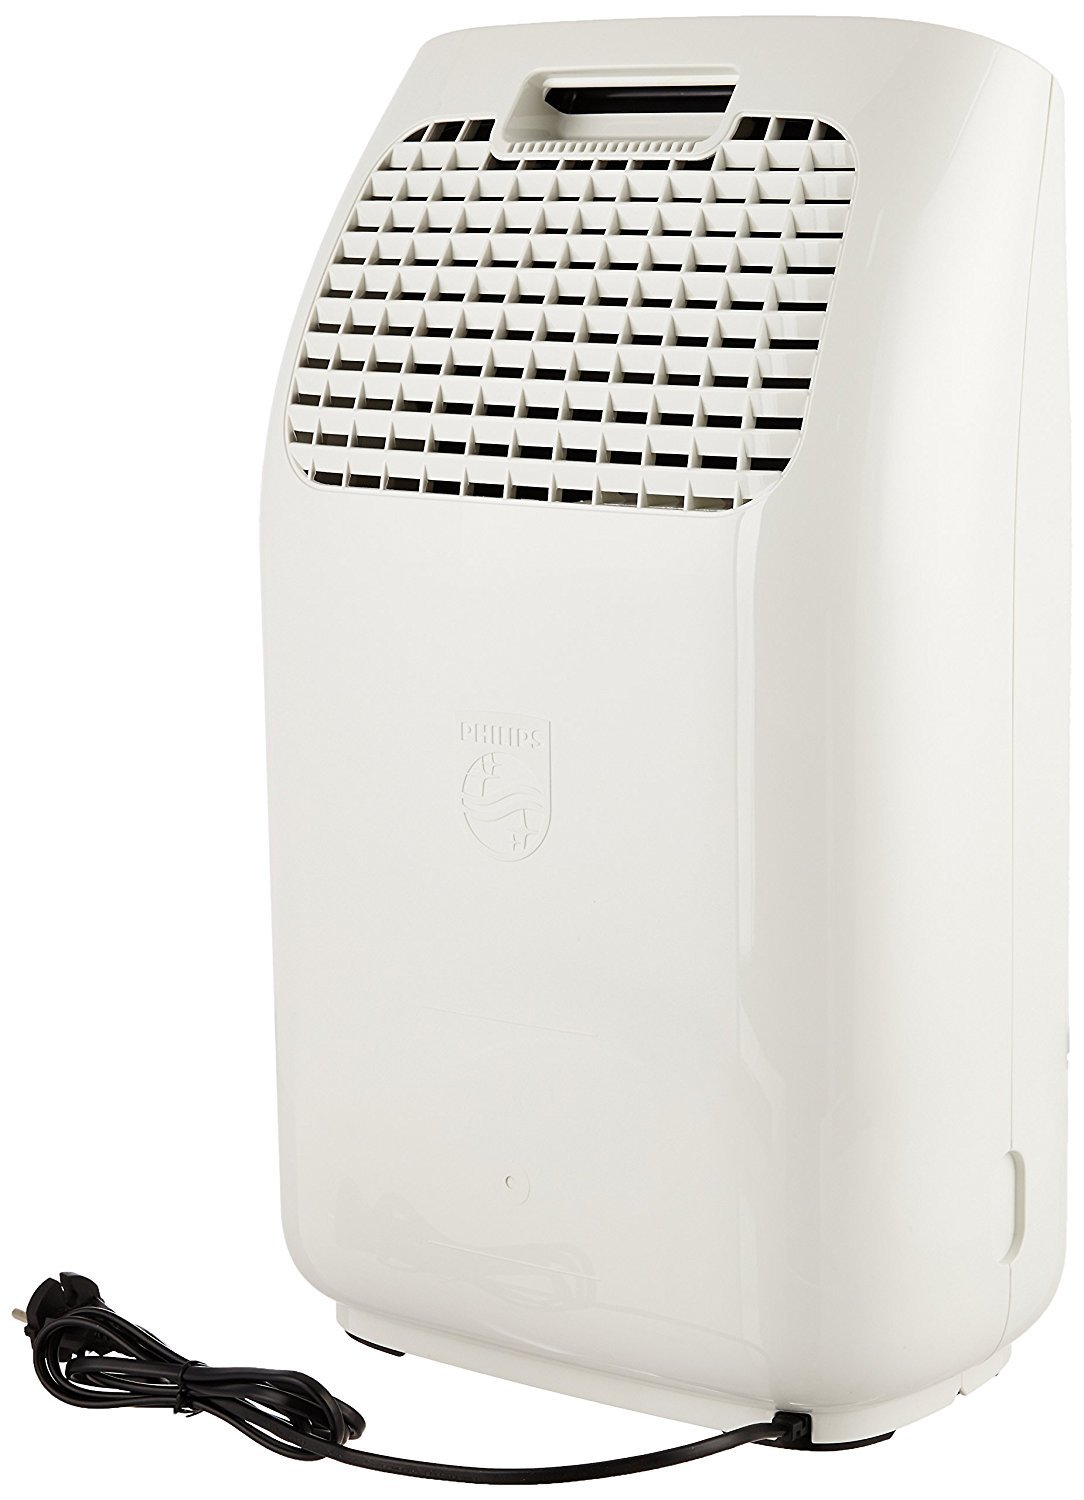
Figure 4.2: Rear view of the air purifier, showing the power cord connection point and air outlet grill.
5. Operating the Air Purifier
Your Philips AC1215/20 Air Purifier features intuitive controls and various operating modes to suit your needs.
5.1 Control Panel Overview
The top panel of the purifier features touch-sensitive buttons and a circular LED screen for control and feedback.
- Power Button: Turns the unit on or off.
- Night Mode Button: Activates or deactivates night mode.
- Fan Speed Button: Cycles through different fan speed settings and modes.
- Child Lock Button: Engages or disengages the child lock feature.

Figure 5.1: The air purifier positioned in a living space, with a clear view of its top control panel and display.
5.2 Air Quality Indicator
The circular LED screen provides real-time air quality feedback using a 4-color indicator:
- Blue: Good air quality (Minimum pollution).
- Violet: Moderate air quality.
- Pink: Poor air quality.
- Red: Very poor air quality (Maximum pollution).

Figure 5.2: Visual representation of the air quality indicator on the control panel.
5.3 Operating Modes
Press the Fan Speed button to cycle through the following modes:
- Automatic Mode (A): The purifier automatically adjusts fan speed based on the detected air quality. The pollution level sensed regulates the fan speed accordingly.
- Fan Speed 1, 2, 3: Manual fan speed settings, indicated by '1', '2', or '3' on the screen.
- Allergen Mode: Can be activated on top of Automatic Mode. This mode slightly increases the fan speed at all air quality levels to enhance filtration for sensitive individuals.
- Turbo Mode (T): Sets the fan to its maximum speed for rapid air purification.
- Night Mode: The purifier automatically detects ambient light and enters night mode in low-light conditions. This reduces fan speed and noise for a quieter operation. You can also manually activate it.

Figure 5.3: The air purifier in a nursery, demonstrating its quiet operation in night mode, indicated by the dimmed display.
6. Maintenance and Filter Replacement
Regular maintenance ensures optimal performance and extends the life of your air purifier. The unit will indicate when a filter needs attention via an error code on the screen.
6.1 Pre-filter Cleaning
The pre-filter should be cleaned regularly, ideally weekly, especially in areas with high dust levels. This filter does not need replacement but requires cleaning.
- Unplug the air purifier from the power outlet.
- Open the front panel and remove the pre-filter.
- Clean the pre-filter using a vacuum cleaner or by rinsing it under running water. If washing, ensure it is completely dry before re-installing.
- Re-install the pre-filter and close the front panel.
6.2 HEPA and Activated Carbon Filter Replacement
The HEPA and Activated Carbon filters have a long life, up to 17,000 hours, but their lifespan depends on usage and air quality. The air purifier will indicate when these filters need replacement.
- Unplug the air purifier.
- Open the front panel and remove the old HEPA and Activated Carbon filters.
- Dispose of the old filters responsibly.
- Install new genuine Philips replacement filters, ensuring correct orientation as described in the setup section.
- Close the front panel and plug in the air purifier.
- Reset the filter lifetime indicator (refer to your appliance's specific instructions for resetting).

Figure 6.1: Icon indicating the need for filter replacement or cleaning.
7. Troubleshooting
If you encounter issues with your Philips AC1215/20 Air Purifier, refer to the following common problems and solutions:
| Problem | Possible Cause | Solution |
|---|---|---|
| Appliance does not turn on. | Not plugged in; power outage; front panel not closed properly; filters not installed correctly. | Check power connection; ensure front panel is securely closed; verify filter installation. |
| Air quality does not improve. | Room size too large; windows/doors open; filters dirty or expired; air inlet/outlet blocked. | Ensure room is within recommended size; close windows/doors; clean/replace filters; clear obstructions. |
| Increased noise level. | Fan speed too high; dirty pre-filter; foreign object inside. | Reduce fan speed; clean pre-filter; check for and remove any foreign objects. |
| Filter replacement indicator remains on after replacement. | Filter lifetime indicator not reset. | Refer to the user manual for specific instructions on how to reset the filter lifetime indicator. |
If the problem persists after trying these solutions, please contact Philips customer support.
8. Technical Specifications
| Feature | Specification |
|---|---|
| Model Number | AC1215/20 |
| Color | White |
| Product Dimensions (D x W x H) | 37.1D x 25.7W x 60.3H Centimeters |
| Item Weight | 5 kg 250 g |
| Recommended Floor Area | Up to 333 Square Feet |
| Noise Level | 32 dB (Minimum) |
| Controller Type | Touch Control |
| Wattage | 50 Watts |
| Filter Type | Pre-filter, Activated Carbon, H13 Grade TRUE HEPA |
| HEPA Filter Life | Up to 17,000 Hours |
| CADR (Clean Air Delivery Rate) | 270 m³/hour |
| Pollutant Removal | 99.97% of particles as small as 0.003 microns (including PM2.5, bacteria, viruses, pollen, dust mites) |
9. Warranty and Support
Your Philips AC1215/20 Air Purifier comes with a 2-Year Warranty from the date of purchase, covering manufacturing defects. Please retain your purchase receipt for warranty claims.
For service, support, or any queries, you can contact Philips customer service. Philips offers extensive service support across India.

Figure 9.1: Philips service network across India, indicating over 230 service centers. For assistance, call Toll Free: 1800 102 2929.
You can also visit the official Philips Domestic Appliances store for more information: Philips Store on Amazon.in