Introduction
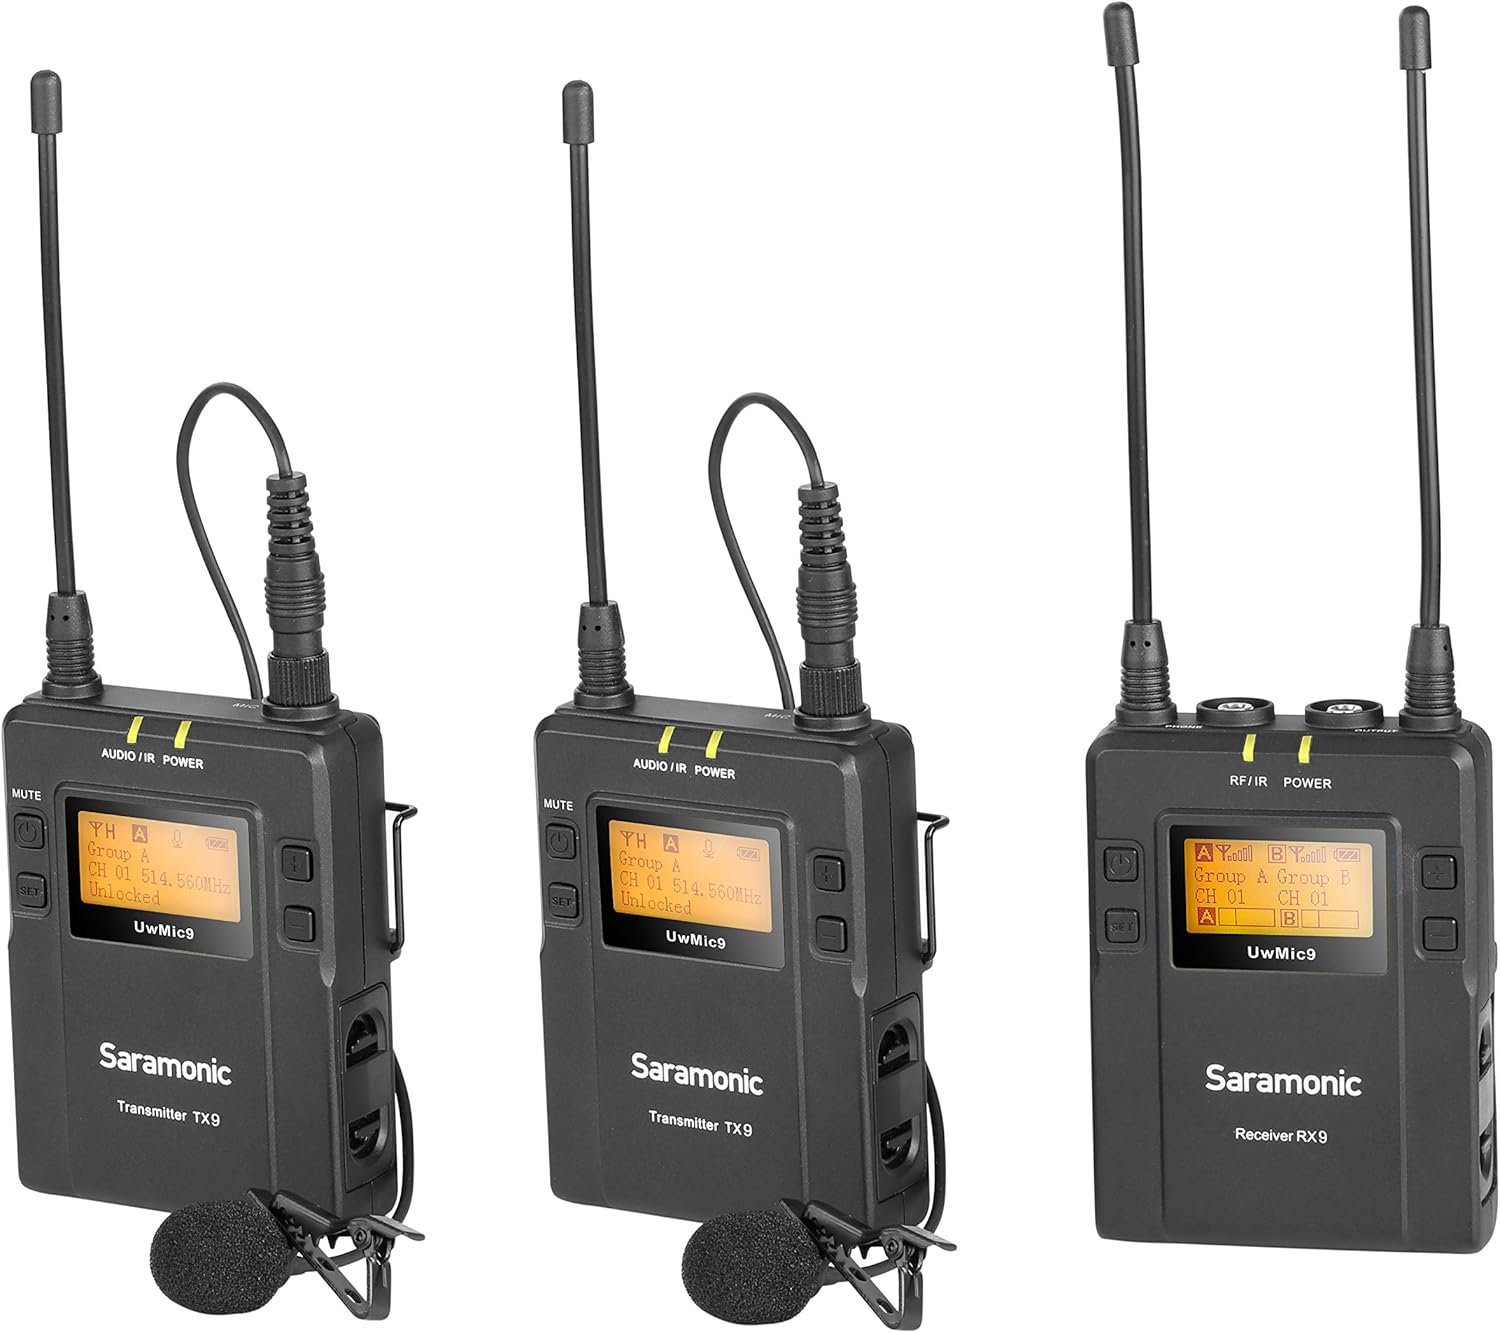
The Saramonic UwMIC9 is a 96-channel digital UHF wireless lavalier microphone system designed for capturing high-quality audio. This system includes two TX9 bodypack transmitters and one RX9 portable receiver, offering a versatile solution for interviews, film dialogue, online video, broadcast TV, and news gathering. Its robust construction and user-friendly features ensure reliable performance in various production environments.
What's in the Box
- Saramonic Dual UHF Lavalier Wireless Microphone System with 2-CH Receiver (UWMIC9TX9TX9RX9)
- 2 x TX9 Bodypack Transmitters
- 1 x RX9 Portable Receiver
- 2 x Omnidirectional Lavalier Microphones
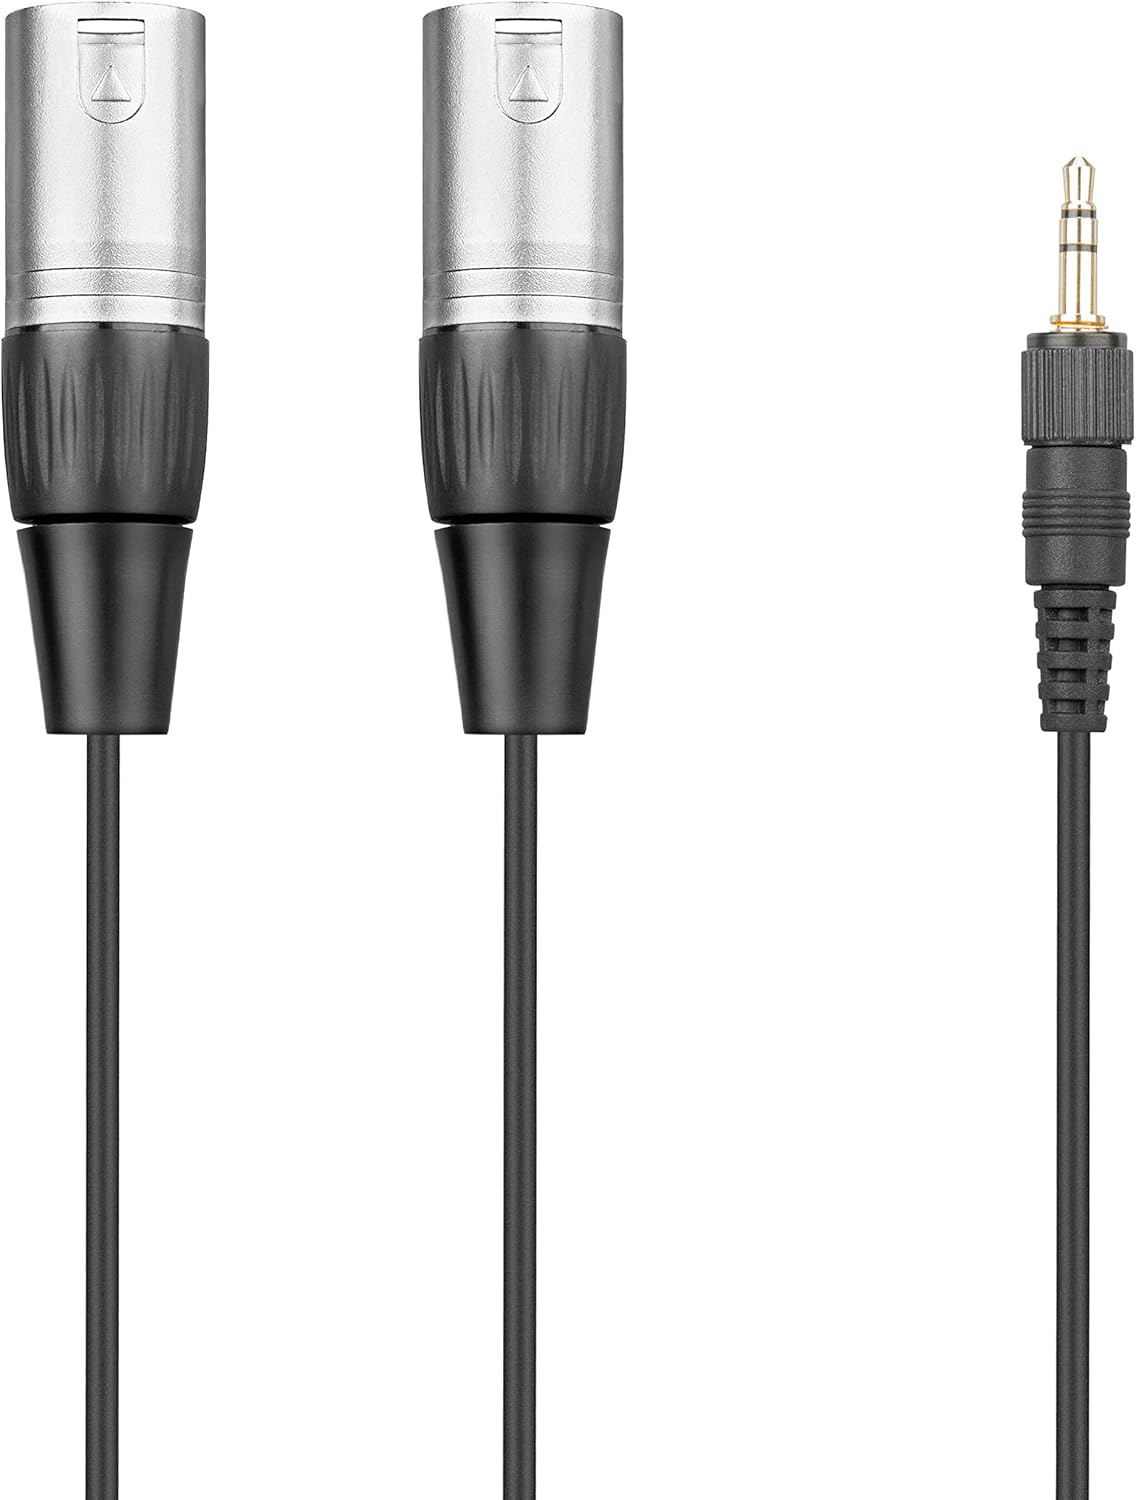
- 1 x 3.5mm to XLR Output Cable
- 1 x 3.5mm to 3.5mm Output Cable
- 1 x Shoe Mount Adapter
- 2 x Belt Clips
- 2 x Foam Windscreens
- User Manual

The package includes the main receiver unit, two bodypack transmitters, two lavalier microphones, and essential cables for connecting to various recording devices. A shoe mount adapter and belt clips are also provided for convenient mounting options.
Components Overview
RX9 Portable Receiver
The RX9 is a 2-channel portable receiver featuring a clear, easy-to-read LCD display. It offers 96 selectable channels across two groups (UHF 514-596MHz) and includes a headphone monitoring jack with volume control. The receiver can be mounted on a camera via the included shoe mount adapter.
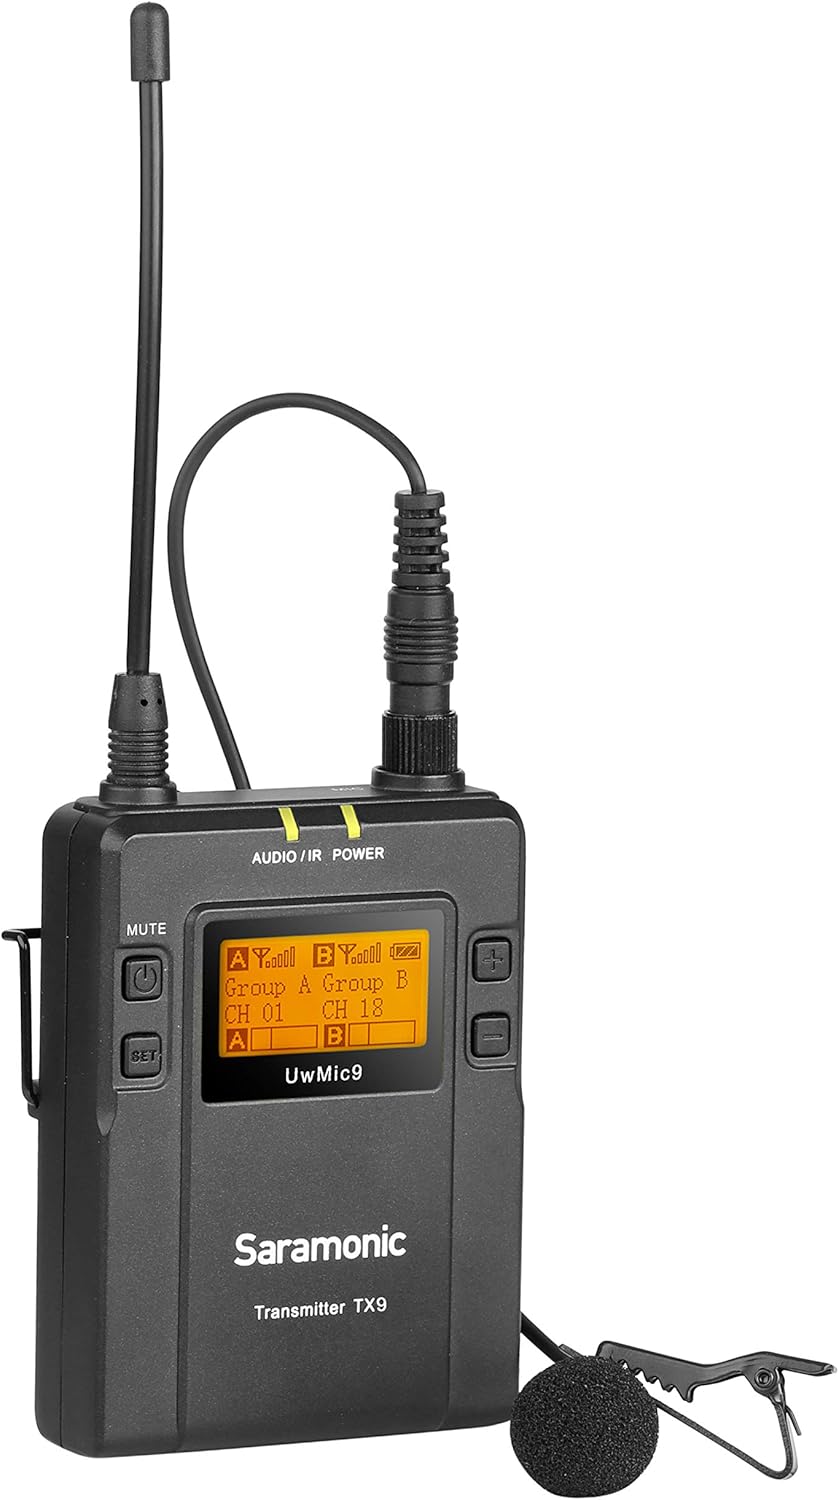
TX9 Bodypack Transmitters
Each TX9 is a compact bodypack transmitter designed for discreet placement. It also features an easy-to-read LCD display and offers 96 selectable channels. The transmitters are equipped with a microphone input and a line-in input, allowing for connection of the included lavalier microphones or other audio sources. A mute function is available for temporary audio cutoff.
Lavalier Microphones
The system includes two omnidirectional lavalier microphones. These microphones connect securely to the TX9 transmitters via a locking 3.5mm jack, preventing accidental disconnections during use. Foam windscreens are provided to reduce wind noise in outdoor environments.

Setup
1. Battery Installation
Each RX9 receiver and TX9 transmitter requires two AA batteries for operation. Ensure batteries are inserted with correct polarity. For optimal performance, use fresh alkaline batteries.
2. Connecting Lavalier Microphones
Connect the 3.5mm plug of the lavalier microphone to the MIC IN port on the TX9 transmitter. Secure the connection by screwing the locking ring on the microphone plug. Attach the lavalier microphone to the talent's clothing, ensuring it is positioned for clear audio capture.
3. Mounting the Receiver
Attach the RX9 receiver to your camera's hot shoe using the provided shoe mount adapter. Alternatively, use the belt clip to attach the receiver to a belt or camera rig.

4. Connecting to Recording Device
Use the appropriate output cable (3.5mm to XLR or 3.5mm to 3.5mm) to connect the RX9 receiver's OUTPUT jack to your camera's audio input or external recording device. Ensure the cable is securely connected.

5. Frequency Scanning and Syncing
Power on both the RX9 receiver and TX9 transmitters. On the RX9, use the auto-scan feature to find the clearest available frequency. Once a clear channel is found, use the built-in infrared sync function to match the frequency of the TX9 transmitters to the RX9 receiver. This ensures a stable and interference-free connection.
Operating Instructions
1. Power On/Off
Press and hold the power button on each unit (RX9 and TX9) to turn them on or off. The LCD display will illuminate upon powering on.
2. Adjusting Channels/Frequencies
Use the navigation buttons on the RX9 receiver to manually select channels within the available groups (A and B) or initiate an auto-scan for optimal frequency selection. Ensure the TX9 transmitters are synced to the selected channels.
3. Monitoring Audio
Plug headphones into the RX9 receiver's HEADPHONE jack to monitor the incoming audio in real-time. Adjust the headphone volume using the dedicated controls on the receiver.
4. Using Line-In (TX9)
The TX9 transmitters feature a LINE IN port. This allows you to connect an external audio source, such as an instrument or another audio device, directly to the transmitter for wireless transmission.
5. Mute Function
Each TX9 transmitter has a mute button. Press this button to temporarily mute the microphone audio without powering off the unit. The display will indicate when the microphone is muted.
Maintenance
Keep the units clean by wiping them with a soft, dry cloth. Avoid exposing the units to extreme temperatures, moisture, or direct sunlight. Store the system in its protective case when not in use. Regularly check battery levels and replace them as needed to ensure consistent performance.
Troubleshooting
- No Audio/Signal Dropout: Ensure all units are powered on and batteries are charged. Perform an auto-scan on the RX9 receiver to find a clear frequency and re-sync the transmitters. Check all cable connections for security.
- Poor Audio Quality/Interference: Move away from potential sources of interference (e.g., Wi-Fi routers, other wireless devices). Try changing the operating frequency using the auto-scan feature. Ensure lavalier microphones are positioned correctly and not rubbing against clothing.
- Short Battery Life: Ensure you are using fresh, high-quality AA alkaline batteries. Consider using rechargeable AA batteries for extended use, but be aware that some rechargeable batteries may have slightly different dimensions and could fit tightly in the battery compartment.
- Microphone Cable Disconnection: Always ensure the lavalier microphone's 3.5mm plug is securely screwed into the TX9 transmitter's MIC IN port to prevent accidental disconnections.
Specifications
| Feature | Specification |
|---|---|
| Item Weight | 1.76 pounds |
| Product Dimensions | 13.43 x 10.04 x 2.17 inches |
| ASIN | B01IMJH9RC |
| Item Model Number | UWMIC9TX9TX9RX9 |
| Batteries | 2 AA batteries required (per unit) |
| Compatible Devices | Camera, Smartphone, Tablet, Voice Recorder |
| Connector Type | 3.5 mm Jack, XLR Connector |
| Mixer Channel Quantity | 2 |
| Voltage | 1.5 Volts |
Warranty and Support
Saramonic products typically come with a manufacturer's warranty. Please refer to the warranty card included in your product packaging or visit the official Saramonic website for detailed warranty information and support contacts.


