1. Introduction
The Nektar Impact LX61+ MIDI controller keyboard is designed for performers and producers seeking tactile instrument control. It offers comprehensive control and features for various computer music applications, including smart controller functionality. This manual provides essential information for setting up, operating, and maintaining your Impact LX61+.
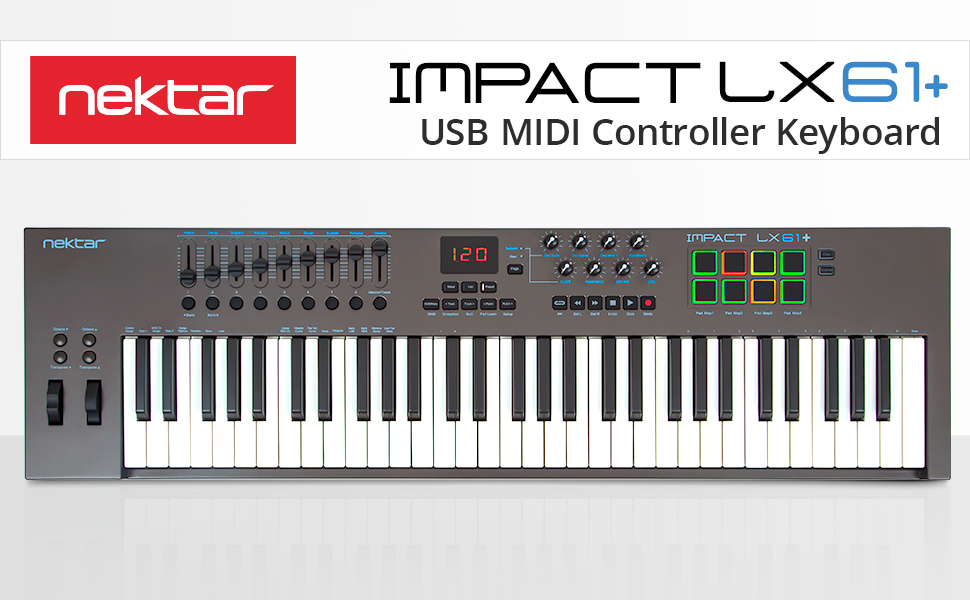
Image 1.1: Nektar Impact LX61+ Keyboard Controller overview.
2. Key Features
The Impact LX61+ is equipped with a range of features to enhance your music production workflow:
- 61 Full-Size Synth-Action Velocity-Sensitive Keys: Provides responsive and expressive playability.
- 8 Back-Lit Hyper-Sensitive Drum Pads: Ideal for beat production and triggering samples.
- 9 Faders and 8 Knobs: For hands-on control over mixer channels, instrument parameters, and effects.
- 6 Transport Buttons: Dedicated controls for DAW playback, recording, and navigation.
- Pitch Bend and Modulation Wheels: For expressive performance.
- Octave & Transpose Buttons: Easily shift the keyboard's range.
- Sustain Pedal Socket: For connecting an external sustain pedal (not included).
- Nektar DAW Integration: Seamless integration with most popular Digital Audio Workstations (DAWs) for enhanced control.
- Comprehensive MIDI Functionality: Compatible with all MIDI music software applications.
- Multi-Platform Compatibility: Works with Mac, PC, and iOS devices.

Image 2.1: Close-up of the Nektar Impact LX61+ keyboard layout.

Image 2.2: The powerful control center of the Nektar Impact LX61+.

Image 2.3: The 8 hyper-sensitive drum pads for beats and grooves.
3. Setup Guide
Follow these steps to set up your Nektar Impact LX61+:
- Unpack: Carefully remove the Impact LX61+ from its packaging. Ensure all components listed in the 'What's in the Box' section are present.
- Connect USB: Connect the included USB cable from the Impact LX61+ to an available USB port on your computer (PC/Mac) or iOS device (requires Apple Camera Connection Kit, not included). The device is USB class compliant, meaning no special drivers are typically needed for basic functionality.
- Power On: The Impact LX61+ is powered via USB. Once connected, it should power on automatically.
- Software Installation (Optional but Recommended): For full Nektar DAW integration features, visit the Nektar Technology website to download and install any necessary drivers or integration files for your specific DAW.
- Connect Sustain Pedal (Optional): If using a sustain pedal, connect it to the dedicated sustain pedal input on the rear of the keyboard.

Image 3.1: Rear panel showing USB and foot switch connections.
4. Operating Instructions
The Impact LX61+ offers intuitive controls for various functions:
4.1. Basic Playback
- Once connected to your computer and a DAW, the keyboard keys will trigger notes in your software instruments.
- Use the Pitch Bend and Modulation wheels on the left side for expressive control during performance.
4.2. Octave and Transpose
- Use the dedicated Octave Up/Down buttons to shift the keyboard's range by octaves.
- Use the Transpose Up/Down buttons to shift the pitch in semitone increments.
4.3. Drum Pads
- The 8 illuminated drum pads are velocity-sensitive. Press them to trigger drum sounds or samples in your DAW.
- The pads can be assigned to different MIDI notes or functions depending on your DAW and setup. Refer to your DAW's documentation for specific pad mapping instructions.
4.4. Faders and Knobs
- The 9 faders and 8 knobs provide real-time control. In DAW integration mode, these typically control mixer volume, pan, and send effects.
- In Instrument mode, they can control parameters of virtual instruments.
- The functionality of these controls is highly dependent on the active mode and your DAW's integration.

Image 4.1: Transport and navigation controls.
5. DAW Integration
The Nektar Impact LX61+ features deep integration with many popular DAWs, providing enhanced control over your music production environment. Supported DAWs include Bitwig, Cubase, Cakewalk, DP, FL Studio, GarageBand, Logic, Nuendo, Reaper, Reason, and Studio One.
5.1. Activating DAW Integration
- After connecting your Impact LX61+ and installing any necessary Nektar integration files (available on the Nektar website), open your DAW.
- Navigate to your DAW's preferences or settings menu, usually under 'MIDI' or 'Control Surfaces'.
- Select the Nektar Impact LX61+ as a control surface. Follow any on-screen prompts or refer to the Nektar documentation for your specific DAW.
5.2. Control Modes
The Impact LX61+ typically operates in different modes:
- Mixer Mode: Controls your DAW's mixer, allowing adjustment of track volumes, panning, and sends using the faders and knobs.
- Instrument Mode: Maps the controls to parameters of the currently selected virtual instrument.
- Preset Mode: Accesses user-defined presets for custom control mappings.

Image 5.1: Nektar DAW integration for various software.

Image 5.2: Mixer control functionality.

Image 5.3: Instrument control functionality.
6. Included Software
The Nektar Impact LX61+ comes bundled with valuable software to get you started with music production:
- Bitwig Studio 8-Track DAW: A powerful Digital Audio Workstation that includes a sampler, polysynth, drum machine, FX, and more. It also comes with Bitwig Essentials Pack featuring a selection of presets, loops, clips, and samples.
- 5 Cherry Audio Full Version Plugins: Expand your sound palette with additional virtual instruments and effects.
Refer to the included license cards and instructions for downloading and activating your software.

Image 6.1: Nektar Impact LX61+ bundled with music production software.
7. Specifications
| Feature | Detail |
|---|---|
| Item Weight | 9.02 pounds |
| Product Dimensions | 38.03 x 10.51 x 3.03 inches |
| Item Model Number | Impact LX61+ |
| Color Name | Dark Grey |
| Compatible Devices | iOS; PC; Laptop running Windows, MacOS or Linux |
| Connector Type | USB |
| Hardware Interface | USB |
| Supported Software | All MIDI software applications. |
| Material Type | Plastic |
| Musical Style | Electronic |
| Number of Keyboard Keys | 61 |
| Mixer Channel Quantity | 8 |
| Hardware Platform | PC/Mac/iOS/Linux |
| Special Feature | Nektar DAW integration for most popular DAWs |
8. What's in the Box
Upon opening your Nektar Impact LX61+ package, you should find the following items:
- Impact LX61+ Keyboard
- USB Cable
- Owner's Manual
- Bitwig Studio 8-Track License Card
- 5 Cherry Audio Full Version Plugins (License/Download Information)
9. Troubleshooting
If you encounter issues with your Nektar Impact LX61+, consider the following common troubleshooting steps:
- No Power/Not Recognized: Ensure the USB cable is securely connected to both the keyboard and your computer. Try a different USB port or cable. If using a USB hub, ensure it is powered.
- No Sound: Verify that your DAW is correctly configured to receive MIDI input from the Impact LX61+. Check that a software instrument is loaded and armed for recording on a track. Ensure your audio output is correctly set up and volume levels are adequate.
- Controls Not Working as Expected: Confirm that Nektar DAW integration files are installed and activated in your DAW's preferences. Check the mode of the Impact LX61+ (e.g., Mixer, Instrument) to ensure it aligns with your intended control.
- Intermittent Connectivity: Avoid connecting the keyboard through unpowered USB hubs or excessively long USB cables.
For more detailed troubleshooting or specific issues, please refer to the official Nektar Technology website or contact their customer support.
10. Maintenance
To ensure the longevity and optimal performance of your Nektar Impact LX61+:
- Cleaning: Use a soft, dry cloth to clean the surface of the keyboard. For stubborn dirt, a slightly damp cloth can be used, but ensure no moisture enters the device. Avoid abrasive cleaners or solvents.
- Storage: Store the keyboard in a cool, dry place away from direct sunlight, extreme temperatures, and high humidity.
- Handling: Avoid dropping the device or subjecting it to strong impacts. Do not place heavy objects on top of the keyboard.
- Dust Protection: When not in use, consider covering the keyboard to protect it from dust accumulation.
11. Warranty and Support
For information regarding the product warranty, technical support, and service, please visit the official Nektar Technology website. You will find detailed warranty terms, FAQs, and contact information for customer assistance.
Always register your product to receive updates and support.


