1. Introduction
Thank you for choosing the Retevis RT33 Kids Walkie Talkies. This manual provides essential information for the safe and effective use of your new two-way radios. Please read it thoroughly before operation and retain it for future reference.
2. Safety Information
- Do not attempt to disassemble or modify the device.
- Keep the device away from water and moisture.
- Use only specified batteries (3 AAA batteries per unit, not included).
- Dispose of batteries properly according to local regulations.
- Supervise children during use to ensure safe operation.
- Avoid exposing the device to extreme temperatures or direct sunlight.
3. Package Contents
Verify that all items are present in your package:
- 2 x Retevis RT33 Walkie Talkies
- 2 x Belt Clips
- 1 x User Manual

Figure 1: Product Dimensions and Battery Requirements. Each unit requires 3 AAA batteries (not included).
4. Product Overview
The Retevis RT33 walkie talkies feature a compact, ergonomic design made from durable PC and ABS materials, suitable for children aged 6-12. Key components include:
- Antenna: For signal transmission and reception.
- LCD Screen: Displays channel, sub-code, battery level, and other indicators.
- Menu/PWR Button: Long press to power on/off, short press to access menu.
- Up/Down Buttons: Navigate menu options and adjust settings.
- PTT (Push-to-Talk) Button: Press and hold to transmit voice.
- MONI Button: Monitor current channel activity.
- SCAN Button: Scan for active channels.
- LAMP Button: Activates the built-in LED flashlight.
- Speaker/Microphone: For audio output and input.

Figure 2: Detailed view of the walkie talkie controls, LCD screen, and battery compartment.

Figure 3: The walkie talkie is constructed from durable PC and ABS materials, designed for child-friendly use.
5. Setup
5.1 Battery Installation
- Locate the battery compartment cover on the back of the walkie talkie.
- Slide the cover downwards to open the compartment.
- Insert 3 AAA alkaline batteries into the compartment, ensuring correct polarity (+/-).
- Close the battery compartment cover by sliding it upwards until it clicks securely into place.

Figure 4: Open the battery compartment to insert 3 AAA batteries.
5.2 Power On/Off
- To power on: Long press the Menu/PWR button until the LCD screen illuminates.
- To power off: Long press the Menu/PWR button until the LCD screen turns off.
5.3 Channel and Sub-channel Setting
For communication, both walkie talkies must be set to the same main channel and sub-channel.
- Short press the Menu/PWR button to enter the menu. The channel number will flash.
- Use the Up or Down buttons to select the desired main channel (1-22).
- Short press the Menu/PWR button again to confirm the main channel and move to sub-channel setting. The sub-channel number will flash.
- Use the Up or Down buttons to select the desired sub-channel (00-99).
- Press the PTT button to confirm the sub-channel and exit the menu.

Figure 5: Ensure both units are on the same channel and sub-code for clear communication and reduced interference (CTCSS).
6. Operating Instructions
6.1 Transmitting and Receiving
- To transmit: Press and hold the PTT button and speak clearly into the microphone. Release the button when finished speaking.
- To receive: Ensure the PTT button is not pressed. The walkie talkie will automatically receive transmissions on the selected channel.
6.2 VOX Function (Voice Operated Exchange)
The VOX function allows for hands-free communication. When activated, the radio will transmit automatically when it detects your voice.
- To activate/deactivate VOX: Short press the Menu/PWR button until the VOX setting appears. Use the Up or Down buttons to select the desired VOX sensitivity level (1-3) or turn it off (OF). Press PTT to confirm.
6.3 Keypad Lock
The keypad lock prevents accidental changes to settings during use.
- To lock/unlock: Long press the Menu/PWR button while in normal operation mode. A key icon will appear/disappear on the LCD screen.
6.4 Flashlight
The built-in LED flashlight provides illumination in low-light conditions.
- To turn on/off: Short press the LAMP button.
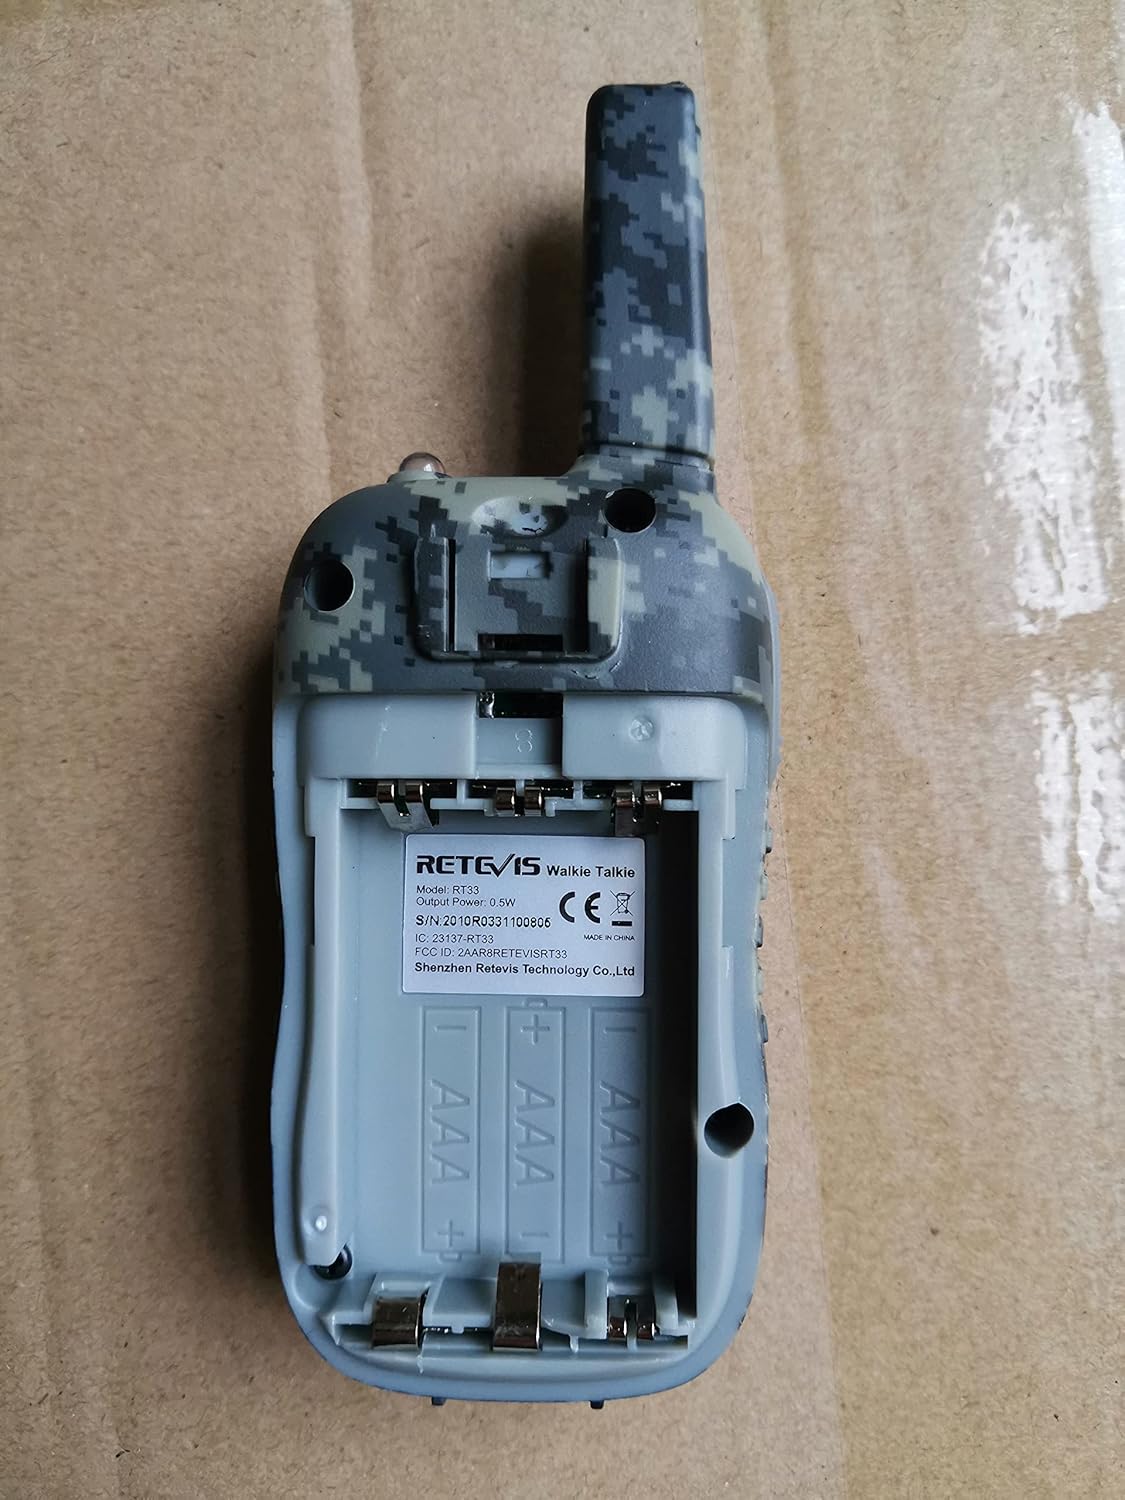
Figure 6: The walkie talkie features a bright LED flashlight for convenience.
7. Maintenance
- Clean the device with a soft, damp cloth. Do not use harsh chemicals or abrasive cleaners.
- If the device will not be used for an extended period, remove the batteries to prevent leakage.
- Store the walkie talkies in a cool, dry place.
8. Troubleshooting
| Problem | Possible Cause | Solution |
|---|---|---|
| No power | Batteries are low or incorrectly installed. | Replace batteries with fresh ones, ensuring correct polarity. |
| Cannot communicate with other units | Units are on different channels/sub-channels. | Ensure all units are set to the same main channel and sub-channel. |
| Poor sound quality/short range | Obstructions (buildings, trees), distance, low battery. | Move to an open area, reduce distance, replace batteries. |
| Keypad is unresponsive | Keypad lock is active. | Long press the Menu/PWR button to unlock the keypad. |
9. Specifications
- Brand:
- Retevis
- Model:
- RT33
- Number of Items:
- 2
- Number of Channels:
- 22
- Frequency Range:
- FRS
- Talking Range Maximum:
- 1000 Meter (dependent on terrain)
- Power Source Type:
- Battery Powered
- Batteries Required:
- Yes (6 AAA batteries total, 3 per unit)
- Battery Cell Composition:
- Alkaline
- Product Dimensions:
- 12.5 x 2.6 x 4.6 cm; 160 g
- Special Features:
- Lightweight, Long Range, VOX, Keypad Lock, Flashlight
- Water Resistance Level:
- Not Water Resistant
10. Warranty and Support
Retevis products are designed for reliability and performance. For warranty information, technical support, or service inquiries, please refer to the contact details provided on the product packaging or the official Retevis website. Please retain your proof of purchase for warranty claims.
11. Official Product Videos
No official seller videos directly demonstrating the Retevis RT33 model were found in the provided data. Please refer to the written instructions and diagrams for guidance.


