
Introduction
This manual provides detailed instructions for the proper use and maintenance of your Eboot 100 Pieces Adhesive Cable Wire Clips. These clips are designed to help organize and manage various cables in your home, office, or vehicle, promoting a tidy and clutter-free environment.
Safety Information
- Keep this product indoors, away from direct sunlight.
- Avoid submersion in water.
- Ensure surfaces are clean and dry before application to maximize adhesion.
- Keep out of reach of children.
Package Contents
- 100 x Eboot Adhesive Cable Wire Clips

Image: A clear plastic bag containing numerous black adhesive cable clips with green and white backing paper visible on the adhesive side.
Specifications
| Feature | Detail |
|---|---|
| Brand | EBOOT |
| Model Number | CECOMINOD022982 |
| Material Type | Plastic |
| Number of Items | 100 |
| Item Weight | 2.4 ounces (0.15 Pounds) |
| Product Dimensions | 0.79 x 0.59 x 0.28 inches (1.9 x 1.4 cm) |
| Applicable Cable Diameter | 0 - 5 mm (0 - 0.2 inch) |
| Fastener Type | Adhesive |
Setup and Installation
Follow these steps for optimal adhesion and cable management:
- Prepare the Surface: Clean the desired area with alcohol and allow it to air dry completely. This ensures maximum adhesion.
- Remove Adhesive Backing: Carefully peel off the protective film from the back of the cable clip.
- Apply the Clip: Stick the clip firmly onto the clean, dry surface. Press down on all four corners of the clip for several seconds to ensure a strong bond.
- Insert Cable: Open the clip by gently pressing the top part, insert the cable(s) into the designated space, and then close the clip to secure them. The clips are designed to hold cables up to 5mm in diameter.

Image: A five-step visual guide demonstrating the installation process: 1. Cleaning the surface, 2. Removing the adhesive sticker, 3. Pressing the clip onto the surface, 4. Securing the clip, 5. Placing the wire into the clip.

Image: A diagram illustrating the dimensions of the cable clip (0.74 inches x 0.55 inches) and a two-step process for securing a wire: 1. Put the electric wire into the hole, 2. Fix the wire with the hook.
Recommended Surfaces:
These clips work well on various smooth, dry surfaces including:
- Wood surfaces
- Metal surfaces
- Plastic surfaces
- Glass surfaces
- Ceramic surfaces
- Marble surfaces
Avoid rough or fabric surfaces for best results.

Image: A graphic showing various surfaces (wood, metal, marble, ceramic) where the clips are suitable, and an example of a messy desk before and after using the clips for organization.
Operating Instructions
Once installed, the Eboot Adhesive Cable Wire Clips provide a secure and organized path for your cables. To use:
- Cable Insertion: Gently open the clip by pressing the top part. Place the cable(s) inside the clip's loop.
- Cable Securing: Release the top part of the clip to securely hold the cable(s) in place. The spring-loaded design ensures a firm grip.
- Cable Removal/Adjustment: To remove or adjust a cable, simply press the top part of the clip to open it, make your adjustment, and then close it again.
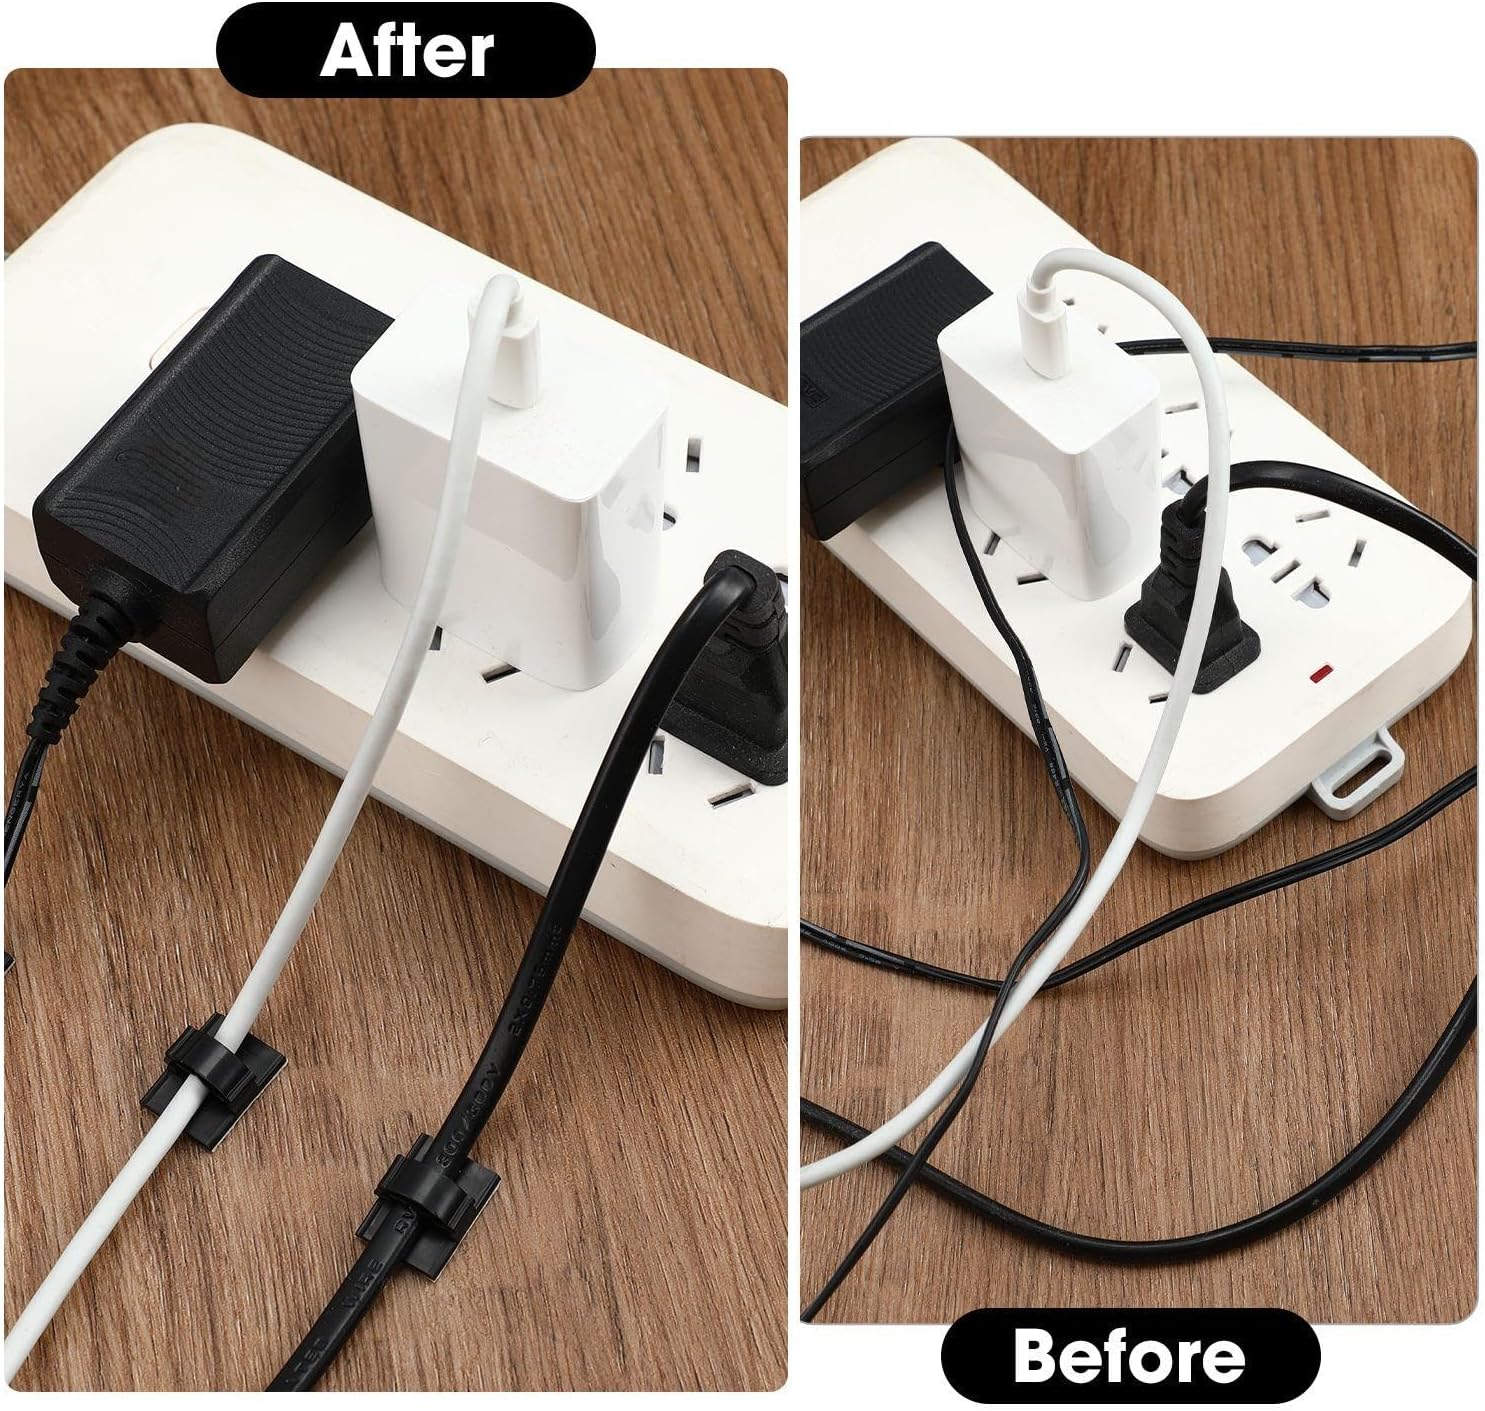
Image: A desk showing various electronic devices and their cables neatly organized and secured along the edge of the desk using the black adhesive cable clips.
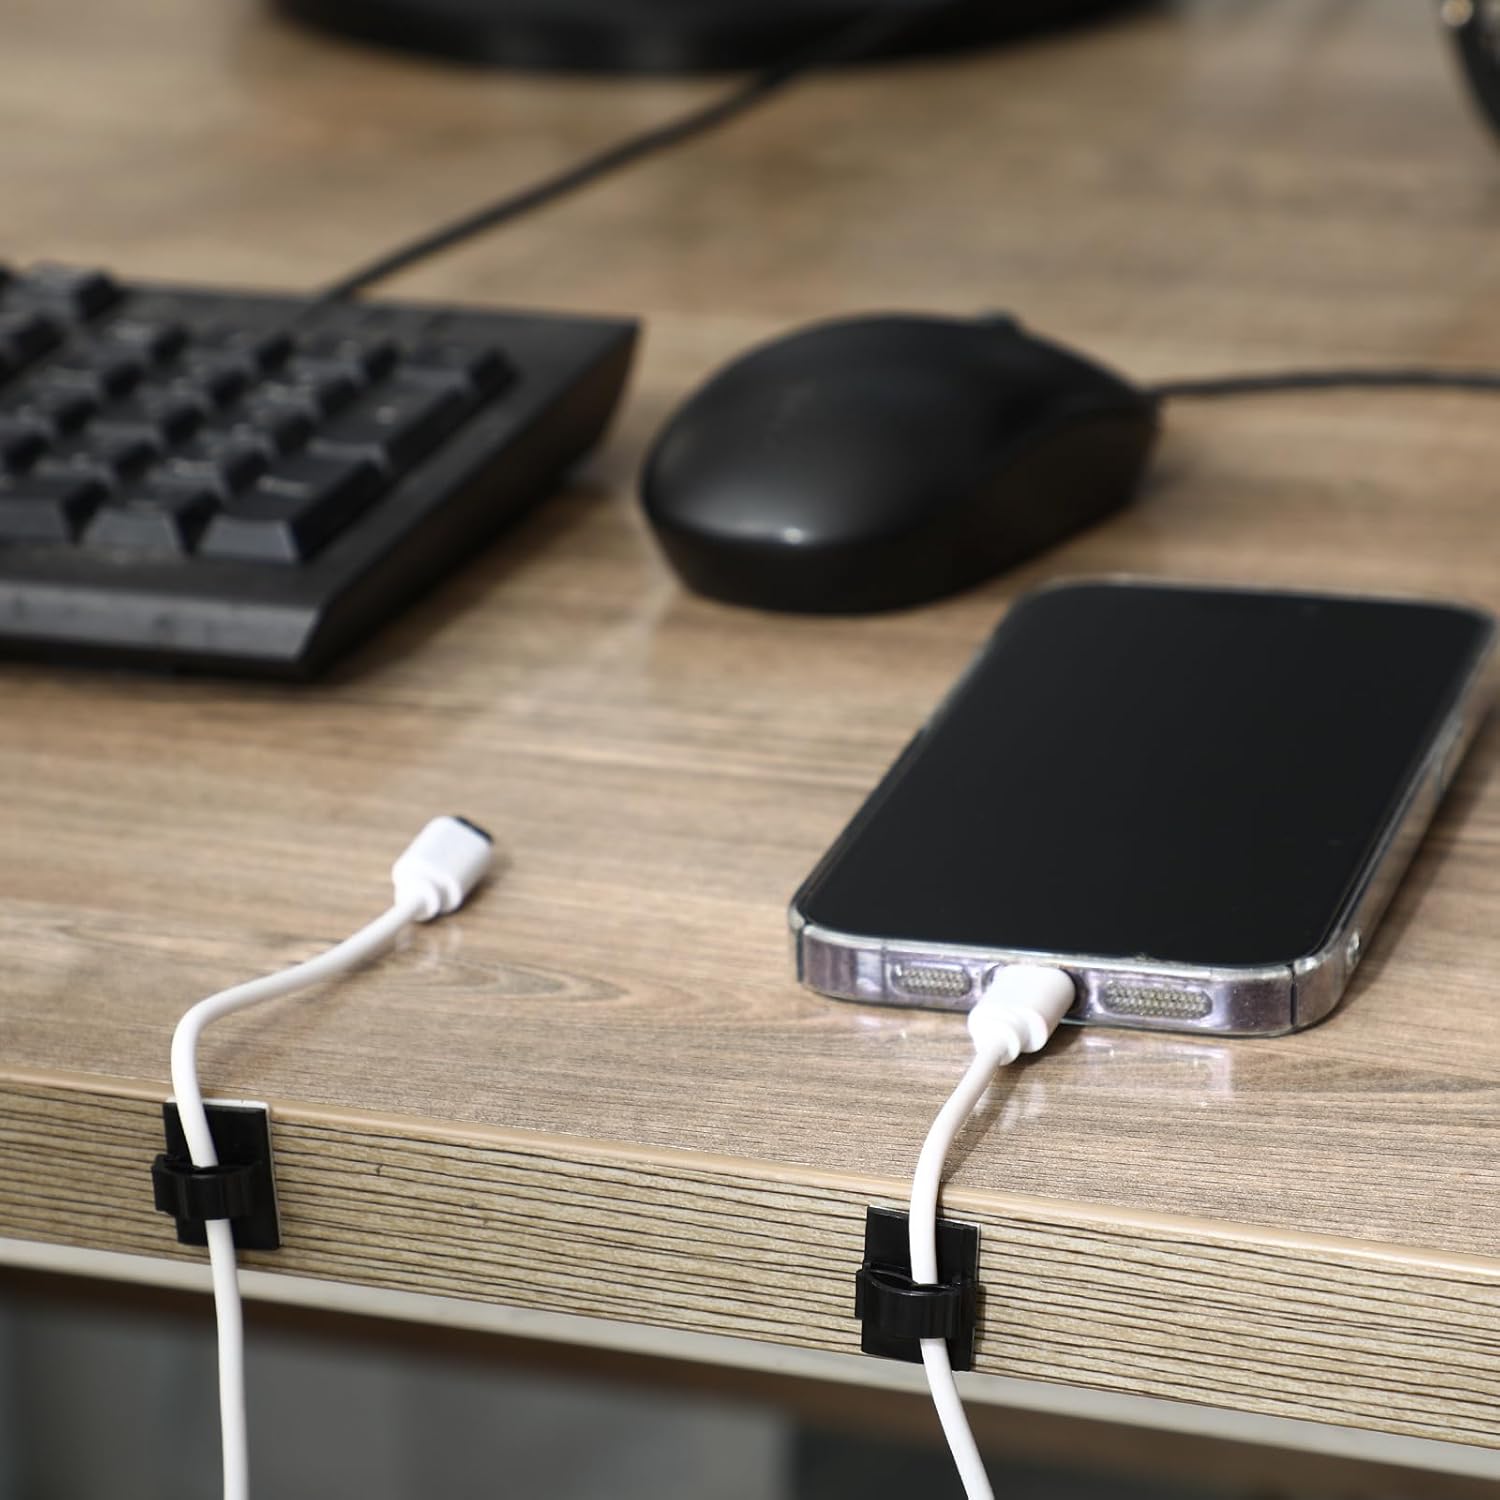
Image: A close-up view of two charging cables, one white and one black, secured by Eboot adhesive cable clips along the edge of a wooden desk, leading to a smartphone.

Image: An Eboot cable clip securing a dashcam cable along the windshield of a car, demonstrating its use in automotive environments.
Maintenance
The Eboot Adhesive Cable Wire Clips require minimal maintenance. To ensure longevity:
- Cleaning: If clips become dusty, gently wipe them with a dry or slightly damp cloth. Avoid harsh chemicals.
- Environmental Conditions: As noted in safety information, keep clips indoors and away from extreme temperatures or direct prolonged sunlight to prevent adhesive degradation.
- Avoid Overloading: Do not force excessively thick cables into the clips, as this can damage the clip mechanism or weaken the adhesive bond.
Troubleshooting
If you encounter issues with your Eboot Adhesive Cable Wire Clips, consider the following:
- Clips Not Sticking:
- Ensure the surface was thoroughly cleaned with alcohol and completely dry before application. Any dust, oil, or moisture will significantly reduce adhesion.
- Verify the surface is smooth. Adhesive clips are not designed for rough, porous, or textured surfaces.
- Apply firm pressure for several seconds after placing the clip to ensure proper contact.
- Avoid repositioning the clips multiple times, as this weakens the adhesive.
- Consider the environment: extreme cold or heat can affect adhesive performance.
- Cables Not Staying in Clip:
- Check if the cable diameter exceeds the recommended 5mm. Overly thick cables may not fit securely.
- Ensure the clip is fully closed after inserting the cable.
- Clip Breaking:
- Avoid excessive force when opening or closing the clips.
- Do not attempt to fit cables larger than the specified diameter.
Helpful Videos:
Video: A demonstration by eBoot Online showing the application of the adhesive cable clips to organize cables on a desk, highlighting the ease of use and the neat result.
Warranty and Support
For any questions, concerns, or support regarding your Eboot Adhesive Cable Wire Clips, please contact the manufacturer directly through their official channels or the retailer from whom you purchased the product. Please refer to your purchase documentation for specific warranty details, as these may vary.