
1. Introduction
This manual provides essential information for the safe installation, operation, and maintenance of your Volteck Lait PLA-203L 6W LED Round Ceiling Light. Please read these instructions carefully before installation and retain them for future reference.
The Volteck Lait PLA-203L is a modern, round LED ceiling light designed for indoor use, offering instant illumination with 100% brightness upon activation. It features an aluminum body and a polystyrene screen, providing efficient and environmentally friendly lighting.
2. Safety Information
WARNING: Risk of electric shock. Installation should only be performed by a qualified electrician or a person with adequate electrical knowledge.
- Always disconnect power at the circuit breaker or fuse box before installation, servicing, or cleaning.
- Ensure the voltage supply is compatible with the light fixture (refer to specifications).
- Do not install in wet locations or areas exposed to direct water spray. This product is for indoor use only.
- Handle the light fixture with care to avoid damage.
- Do not attempt to modify the fixture. Any modifications may void the warranty and create safety hazards.
3. Package Contents
The package typically includes:
- 1 x Volteck Lait PLA-203L LED Round Ceiling Light
- Mounting hardware (screws, anchors)
- Instruction manual
Please verify all components are present and undamaged upon opening the package.

Image: Packaging of the Volteck Lait PLA-203L LED Ceiling Light, showing product details and specifications.
4. Setup and Installation
The Volteck Lait PLA-203L is designed for easy ceiling mount installation. Follow these steps carefully:
- Prepare for Installation:
a. Ensure the power supply to the installation area is turned off at the main circuit breaker.
b. Gather necessary tools: screwdriver, wire strippers, drill (if needed for anchors). - Mount the Fixture Base:
a. Position the light fixture base against the ceiling where it will be installed.
b. Mark the locations for drilling pilot holes for the mounting screws.
c. Drill pilot holes and insert wall anchors if necessary.
d. Secure the fixture base to the ceiling using the provided screws. - Wire the Fixture:
a. Connect the electrical wires from the ceiling to the corresponding wires on the light fixture. Typically, the brown wire is live (L), and the blue wire is neutral (N). Ensure secure connections using appropriate wire connectors.
b. If a ground wire is present, connect it according to local electrical codes. - Attach the Light Cover:
a. Carefully align the light cover with the base.
b. Secure the cover to the base, ensuring it is firmly attached. - Restore Power:
a. Once installation is complete and all connections are secure, restore power at the circuit breaker.
b. Test the light fixture to ensure proper operation.
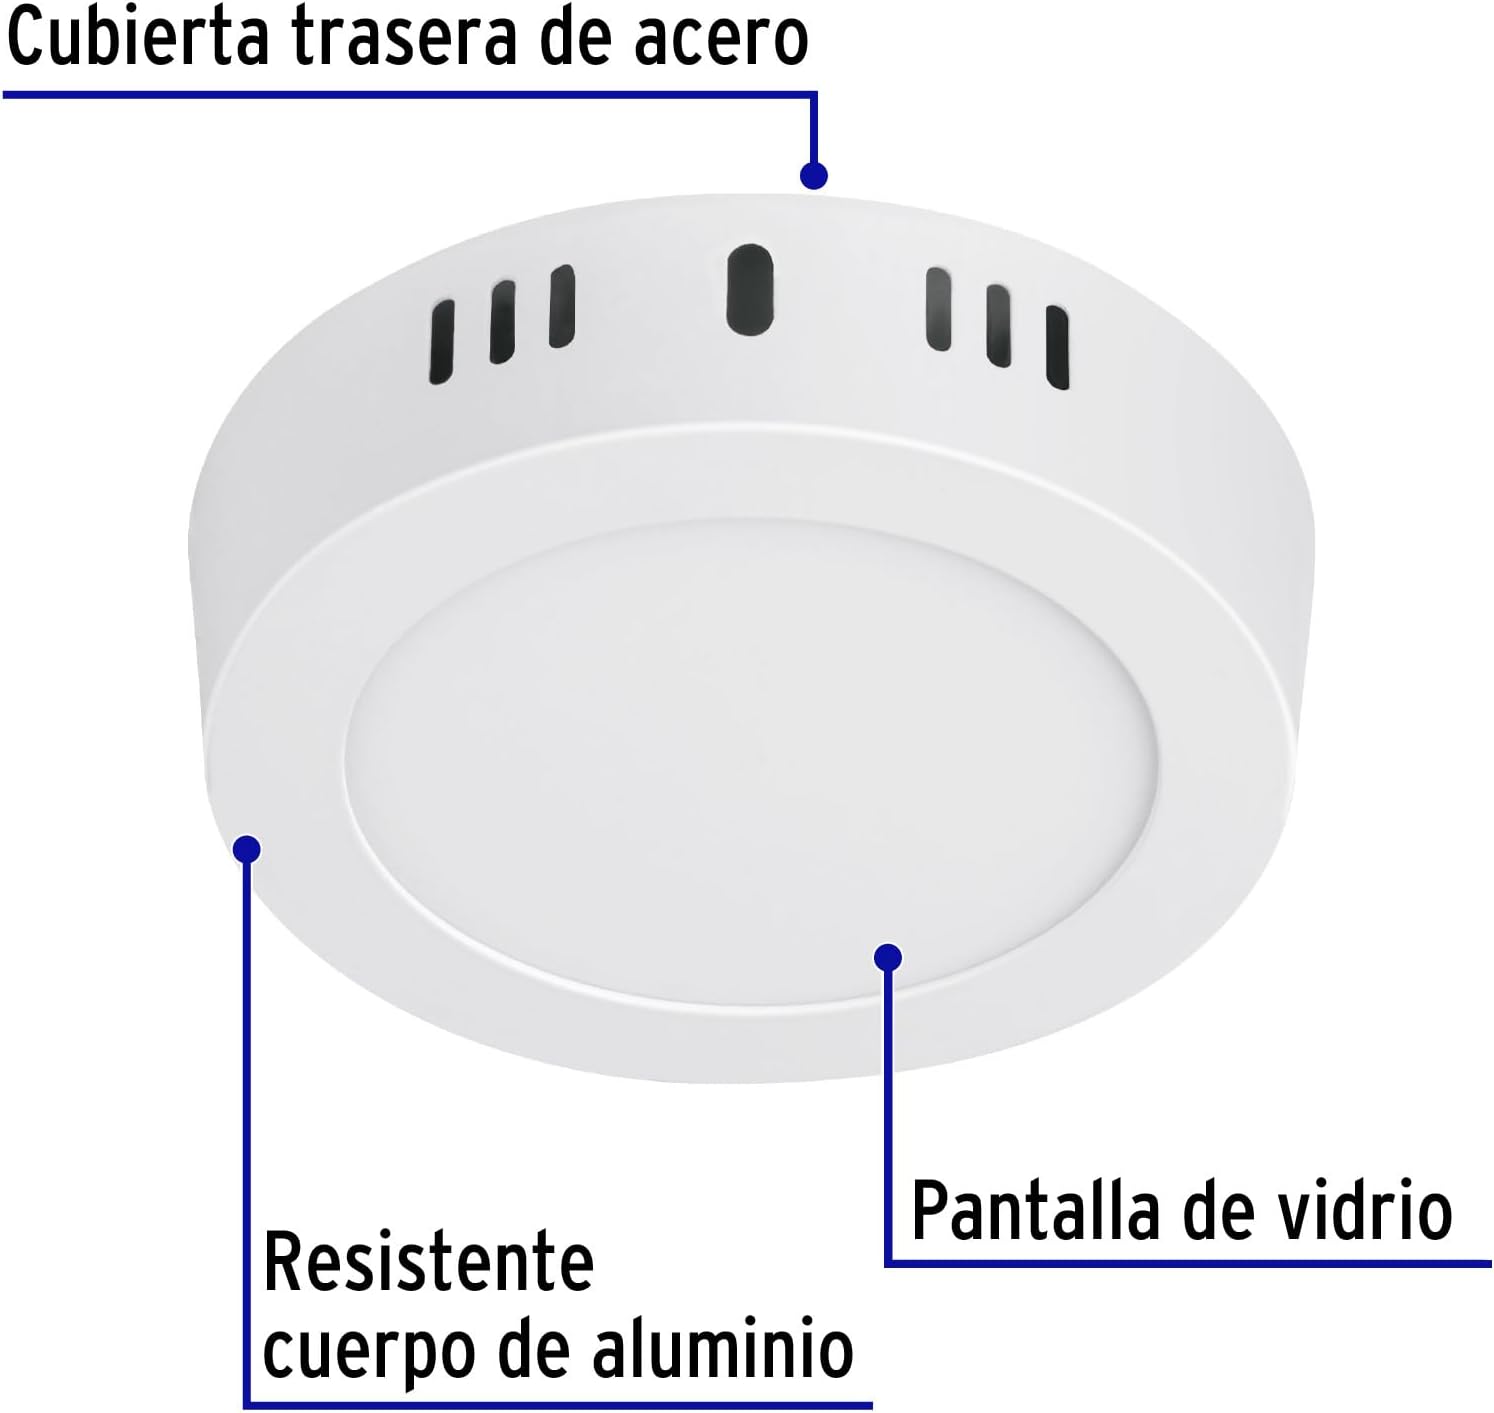
Image: Front view of the Volteck Lait PLA-203L LED Ceiling Light, showing its round design and ventilation holes.

Image: Side view of the Volteck Lait PLA-203L LED Ceiling Light, illustrating its compact dimensions of 11 cm diameter and 3 cm height.
5. Operating Instructions
The Volteck Lait PLA-203L LED Ceiling Light operates via a standard wall switch connected to its electrical circuit. It provides instant full brightness upon activation.
- Turning On/Off: Use the wall switch connected to the fixture to turn the light on or off.
- Instant Illumination: The LED light will provide 100% of its brightness immediately upon being switched on.
Note: While some specifications mention a remote control style switch, this model typically operates with a standard wall switch. If your specific model includes a remote, refer to its separate instructions for pairing and operation.
6. Maintenance
The Volteck Lait PLA-203L LED Ceiling Light is designed for long-lasting performance with minimal maintenance.
- Cleaning: To clean the fixture, ensure the power is off. Use a soft, dry, or slightly damp cloth. Do not use abrasive cleaners, solvents, or harsh chemicals, as these can damage the finish or electrical components.
- LED Lifespan: The integrated LED has an estimated lifespan of 15,000 hours, meaning bulb replacement is not required.
- Environmental Considerations: This product is designed to be environmentally friendly. Please dispose of it responsibly at the end of its life cycle according to local regulations.
7. Troubleshooting
If you encounter issues with your Volteck Lait PLA-203L, refer to the following common troubleshooting steps:
| Problem | Possible Cause | Solution |
|---|---|---|
| Light does not turn on | No power supply Loose wiring connection Faulty switch | Check circuit breaker/fuse. Ensure all wire connections are secure (with power off). Test the wall switch or replace if faulty. |
| Light flickers | Loose wiring Incompatible dimmer switch (if applicable) | Check all wiring connections (with power off). Ensure the fixture is not connected to an incompatible dimmer. This fixture is generally not designed for dimming unless specified. |
| Light is dim | Incorrect voltage Dust accumulation | Verify the power supply voltage. Clean the light fixture surface. |
If these steps do not resolve the issue, contact customer support or a qualified electrician.
8. Specifications
| Feature | Detail |
|---|---|
| Brand | Volteck |
| Model Number | PLA-203L |
| Power Consumption | 6 Watts |
| Luminous Flux | 400 Lumens |
| Color Temperature | 6500K (Daylight White) |
| Light Source | Integrated LED |
| Estimated Lifespan | 15,000 hours |
| Material | Aluminum body, Polystyrene screen |
| Color | White |
| Dimensions (Diameter x Height) | 10.92 cm x 3.05 cm (approx. 11 cm x 3 cm) |
| Weight | 920 g |
| Installation Type | Ceiling Mount |
| Power Source | Corded Electric |
| Usage | Indoor use (Living room, bedroom, kitchen, bathroom, dining room, office, hallway, staircase, entrance) |
9. Warranty and Support
For warranty information and customer support, please refer to the documentation included with your purchase or contact Volteck customer service directly. Keep your proof of purchase for any warranty claims.