Pretul ROTO-3/8P4 Hammer Drill User Manual
Model: ROTO-3/8P4 | Brand: Pretul
1. Product Overview
The Pretul ROTO-3/8P4 is a versatile 500W electric hammer drill designed for various drilling tasks in household and light professional applications. It features a 3/8-inch (10mm) chuck, reversible speed, and a selector for switching between drill and hammer drill functions, making it suitable for materials such as concrete, wood, and metal. The tool also includes a continuous use button for extended operation.

Figure 1: Overview of the Pretul ROTO-3/8P4 Hammer Drill. This image displays the complete tool, highlighting its compact design and key components such as the chuck, motor housing, handle, and power cord.
2. General Safety Instructions
Always adhere to the following safety guidelines to prevent electric shock, fire, and serious injury:
- Work Area Safety: Keep the work area clean and well-lit. Cluttered or dark areas invite accidents. Do not operate power tools in explosive atmospheres, such as in the presence of flammable liquids, gases, or dust.
- Electrical Safety: Power tool plugs must match the outlet. Never modify the plug in any way. Do not abuse the cord. Never use the cord for carrying, pulling, or unplugging the power tool. Keep cord away from heat, oil, sharp edges, or moving parts.
- Personal Safety: Always wear eye protection. Use hearing protection when operating the tool for extended periods. Dress properly; avoid loose clothing or jewelry. Secure long hair.
- Power Tool Use and Care: Do not force the power tool. Use the correct power tool for your application. Disconnect the plug from the power source before making any adjustments, changing accessories, or storing power tools.
- Maintenance: Maintain power tools. Check for misalignment or binding of moving parts, breakage of parts, and any other condition that may affect the power tool’s operation.
3. Setup
3.1 Unpacking
Carefully remove the hammer drill and all accessories from the packaging. Inspect the tool for any signs of damage that may have occurred during shipping. Retain the packaging for future storage or transport.

Figure 2: The Pretul ROTO-3/8P4 Hammer Drill as packaged. This image shows the product within its retail box, indicating the included components and basic specifications on the packaging.
3.2 Installing Drill Bits
- Ensure the drill is unplugged from the power source before installing or removing bits.
- Rotate the chuck jaws counter-clockwise to open them sufficiently to insert the drill bit.
- Insert the drill bit fully into the chuck, ensuring it is centered.
- Tighten the chuck jaws by rotating them clockwise until the bit is held firmly. For a secure grip, use the provided chuck key. Insert the key into the holes on the chuck and rotate clockwise to fully tighten.
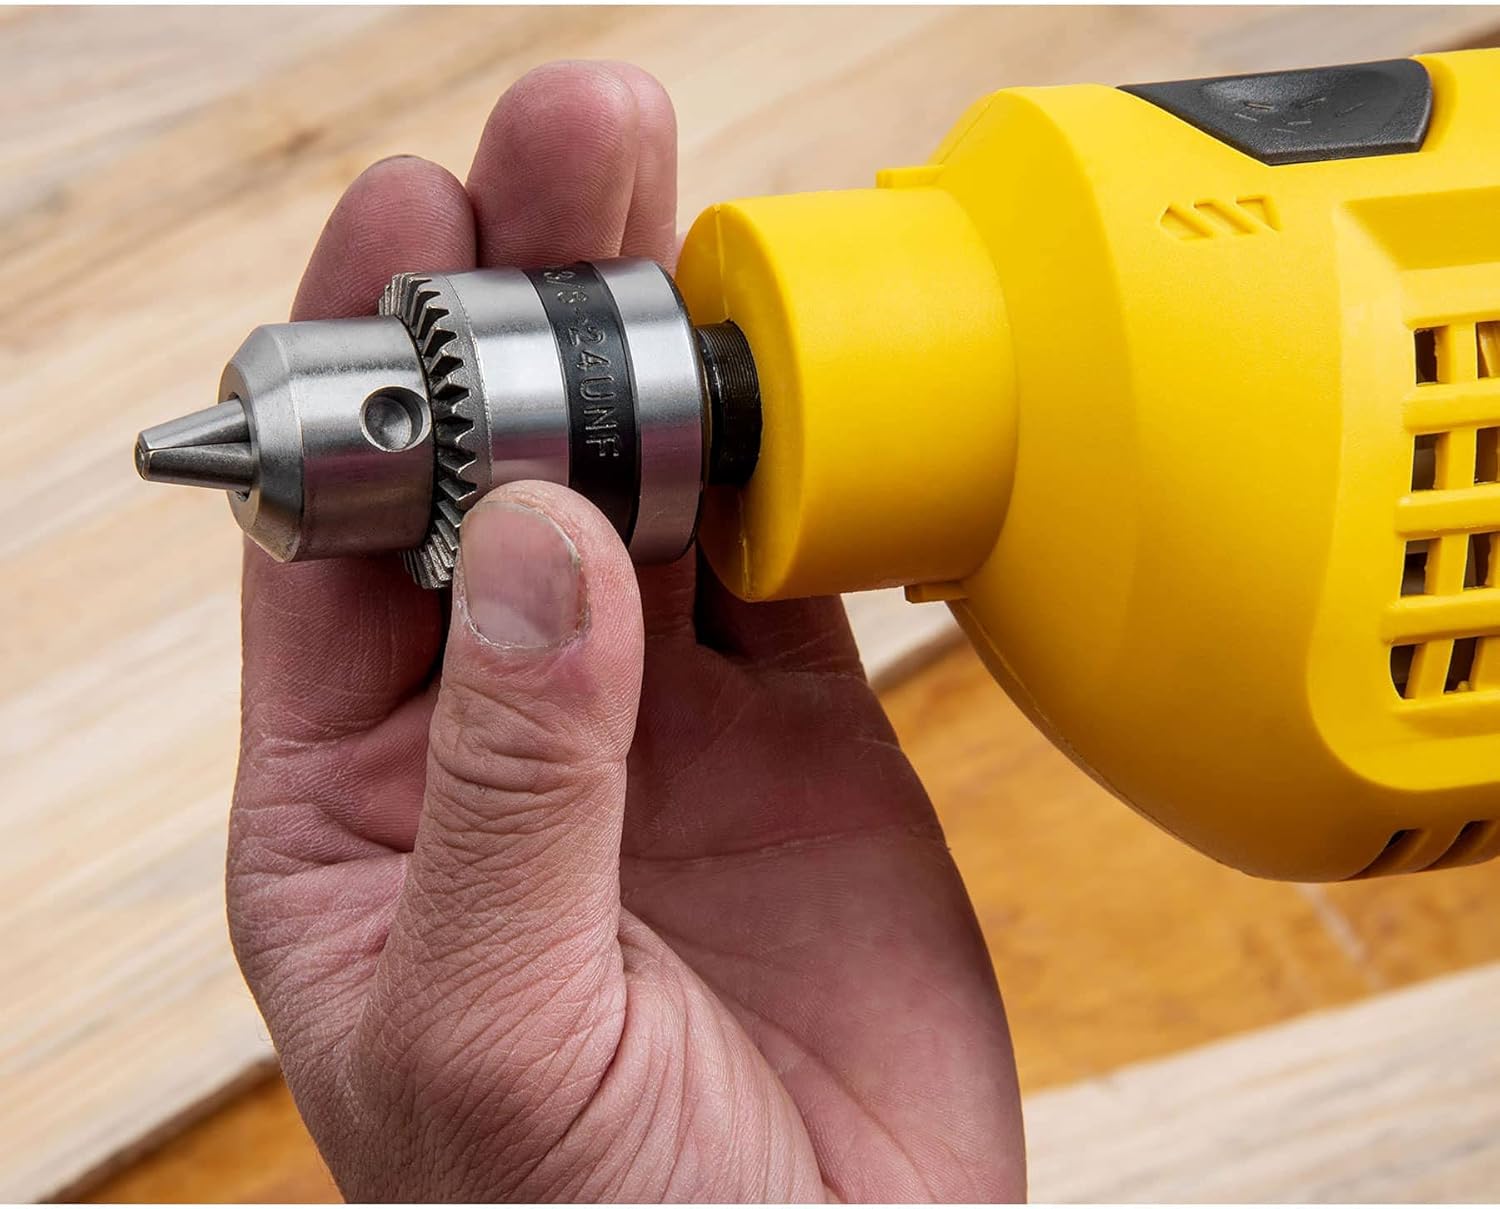
Figure 3: A hand adjusting the chuck of the drill. This image demonstrates the manual rotation of the chuck to open or close the jaws for bit insertion.
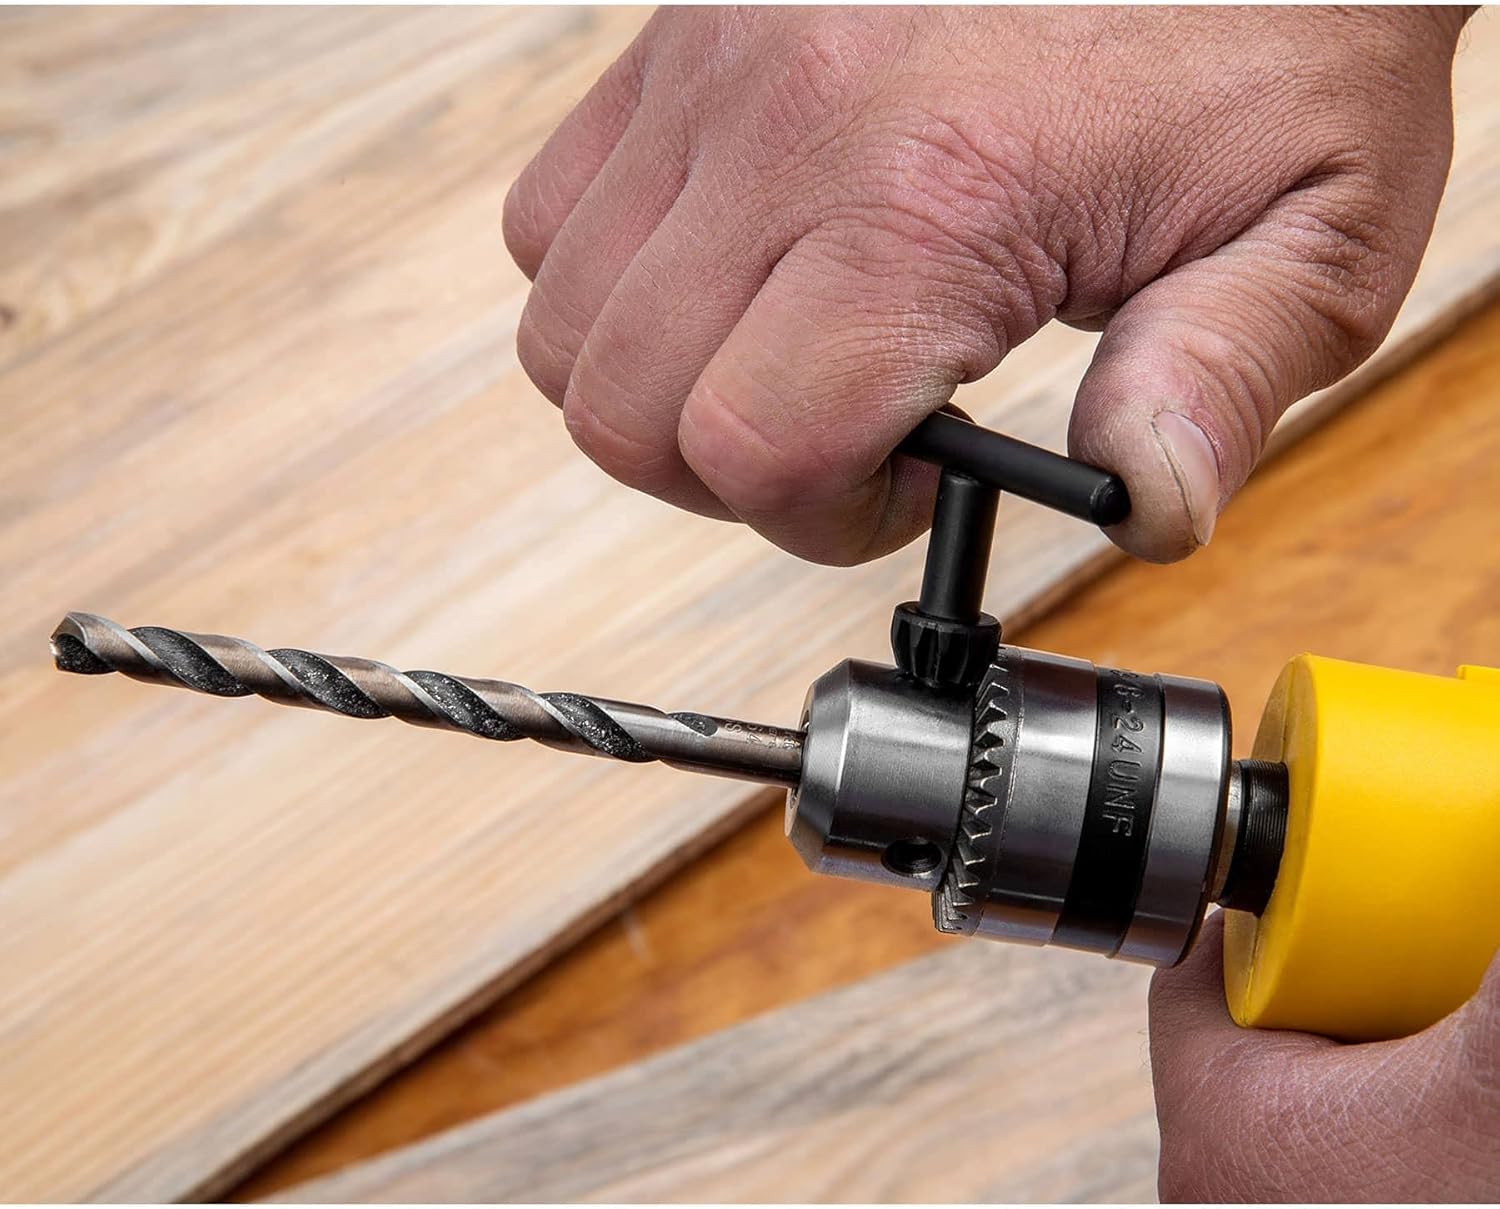
Figure 4: A hand using the chuck key to tighten a drill bit. This image illustrates the proper method for securing a drill bit in the chuck using the dedicated key, ensuring a firm and safe attachment.
3.3 Power Connection
Connect the drill's power cord to a standard 120V (DC) electrical outlet. Ensure the outlet is properly grounded and capable of supplying the required amperage (4.5 Amps).
4. Operating Instructions
4.1 Powering On/Off
To start the drill, press the trigger switch located on the handle. To stop, release the trigger. For continuous operation, press the trigger and then engage the continuous use button (if present) before releasing the trigger. To disengage continuous use, press the trigger again.

Figure 5: A hand positioned on the drill's trigger switch. This image shows the typical grip and finger placement for activating the drill and controlling its operation.
4.2 Mode Selection (Drill / Hammer Drill)
The ROTO-3/8P4 features a selector switch to choose between standard drilling and hammer drilling modes. Use the drill mode for wood, metal, and plastics. Select the hammer drill mode for masonry, concrete, and brick, which engages a percussive action in addition to rotation.
4.3 Variable Speed and Reversible Function
The drill offers variable speed control, allowing you to adjust the drilling speed by varying the pressure on the trigger. This is useful for starting holes slowly or working with different materials. The reversible function allows the chuck to rotate in both clockwise and counter-clockwise directions, useful for removing bits from tight holes or driving/removing screws (with appropriate bits).
4.4 Drilling Techniques
Always ensure the workpiece is securely clamped before drilling. Apply steady, even pressure. For hammer drilling into concrete or masonry, use appropriate masonry bits. Start drilling slowly to create a pilot hole, then increase speed as needed.

Figure 6: Close-up view of a drill bit penetrating concrete. This image highlights the action of the drill bit as it begins to create a hole in a dense material, demonstrating the tool's capability for masonry work.

Figure 7: The Pretul ROTO-3/8P4 Hammer Drill in active use on a concrete block. This image shows the tool being operated by a user, illustrating the practical application of the hammer drill function for heavy-duty drilling tasks.
5. Maintenance
5.1 Cleaning
After each use, unplug the drill and clean the exterior with a damp cloth. Do not use harsh chemicals or abrasive cleaners. Keep the ventilation openings clear of dust and debris to ensure proper motor cooling.
5.2 Storage
Store the drill in a dry, secure location, out of reach of children. Protect it from direct sunlight and extreme temperatures. If storing for extended periods, ensure the power cord is neatly coiled and not kinked.
6. Troubleshooting
- Drill does not start: Check if the power cord is securely plugged into a live outlet. Ensure the trigger is fully depressed.
- Loss of power during operation: This could indicate an overloaded circuit. Reduce the load or move to a different circuit. Check for any obstructions in the motor's ventilation.
- Excessive vibration or noise: Ensure the drill bit is properly seated and tightened in the chuck. Check for any loose components. If the issue persists, discontinue use and contact customer support.
- Bit not drilling effectively: Ensure you are using the correct type of drill bit for the material. For hammer drilling, ensure the hammer function is engaged. Apply appropriate pressure.
7. Specifications
| Feature | Specification |
|---|---|
| Model Number | ROTO-3/8P4 (24059) |
| Brand | Pretul |
| Power Source | Electric |
| Voltage | 120 Volts (DC) |
| Maximum Power | 500 Watts |
| Amperage | 4.5 Amps |
| Maximum Rotation Speed | 3000 RPM |
| Chuck Size | 10 mm (3/8 inch) |
| Special Features | Variable Speed, Reversible Function |
| Product Dimensions (L x W x H) | 27.8 x 7.4 x 23 cm |
| Product Weight | 18.07 Kilograms (approx. 39.8 lbs) |
8. Warranty and Support
For warranty information, technical support, or service inquiries, please refer to the documentation included with your product or visit the official Pretul website. Keep your purchase receipt as proof of purchase for warranty claims.


