Introduction
The Renishaw RMP600 is a high-precision machine tool probe designed for accurate workpiece inspection and efficient job set-up on various machining platforms, including multi-tasking machines, machining centers, and gantry machining centers. This probe integrates Renishaw's patented strain gauge technology with a unique frequency hopping radio transmission system, ensuring reliable and precise measurements in demanding industrial environments.
This manual provides essential information for the proper installation, operation, and maintenance of your Renishaw RMP600 probe to ensure optimal performance and longevity.
Product Components
Upon opening the package, verify that all components are present and undamaged. The standard package for the Renishaw RMP600 probe typically includes the following:

Image: The Renishaw RMP600 probe, along with its quick-start guide, test certificate, batteries, and a tool kit, neatly packed within its cardboard box.

Image: All components of the RMP600 package, including the probe, quick-start guide, probe test certificate, two AA batteries, and a small tool kit, displayed outside the box.
- Renishaw RMP600 Machine Tool Probe
- Quick-start Guide
- Probe Test Certificate
- Batteries (typically AA)
- Accessory Tool Kit (for installation and maintenance)
Setup
Proper setup is crucial for the accurate and reliable operation of the RMP600 probe. Follow these general steps for initial installation:
- Battery Installation: Access the battery compartment, typically located at the top or side of the probe, and insert the provided batteries, ensuring correct polarity.
- Mounting the Probe: Securely mount the RMP600 probe onto the machine tool spindle or tool holder. Ensure the mounting surface is clean and free of debris to prevent misalignment.
- Stylus Attachment: Attach the appropriate stylus for your application. Ensure the stylus is tightened securely to prevent movement during operation.
- Receiver Pairing: Pair the RMP600 probe with its compatible Renishaw radio receiver. Refer to the receiver's specific manual for detailed pairing instructions. This typically involves a sequence of button presses or software commands.
- System Calibration: Perform a system calibration using the machine's control software. This step is essential to establish the probe's precise position and offset relative to the machine's coordinate system.

Image: A detailed view of the Renishaw RMP600 probe, highlighting its robust metallic casing and the Renishaw RMP600 RENGAGE 3D technology branding.
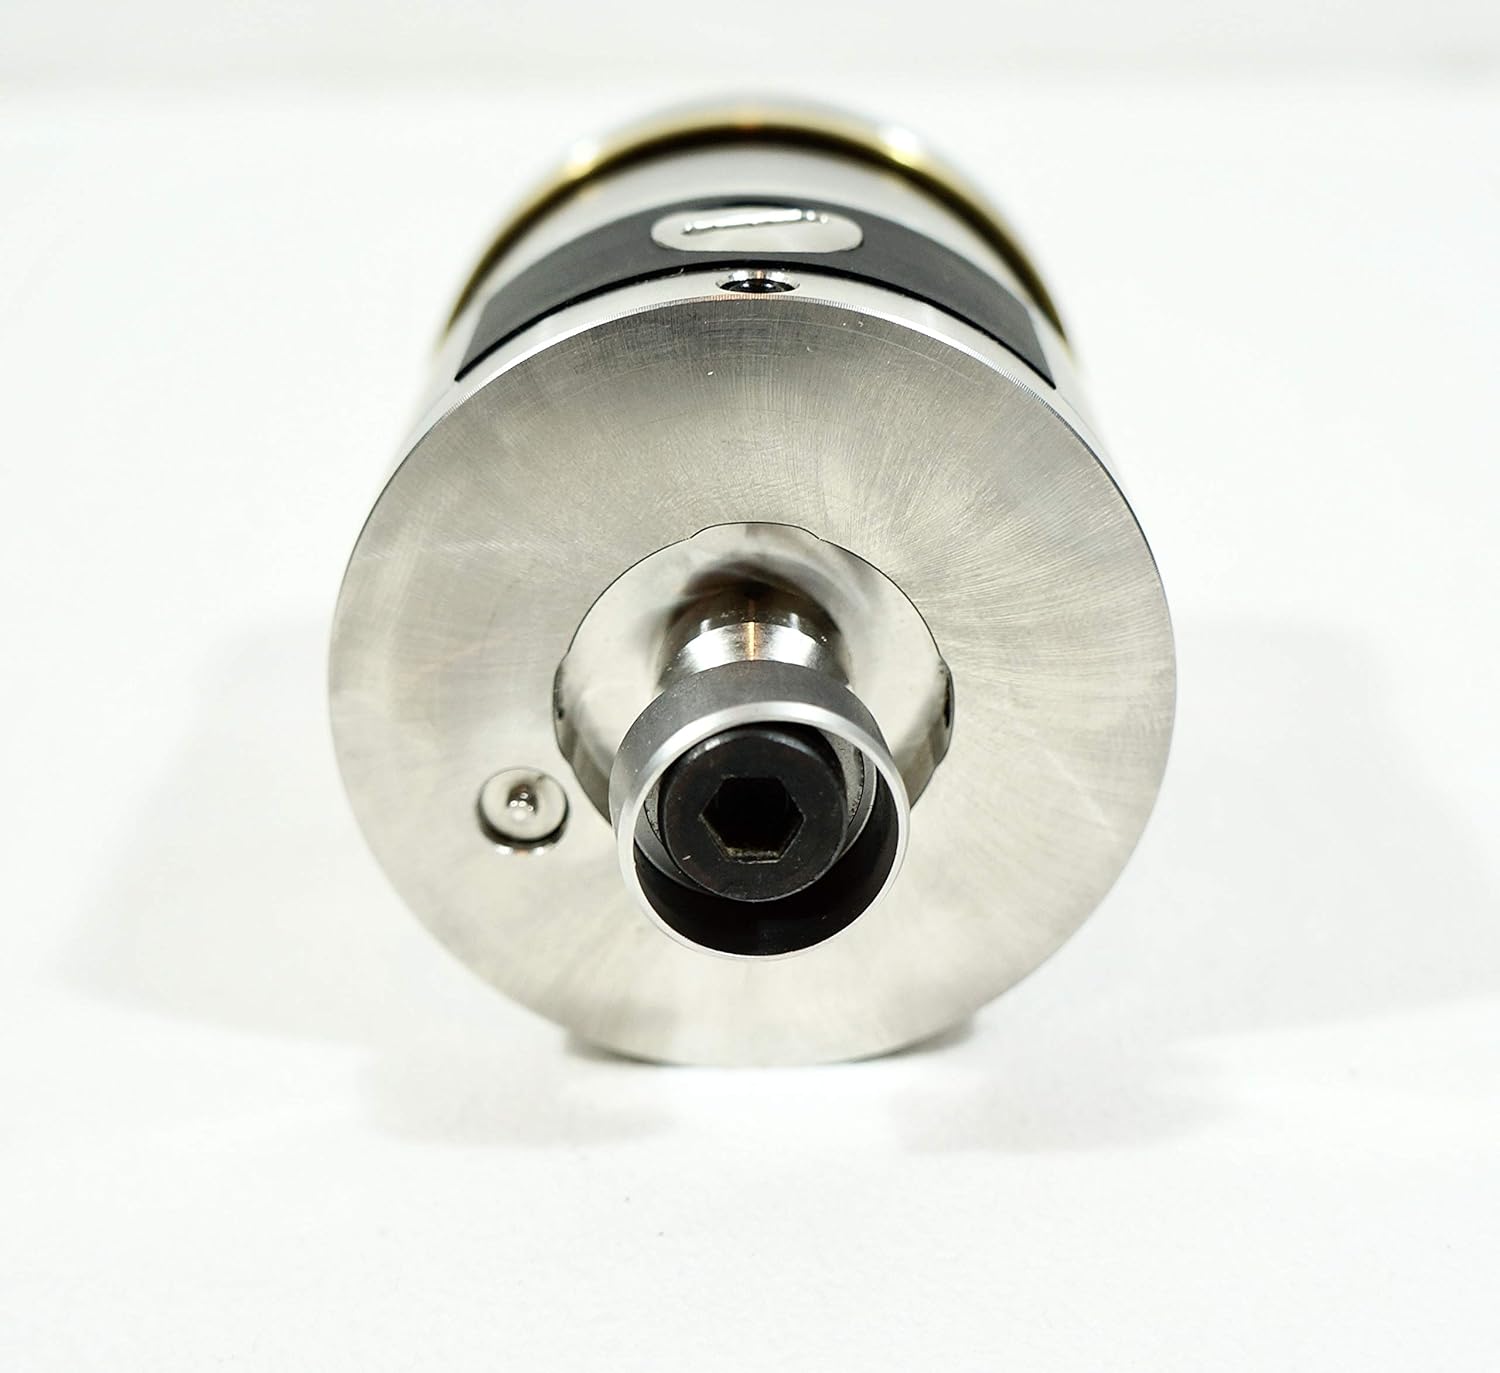
Image: The top surface of the RMP600 probe, showing the stylus mounting point and securing screws.
Operating Instructions
The Renishaw RMP600 probe is designed for precise measurement and inspection tasks. Its operation is typically integrated with the machine tool's CNC control system.
Workpiece Inspection
For workpiece inspection, the probe is used to measure critical dimensions, features, and positions on a part. This process involves:
- Program Creation: Develop a probing cycle program within the CNC control, specifying the points or features to be measured.
- Probe Deployment: The machine tool moves the probe to the designated measurement points.
- Data Acquisition: Upon contact with the workpiece, the probe's strain gauge technology detects the deflection, and the radio system transmits the trigger signal to the receiver.
- Data Analysis: The CNC control records the machine's position at the moment of contact and compares it to nominal values, providing real-time feedback on part accuracy.
Job Set-up
The RMP600 can significantly reduce set-up times by automating workpiece alignment and tool offset measurement:
- Workpiece Alignment: Use the probe to accurately locate the workpiece on the machine table, automatically updating work offsets (G54, G55, etc.).
- Tool Length and Diameter Measurement: The probe can be used in conjunction with a tool setter or directly on a known surface to measure tool lengths and diameters, ensuring accurate tool compensation.
Always ensure the probe is clean and the stylus is free from debris before initiating any measurement cycle to maintain accuracy.
Maintenance
Regular maintenance ensures the longevity and accuracy of your Renishaw RMP600 probe. Perform the following checks periodically:
- Cleaning: Keep the probe body and stylus clean. Use a soft, lint-free cloth. Avoid abrasive cleaners or solvents that could damage the probe's surface or seals.
- Stylus Inspection: Regularly inspect the stylus for wear, damage, or bending. A damaged stylus can lead to inaccurate measurements. Replace if necessary.
- Battery Replacement: Replace batteries as indicated by the probe's low battery warning or at recommended intervals (e.g., every 6-12 months, depending on usage). Ensure to use the correct battery type.
- Sealing Integrity: Check the integrity of any seals or covers, especially if the probe operates in environments with coolant or chips.
- Calibration Verification: Periodically verify the probe's calibration by measuring a known master artifact. If deviations are observed, recalibrate the system.
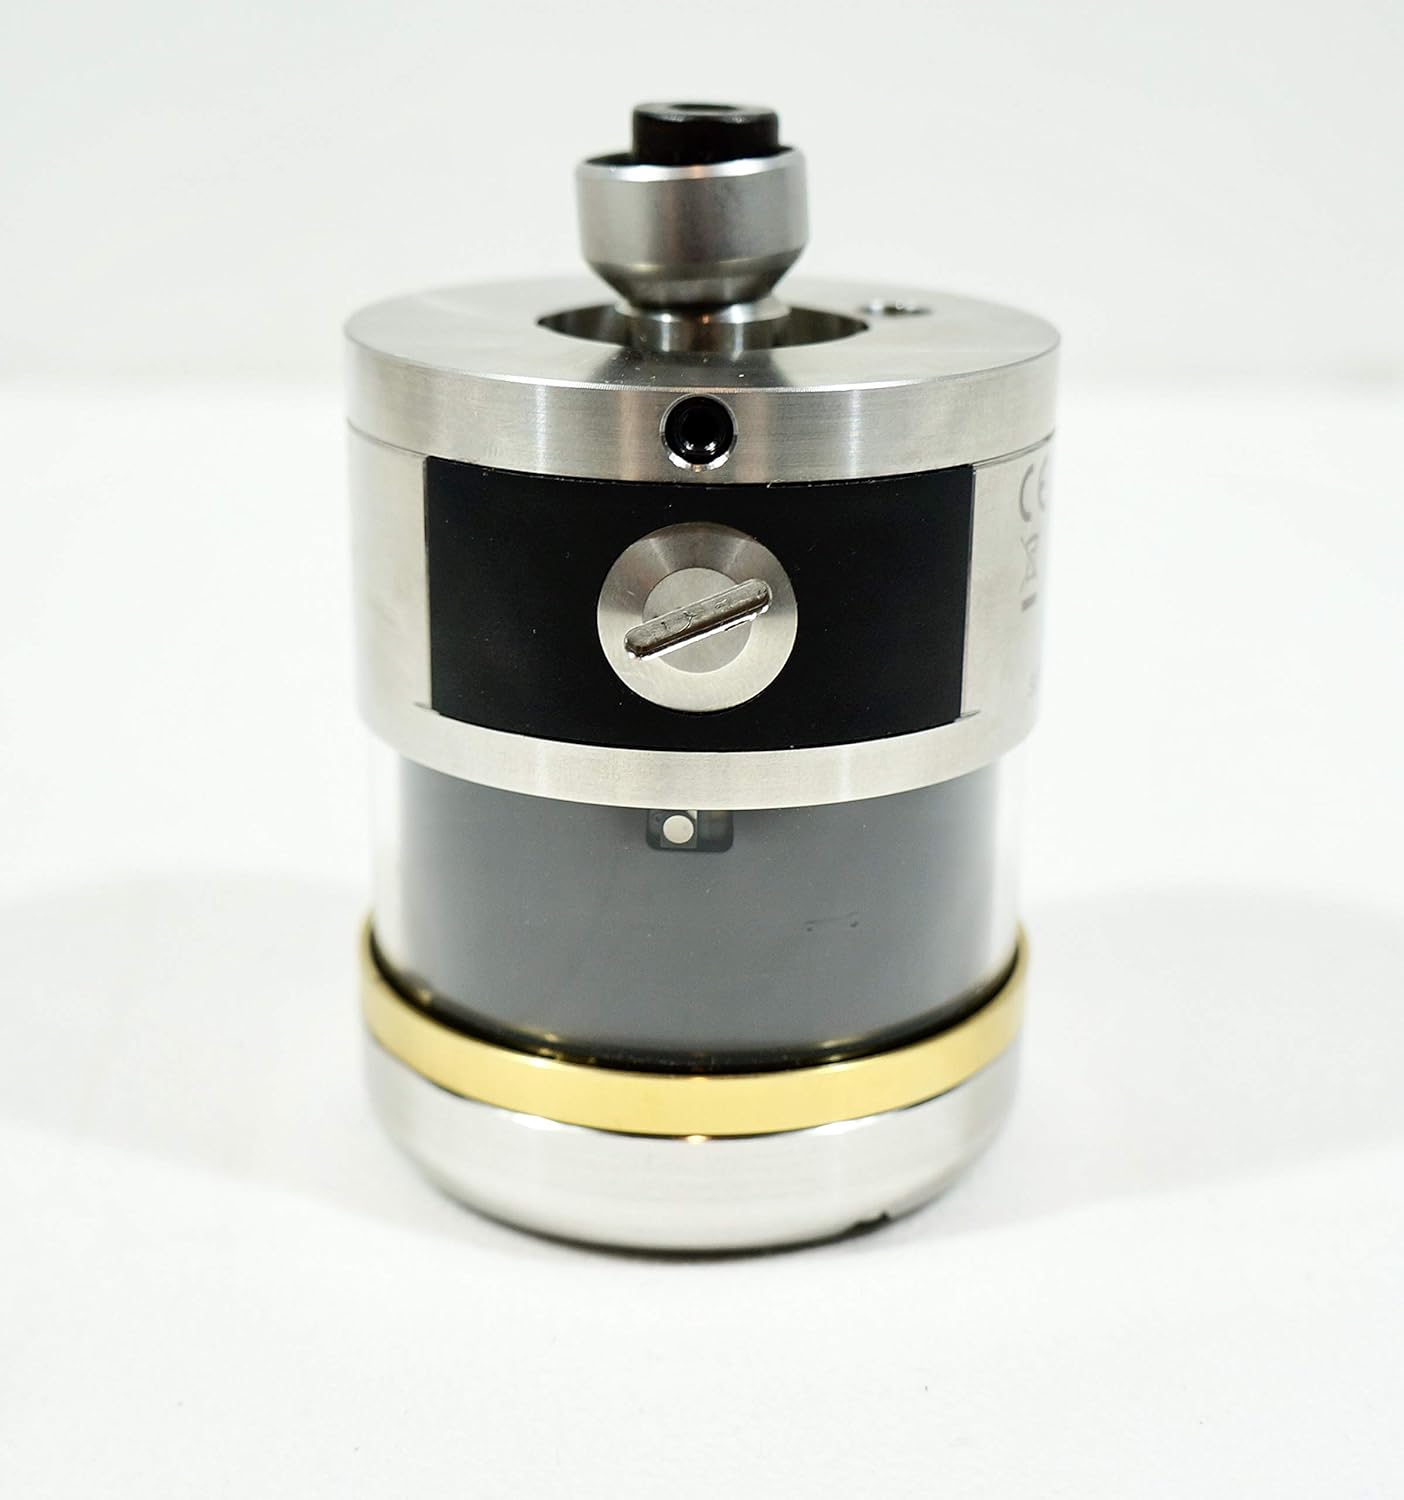
Image: A side view of the RMP600 probe, featuring a visible screw that may provide access for battery replacement or internal adjustments.
Troubleshooting
This section addresses common issues you might encounter with the Renishaw RMP600 probe.
| Problem | Possible Cause | Solution |
|---|---|---|
| Probe not responding / No signal |
|
|
| Inaccurate measurements |
|
|
| Probe triggers unexpectedly |
|
|
For issues not listed here or if problems persist, contact Renishaw technical support or your authorized distributor.
Specifications
Key technical specifications for the Renishaw RMP600 Machine Tool Probe:
| Feature | Detail |
|---|---|
| Model | RMP600 |
| Manufacturer | Renishaw |
| Technology | Patented strain gauge technology, frequency hopping radio transmission |
| Application | Workpiece inspection, job set-up on multi-tasking machines, machining centres, gantry machining centres |
| Package Dimensions | 10 x 8 x 5 inches |
| Weight | 3.8 Pounds (packaged) |
| ASIN | B01HH5CTI6 |
| Date First Available | June 23, 2016 |

Image: The rear side of the RMP600 probe, displaying various regulatory markings including FCC ID, IC, and CCAC, along with model and serial numbers.

Image: Another side view of the RMP600 probe, clearly showing the CE mark, a QR code, "MADE IN UK", and the serial number "19FT74".
Warranty and Support
The Renishaw RMP600 Machine Tool Probe comes with a 1-Year Warranty from the date of purchase, covering defects in materials and workmanship under normal use. Please retain your proof of purchase for warranty claims.
For technical assistance, troubleshooting beyond this manual, or warranty service, please contact Renishaw customer support or your authorized Renishaw distributor. Provide your product model number (RMP600) and serial number (found on the probe body) when seeking support.
You can find contact information for Renishaw support on their official website: www.renishaw.com/support


