
1. Introduction
Thank you for purchasing the Rockville RXM-M10 Marine Class D Mono Block Amplifier. This amplifier is engineered for high performance and durability in marine environments. Its conformal coating on the PCB protects against moisture, dust, chemicals, and temperature extremes, while stainless steel exterior screws resist corrosion. Please read this manual carefully to ensure proper installation and operation of your amplifier.
2. Safety Instructions
- Always disconnect the vehicle's battery negative terminal before installing or servicing any audio equipment.
- Ensure all wiring is properly routed and secured to prevent damage or short circuits.
- Use appropriate gauge power and ground wires as specified in the installation section.
- Mount the amplifier securely in a location that allows for adequate ventilation and is protected from direct water exposure, even though it is marine-rated.
- Do not operate the amplifier if it is damaged or malfunctioning. Refer to the troubleshooting section or contact support.
- Avoid exposing the amplifier to extreme temperatures or direct sunlight for prolonged periods.
3. Features
The Rockville RXM-M10 amplifier boasts a range of features designed for robust audio performance in marine settings:
- Marine Class D Mono Block Amplifier
- Conformal coating on PCB for environmental protection
- Stainless steel exterior screws
- High-Speed MOSFET Power Supply
- Studio-Grade Bipolar Output Stage Transistors
- Fully Adjustable 12dB / Octave Crossover with Differential Circuitry
- Low Pass Filter: 50Hz - 250Hz
- Subsonic Filter: 15Hz - 55Hz
- Fully Adjustable 12dB Bass Equalizer
- RCA Preamp Line Output
- Phase Control Switch (0°/180°)
- Mute and Delay Soft Start System
- Full IC-Controlled Protection Circuitry
- Remote Dashboard Subwoofer Control
- Professional Peak Limiter Circuitry for distortion-free playback
- 8 Volt Preamp Circuitry
- Status Mode LED Indicator
4. Setup and Installation
Proper installation is crucial for optimal performance and longevity of your amplifier. If you are unsure about any part of the installation process, consult a professional installer.
4.1 Mounting the Amplifier
Choose a mounting location that is dry, well-ventilated, and secure. While the RXM-M10 is marine-rated, protecting it from direct spray or submersion is recommended. Ensure there is enough space around the amplifier for air circulation.
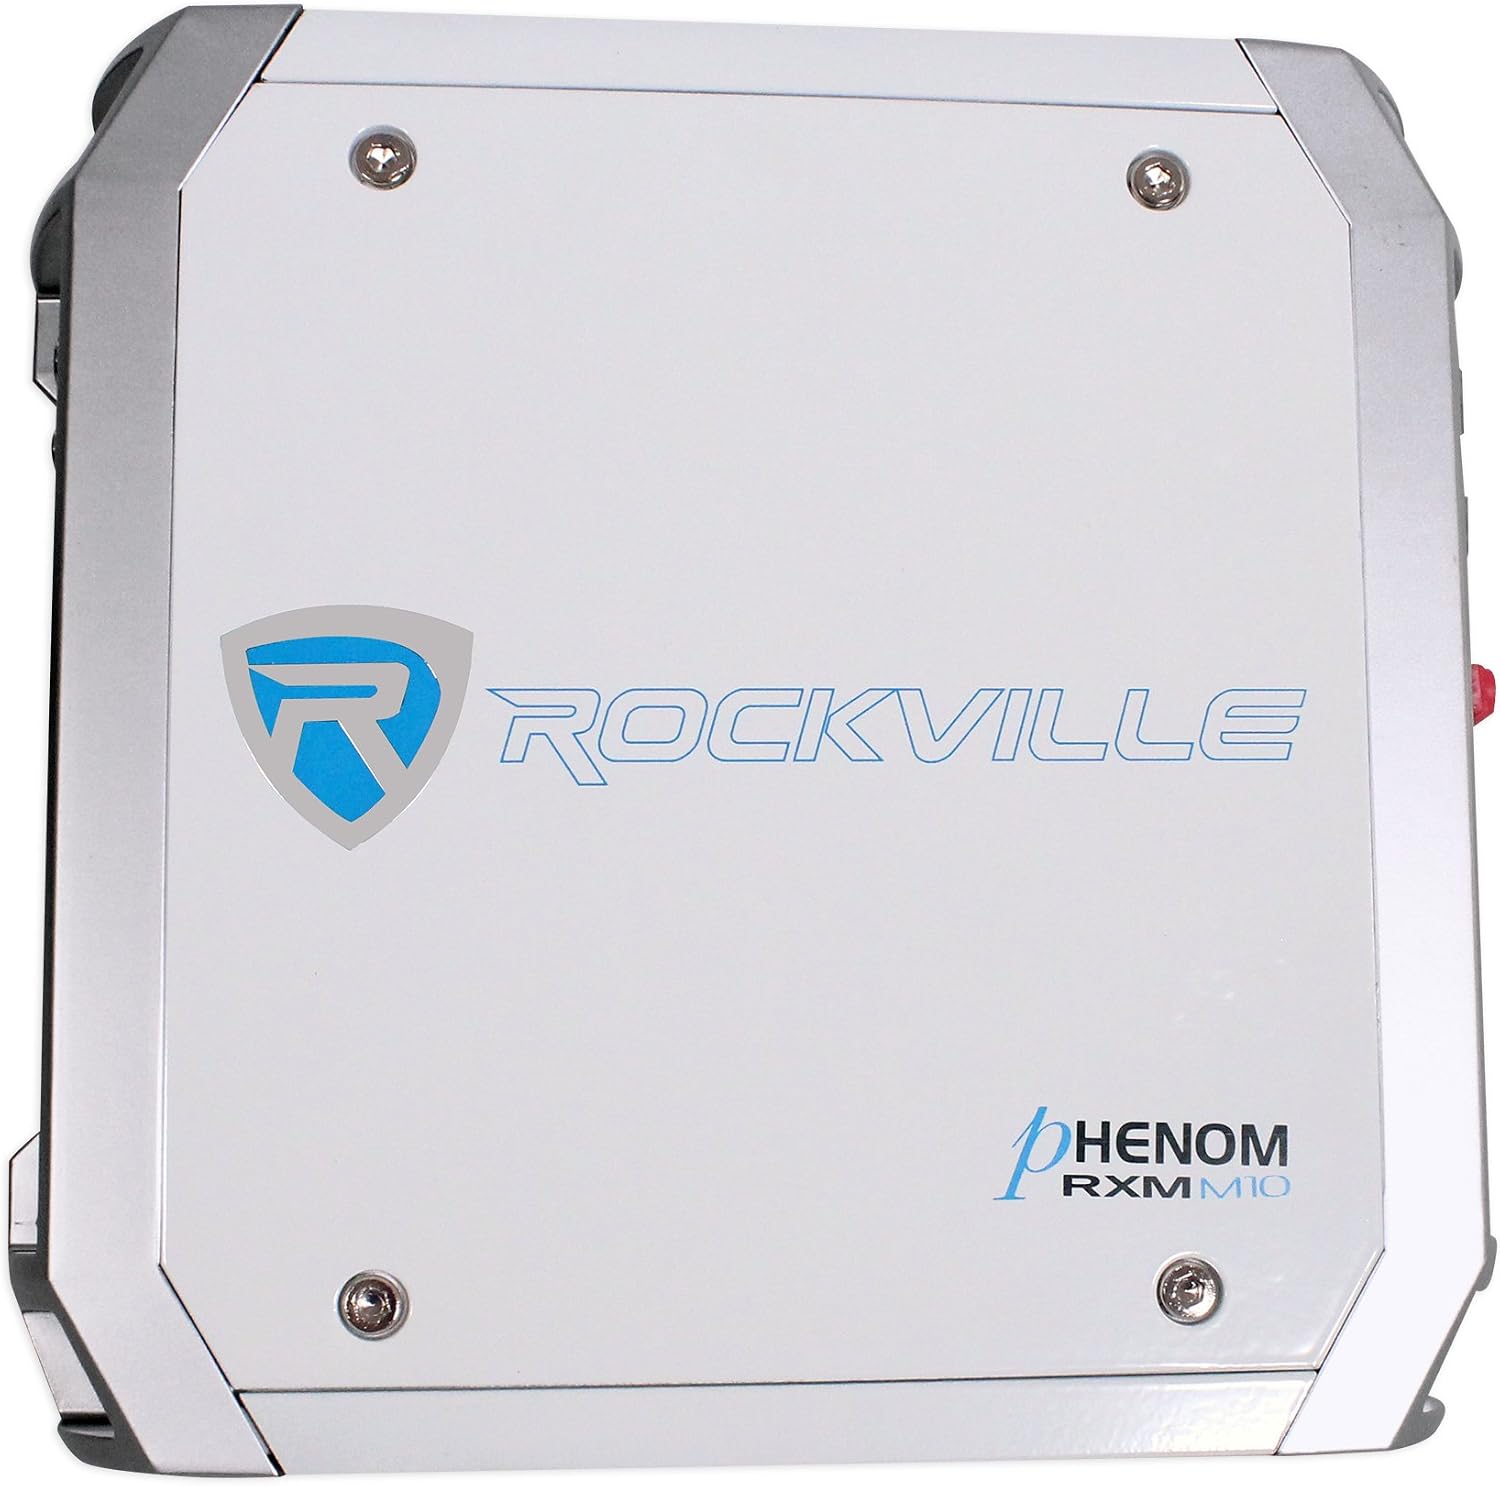
Figure 1: Top view of the Rockville RXM-M10 amplifier. This image shows the overall design and branding of the unit.

Figure 2: Bottom view of the Rockville RXM-M10 amplifier. The model number and a barcode are visible on the underside.
4.2 Wiring Connections
Refer to the diagrams below for proper wiring of power, ground, remote, and speaker connections. Use high-quality marine-grade wiring.
Power and Speaker Terminals
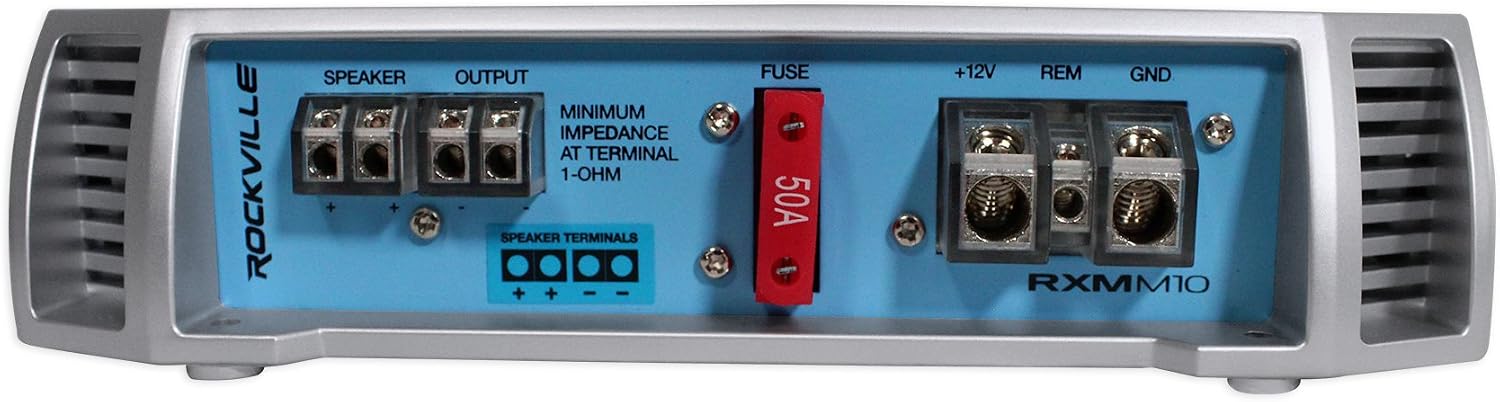
Figure 3: Power and Speaker Terminal Connections. This view details the input for +12V, REM (remote turn-on), GND (ground), and speaker outputs. A 50A fuse is prominently featured.
- +12V (Power): Connect to the positive terminal of the battery using a fuse holder within 18 inches of the battery. Use appropriate gauge wire (e.g., 4 AWG for typical installations).
- REM (Remote Turn-On): Connect to the remote output of your head unit. This wire turns the amplifier on and off with your audio system.
- GND (Ground): Connect to a clean, unpainted metal surface on the boat's chassis or a dedicated ground bus bar. Ensure a solid connection. Use the same gauge wire as the +12V connection.
- Speaker Output: Connect your subwoofer(s) to these terminals. The RXM-M10 is stable down to 1 Ohm. Ensure correct polarity (+ to + and - to -).
- Fuse: The amplifier uses a 50A Maxi Fuse. Always replace with a fuse of the same rating.
Input and Control Panel

Figure 4: Input and Control Panel. This image displays the RCA input and output jacks, phase switch, various adjustment knobs (Input Level, Subsonic HP Filter, Bass Equalizer, Low Pass), the Bass Remote port, and the Status LED.
- Input (RCA): Connect RCA cables from your head unit's subwoofer or full-range pre-outs to these inputs.
- Output (RCA): These are full-range RCA outputs for connecting additional amplifiers in a daisy-chain configuration.
- Bass Remote: Connect the included remote bass control to this port.

Figure 5: Remote Bass Control. This image shows the external remote control unit for adjusting bass levels from the driver's seat.
5. Operating Instructions
Once the amplifier is properly installed, you can adjust its settings for optimal audio performance. All adjustments should be made with the audio system turned off or at a very low volume.
5.1 Control Panel Adjustments (Refer to Figure 4)
- Input Level (Gain): This control matches the amplifier's input sensitivity to the output of your head unit. Start with the gain at minimum (MIN) and slowly increase it until you hear distortion, then back off slightly.
- Subsonic HP Filter (High Pass): This filter removes extremely low frequencies that are inaudible and can waste amplifier power or damage subwoofers. Adjust between 15Hz and 55Hz.
- Bass Equalizer (Bass Boost): Provides up to 12dB of bass boost at a specific frequency. Use sparingly to avoid distortion.
- Low Pass Filter (LPF): This filter allows only frequencies below the set point to pass through to the subwoofer. Adjust between 50Hz and 250Hz. Typically, for subwoofers, this is set between 80Hz and 120Hz.
- Phase Control: A switch to select between 0° and 180° phase. Adjust this to ensure the subwoofer's output is in phase with the rest of your audio system, preventing cancellation and improving bass impact.
- Status LED: Indicates the amplifier's operational status. Typically green for normal operation, red for protection mode.
5.2 Remote Bass Control (Refer to Figure 5)
The remote bass control allows you to conveniently adjust the subwoofer output level from your listening position. Connect it to the "Bass Remote" port on the amplifier. Turn the knob to increase or decrease the bass output.
6. Maintenance
- Cleaning: Periodically wipe the amplifier's exterior with a soft, dry cloth. Avoid using harsh chemicals or abrasive cleaners.
- Connections: Regularly check all power, ground, remote, and speaker connections to ensure they are secure and free from corrosion.
- Ventilation: Ensure that the amplifier's cooling fins are free from obstructions to maintain proper airflow.
- Fuse Replacement: If the amplifier's fuse blows, replace it only with a fuse of the exact same rating (50A). Never use a higher-rated fuse, as this can cause severe damage to the amplifier or your electrical system.
7. Troubleshooting
If you experience issues with your RXM-M10 amplifier, consult the following troubleshooting guide before contacting support.
| Problem | Possible Cause | Solution |
|---|---|---|
| No Power / Amplifier Not Turning On |
|
|
| No Sound Output |
|
|
| Distorted Sound |
|
|
| Amplifier Overheating / Protection Mode |
|
|
8. Specifications
Detailed technical specifications for the Rockville RXM-M10 Marine Class D Mono Block Amplifier:
| Parameter | Value |
|---|---|
| Model | RXM-M10 |
| Type | Marine Class D Mono Block Amplifier |
| CEA Compliant Power (1% THD+N) |
|
| RMS Power Ratings |
|
| Peak Power |
|
| Low Pass Filter | 50Hz - 250Hz (12dB/Octave) |
| Subsonic Filter | 15Hz - 55Hz |
| Bass Equalizer | 0 - 12dB |
| Frequency Response | 10Hz - 500KHz |
| Minimum THD @ Rated Power | <0.05% |
| Sensitivity | 100dB @ 1w / 1m |
| Damping Factor | > 220 @ 100Hz |
| Fuse Rating | 50 Amp Maxi Fuse |
| Dimensions (W x H x L) | 8.5" x 8" x 16.1" (21.6cm x 20.3cm x 40.9cm) |
| Minimum Impedance | 1 Ohm |
9. Warranty and Support
For warranty information or technical support, please refer to the documentation included with your purchase or contact Rockville customer service. Keep your proof of purchase for warranty claims.


