Introduction
Thank you for purchasing the John Timberland Habitat Modern Industrial Outdoor Wall Light Fixture. This manual provides essential information for the safe and proper installation, operation, and maintenance of your new lighting fixture. Please read all instructions carefully before beginning installation and retain this manual for future reference.

Image: Front view of the John Timberland Habitat Modern Industrial Outdoor Wall Light Fixture, showing its rubbed bronze finish and opal etched glass, illuminated.
Safety Information
- WARNING: Risk of Electric Shock. Disconnect power at the circuit breaker or fuse box before installation or servicing.
- All electrical connections must be in accordance with local codes, ordinances, or the National Electric Code (NEC). Consult a qualified electrician if you are unfamiliar with proper electrical wiring installations.
- This fixture is rated for Wet Location use, meaning it is designed for areas directly exposed to wind and rain.
- Use only the specified bulb type and wattage: two maximum 40-watt standard-medium base bulbs (E26, not included). Do not exceed the maximum wattage.
- Handle glass components with care to prevent breakage.
- Proposition 65 Warning: This product may contain chemicals known to the State of California to cause cancer and birth defects or other reproductive harm.
Package Contents
Verify that all components are present before beginning installation:
- Light Fixture Assembly (Rubbed Bronze Steel frame with Opal Etched Glass)
- Mounting Hardware (screws, wire nuts, mounting plate)
- Instruction Manual

Image: Close-up of the light fixture, highlighting the rubbed bronze finish and the texture of the opal glass.
Specifications
| Feature | Detail |
|---|---|
| Brand | John Timberland |
| Model Number | 9C037 |
| Dimensions (H x W x D) | 16" high x 7.5" wide x 5" extension from wall |
| Glass Shade Dimensions | 14.5" high x 6" wide |
| Backplate Dimensions | 13.5" high x 5" wide |
| Weight | 8.07 lbs |
| Finish | Rubbed Bronze |
| Shade Material | Opal Etched Glass |
| Bulb Type | E26 Standard-Medium Base (not included) |
| Max Wattage | 2 x 40 Watts (80 Watts total) |
| Voltage | 120 Volts |
| Location Rating | Wet Location Outdoor Rated (also suitable for indoor use) |
| Installation Orientation | Can be installed horizontally or vertically |

Image: Diagram showing the dimensions of the light fixture: 16 inches high, 7.5 inches wide, and 5 inches deep.
Setup and Installation
Before You Begin:
- Ensure power is OFF at the circuit breaker.
- Gather necessary tools (screwdriver, wire strippers, electrical tape, etc.).
- Review local electrical codes. Professional installation is recommended for safety.
Installation Steps:
- Prepare Mounting Surface: Ensure the electrical box is securely mounted and the wiring is accessible.
- Attach Mounting Plate: Secure the fixture's mounting plate to the electrical box using the provided screws.
- Wire Connections:
- Connect the fixture's ground wire to the house ground wire (usually bare copper or green).
- Connect the fixture's white wire to the house white (neutral) wire.
- Connect the fixture's black wire to the house black (hot) wire.
- Secure all connections with wire nuts and electrical tape.
Note: The back of the lamp requires sufficient space for wires and connectors to be located within the electrical box to ensure the light sits flush against the wall.
- Mount Fixture: Carefully align the fixture with the mounting plate and secure it with the provided screws. Ensure a tight seal against the mounting surface, especially for outdoor wet locations.
- Install Bulbs: Insert two E26 standard-medium base bulbs (max 40 watts each) into the sockets.
- Restore Power: Turn the power back ON at the circuit breaker.
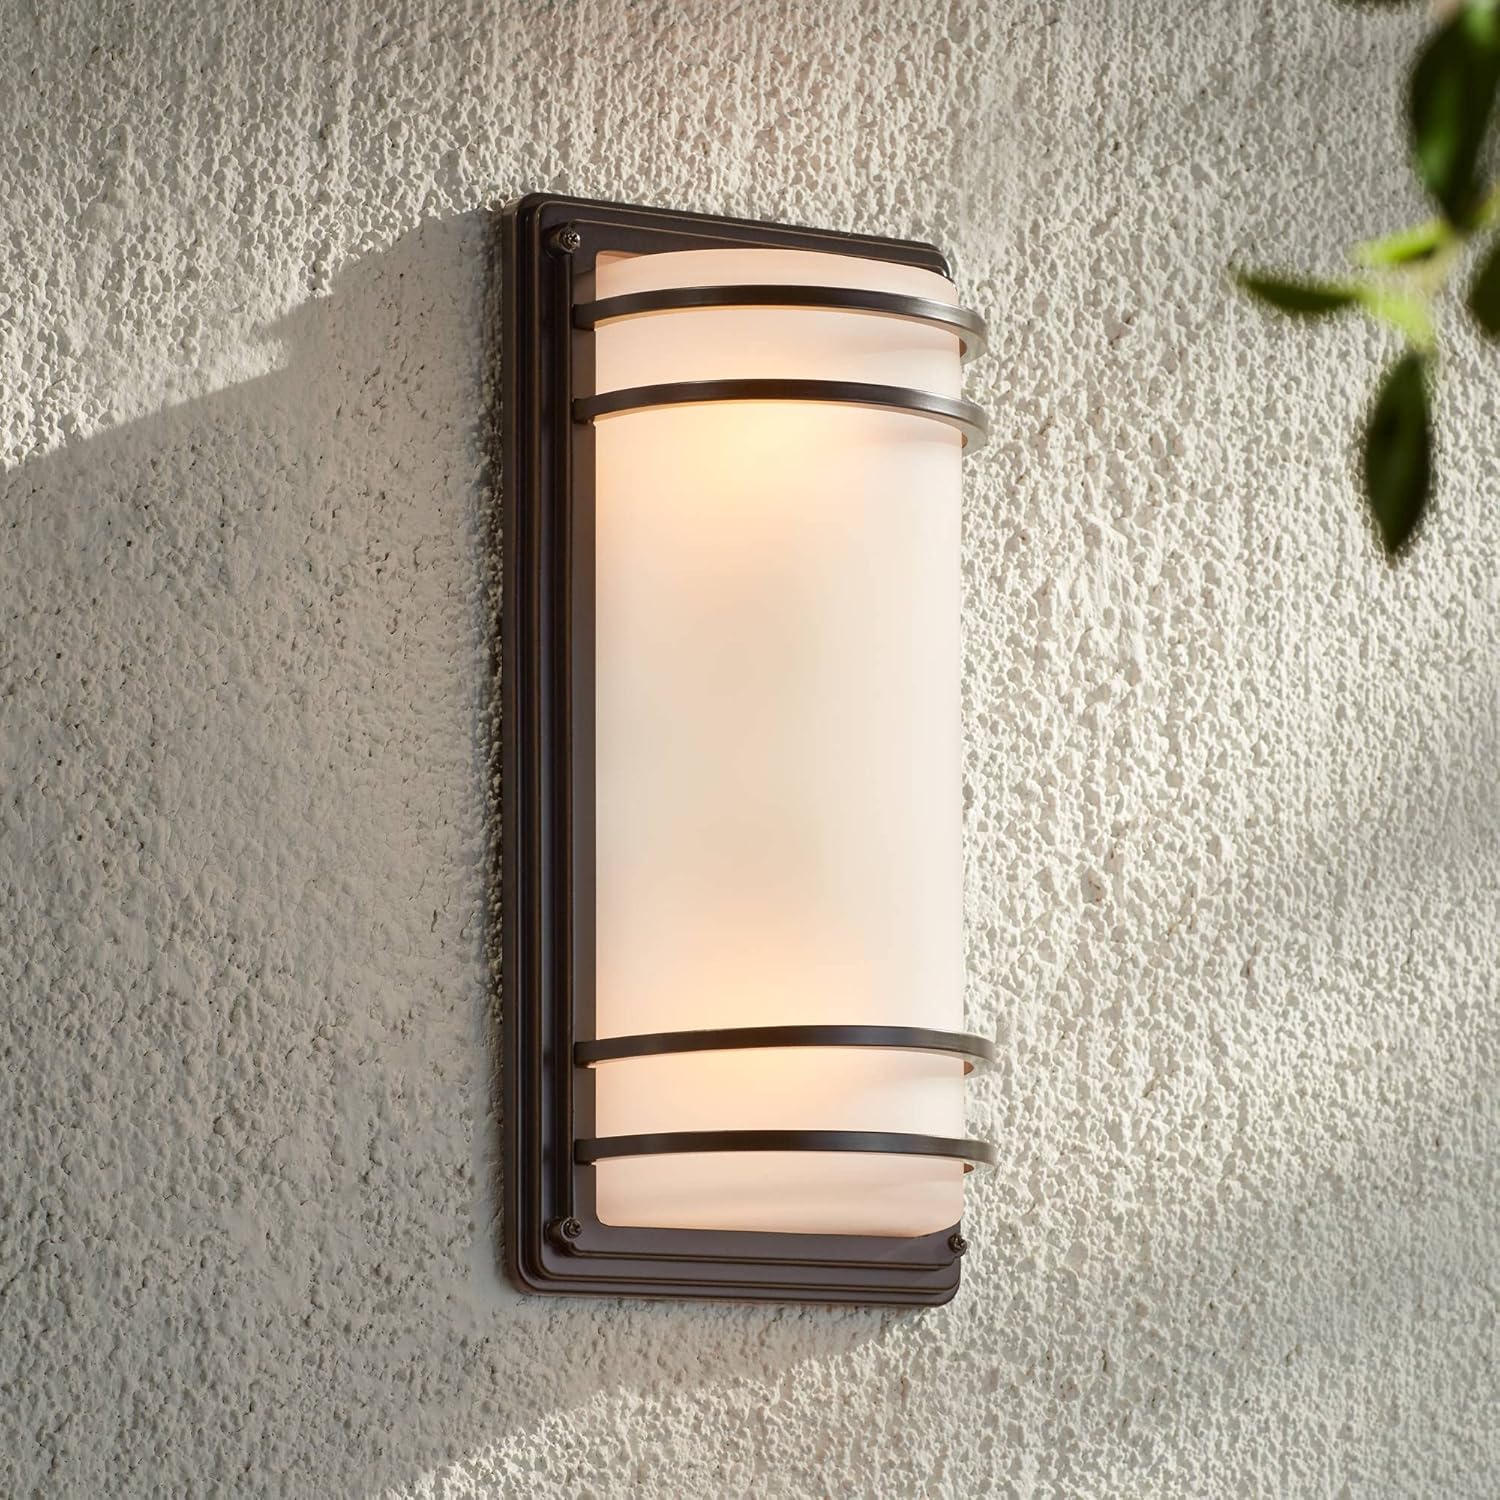
Image: The light fixture installed on a textured exterior wall, demonstrating its appearance in an outdoor setting.
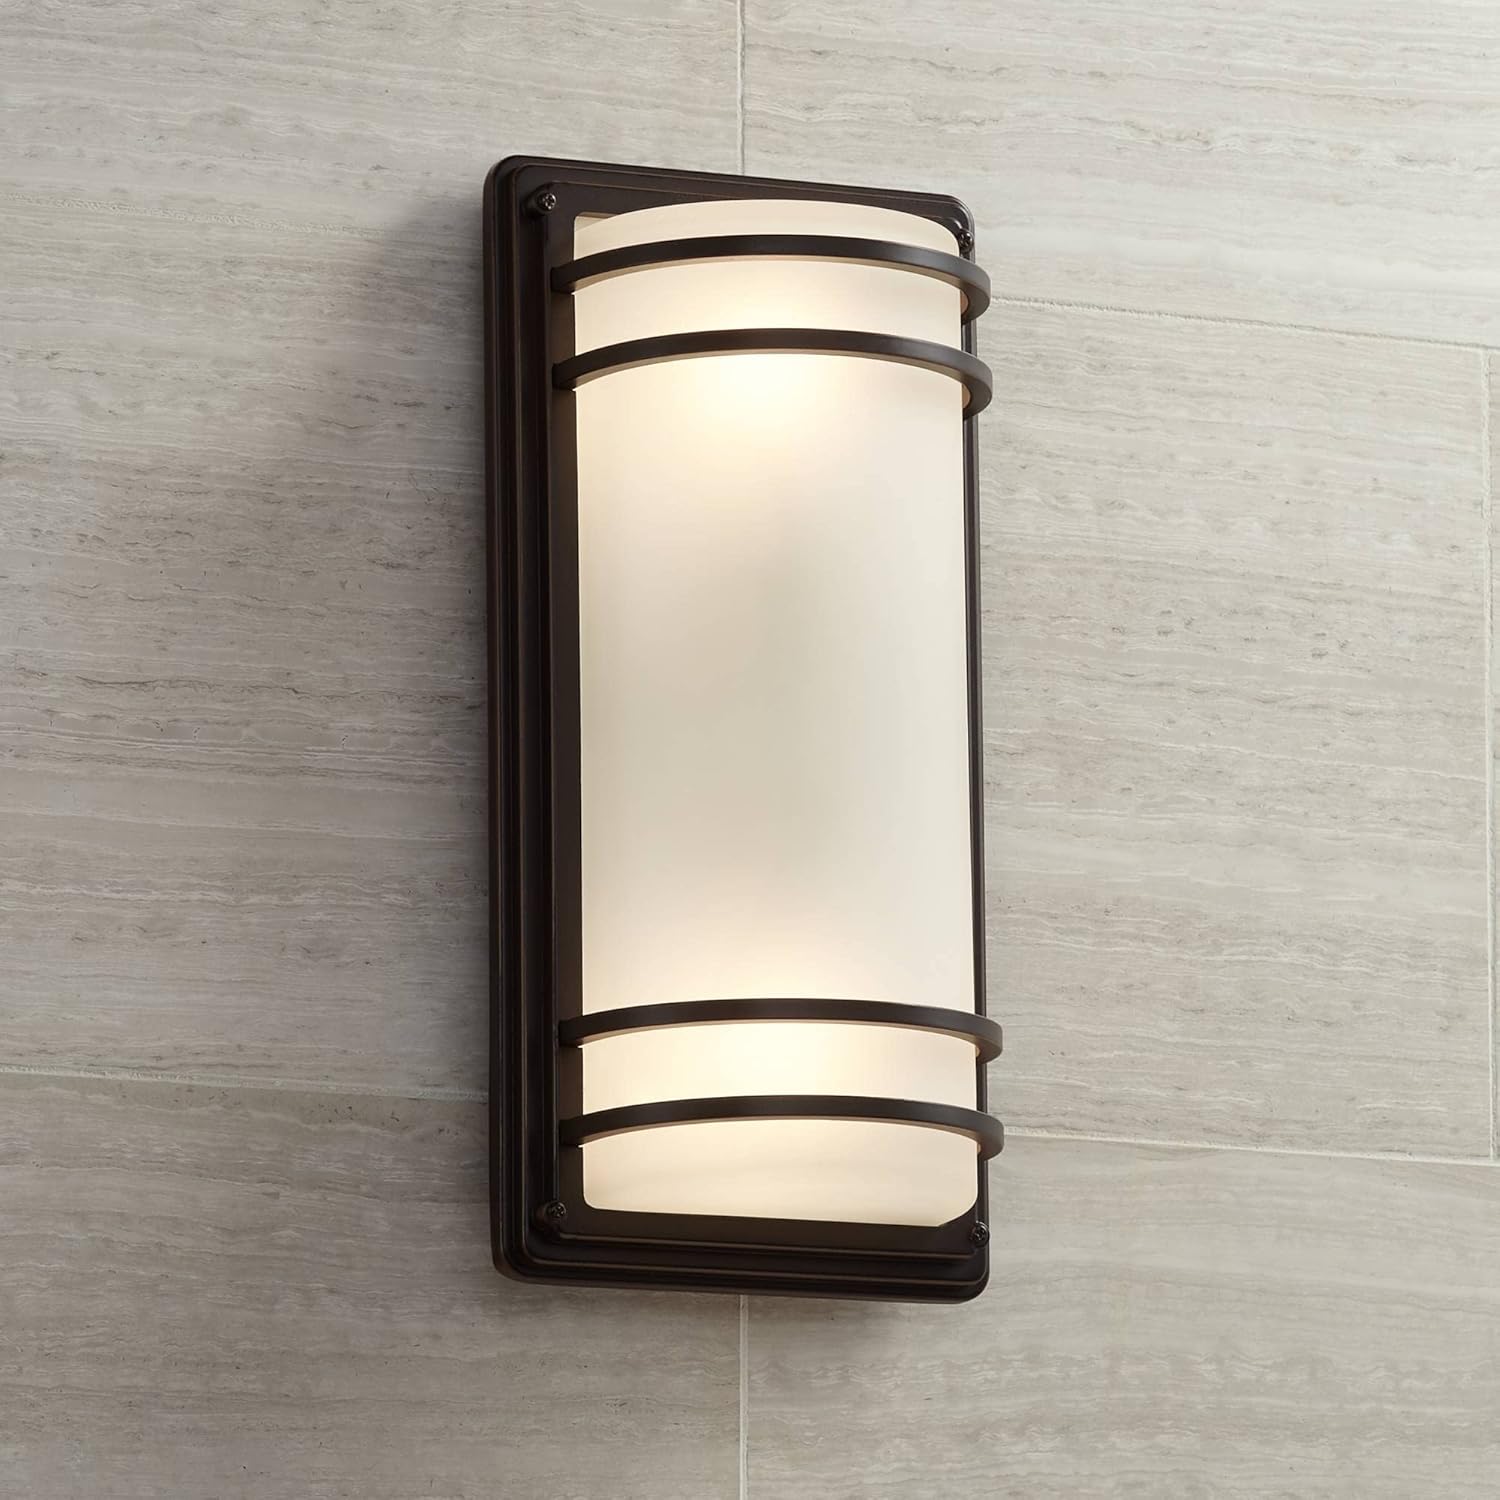
Image: The light fixture installed on a smooth exterior wall, showcasing its modern design.
Understanding Wet vs. Damp Location Ratings:
Video: This video explains the difference between wet and damp location ratings for outdoor lighting, clarifying where each type of fixture can be safely installed. This John Timberland fixture is Wet Location rated.
Outdoor Lighting Size Guide:
Video: This video provides a general guide on selecting the appropriate size for outdoor lighting fixtures, which can be helpful for planning your installation.
Operation
Once properly installed and wired, the John Timberland Habitat Outdoor Wall Light Fixture operates like any standard wall-mounted light. It is typically controlled by a wall switch connected to the electrical circuit. Ensure bulbs are correctly installed before activating power.
- Power On/Off: Use the connected wall switch to turn the light fixture on or off.
- Bulb Replacement: Always turn off power at the circuit breaker before replacing bulbs. Allow bulbs to cool completely before handling.
Maintenance
Regular maintenance will help preserve the appearance and functionality of your light fixture.
- Cleaning:
- Wipe the fixture's metal finish with a soft, damp cloth. Do not use abrasive cleaners or polishes, as they may damage the finish.
- Clean the opal etched glass with a mild glass cleaner and a soft cloth.
- Inspection: Periodically inspect the fixture for any signs of wear, damage, or loose connections. Address any issues promptly.
- Bulb Care: Replace bulbs as needed with the specified type and wattage.

Image: Top-down detail of the fixture, showing the robust construction and glass shade.
Troubleshooting
| Problem | Possible Cause | Solution |
|---|---|---|
| Light does not turn on. |
|
|
| Light is dim or flickers. |
|
|
Warranty and Support
While specific warranty details are not provided in this manual, John Timberland products are manufactured by Lamps Plus. For warranty claims, technical support, or replacement parts, please contact Lamps Plus customer service directly.
You can visit the John Timberland Store on Amazon for more information or to contact the seller, Lamps Plus.

Image: The official John Timberland brand logo.


