
Important Safety Instructions
Please read all instructions carefully before using the NutriChef Electric Warming Tray. Retain this manual for future reference.
- Do not touch hot surfaces. Always use handles or oven mitts.
- To protect against electrical shock, do not immerse cord, plugs, or the appliance in water or other liquid.
- Close supervision is necessary when any appliance is used by or near children.
- Unplug from outlet when not in use and before cleaning. Allow to cool before putting on or taking off parts, and before cleaning the appliance.
- Do not operate any appliance with a damaged cord or plug, or after the appliance malfunctions or has been damaged in any manner.
- The use of accessory attachments not recommended by the appliance manufacturer may cause injuries.
- Do not use outdoors.
- Do not let cord hang over edge of table or counter, or touch hot surfaces.
- Do not place on or near a hot gas or electric burner, or in a heated oven.
- Extreme caution must be used when moving an appliance containing hot oil or other hot liquids.
- Always attach plug to appliance first, then plug cord into the wall outlet. To disconnect, turn any control to “off”, then remove plug from wall outlet.
- Do not use appliance for other than intended use.
Product Overview
The NutriChef Electric Warming Tray is designed to keep your food warm and ready to serve. Its sleek design and durable construction make it suitable for various occasions, from home dinners to buffets and parties.
- Heating Surface: Non-stick, heat-resistant tempered glass.
- Construction: Stainless steel housing with cool-touch carry handles.
- Features: High-powered heating element, LED power indicator light, ON/OFF switch.
- Versatility: Compatible with baking sheets, casserole dishes, and other heat-resistant cookware.

Image: The NutriChef Electric Warming Tray keeping multiple dishes warm on a dining table.
Setup
- Unpack: Carefully remove the warming tray from its packaging. Inspect for any damage.
- Placement: Place the warming tray on a stable, heat-resistant, and level surface, such as a tabletop or counter. Ensure it is near an electrical outlet.
- Clean: Before first use, wipe the glass surface with a damp cloth. Ensure it is completely dry before plugging in.
- Power Connection: Plug the power cord into a standard 120V electrical outlet. The cord length is approximately 3.9 feet.

Image: Product dimensions of the warming tray, measuring 24.5 inches in length, 13.2 inches in width (including handles), and 1.6 inches in height.
Operating Instructions
- Turn On: Locate the ON/OFF switch, typically on the side of the unit. Press the switch to the 'ON' position. The LED power indicator light will illuminate, signaling that the tray is heating.
- Preheat: Allow the warming tray to preheat for at least 5 minutes before placing any food containers on its surface. The surface temperature can reach approximately 203°F (95°C).
- Place Food: Place heat-resistant cookware, such as baking sheets or casserole dishes, directly onto the tempered glass surface. Ensure the food is already hot before placing it on the tray; the tray is designed to maintain warmth, not to cook or reheat cold food quickly.
- Maintain Warmth: For best results and to retain heat, keep food covered with lids whenever possible.
- Turn Off: When finished, press the ON/OFF switch to the 'OFF' position and unplug the unit from the electrical outlet.
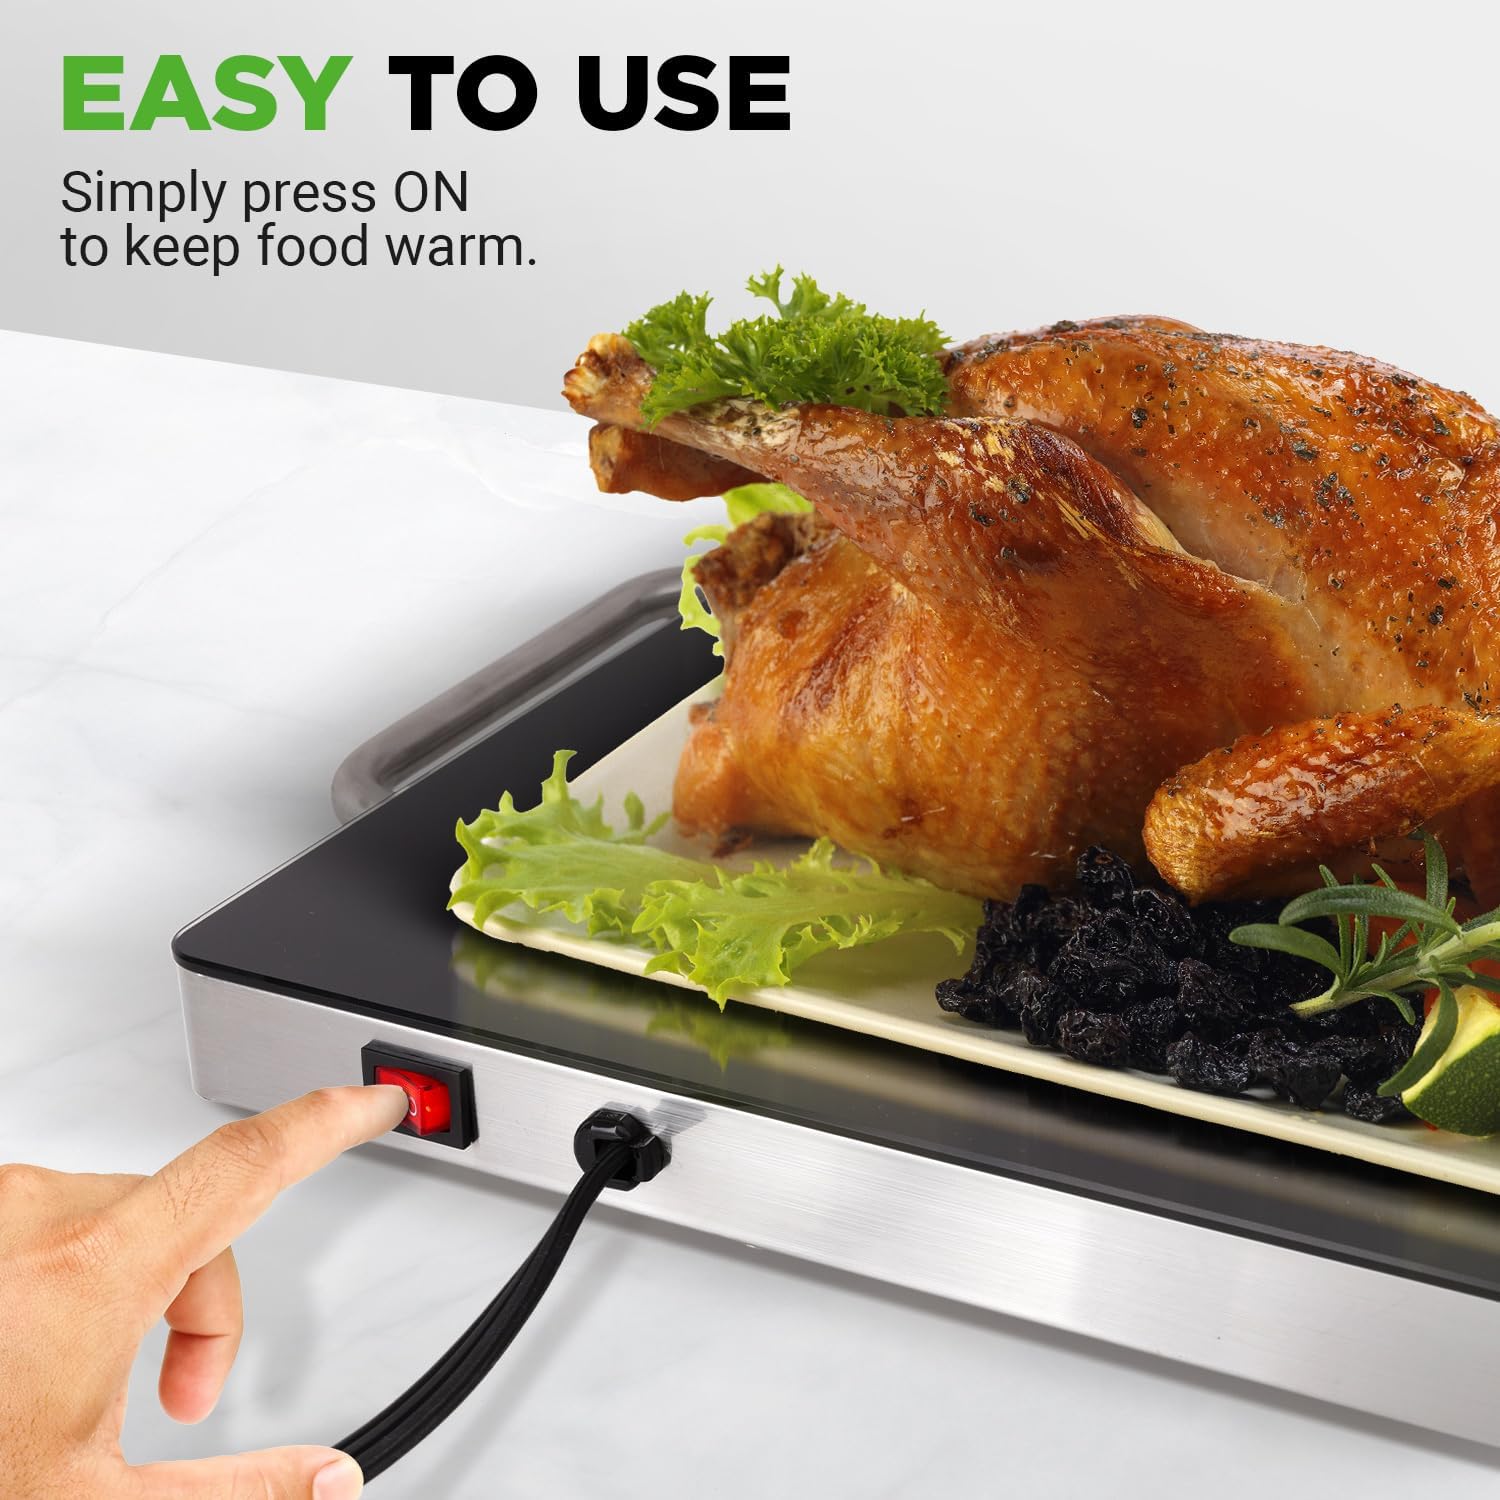
Image: A hand demonstrating how to turn on the warming tray using the side switch.

Image: A hand holding one of the cool-touch handles, highlighting the portability and safety feature.
Maintenance and Cleaning
Proper care ensures the longevity and performance of your warming tray.
- Cool Down: Always ensure the warming tray is unplugged and completely cool before cleaning.
- Surface Cleaning: Wipe the tempered glass surface with a soft, damp cloth. For stubborn stains, a mild detergent can be used. Avoid abrasive cleaners, scouring pads, or harsh chemicals that could scratch or damage the surface.
- Base Cleaning: Wipe the stainless steel base and handles with a damp cloth. Dry thoroughly.
- Storage: Store the warming tray in a dry place. Its ultra-thin design allows for space-saving storage.

Image: A hand cleaning the tempered glass surface of the warming tray, demonstrating its easy-to-clean feature.

Image: The warming tray stored in a cabinet, showcasing its compact and space-saving design.
Troubleshooting
| Problem | Possible Cause | Solution |
|---|---|---|
| Warming tray does not heat up. | Unit is not plugged in or not switched on. | Ensure the power cord is securely plugged into a working outlet and the ON/OFF switch is in the 'ON' position. |
| Food is not staying warm enough. | Food was not hot enough when placed on the tray; food is uncovered. | Ensure food is hot before placing it on the tray. Keep food covered with lids to retain heat. Allow adequate preheating time. |
| Indicator light is off, but unit is plugged in. | Switch is in 'OFF' position or a power issue. | Check the ON/OFF switch. Verify the power outlet is functional. If the problem persists, contact customer support. |
Specifications
- Model: PKWTR45
- Warming Surface Size (L x W): 19.8'' x 11.9'' (approximately 20" x 12")
- Total Dimensions (L x W x H): 24.5'' x 13.2'' x 1.6'' (with handles)
- Maximum Temperature: 203 °F (95°C)
- Heating Element Power: 240 Watt
- Power Supply: 120V
- Power Cord Length: 3.9' Ft.
- Housing Construction Material: Stainless Steel, Tempered Glass
- Item Weight: 6.2 Pounds
Warranty and Support
NutriChef products are manufactured with quality and performance in mind. For warranty information, product support, or to inquire about replacement parts, please refer to the warranty card included with your purchase or visit the official NutriChef website. Please have your model number (PKWTR45) and purchase date available when contacting support.
For additional assistance, you may contact NutriChef customer service through their official channels. Contact information can typically be found on the product packaging or the brand's website.