1. Introduction
This manual provides comprehensive instructions for the setup, operation, maintenance, and troubleshooting of your BenQ ZOWIE XL2411P 24 Inch 144Hz Gaming Monitor. Please read this manual thoroughly before using the product to ensure proper and safe operation.
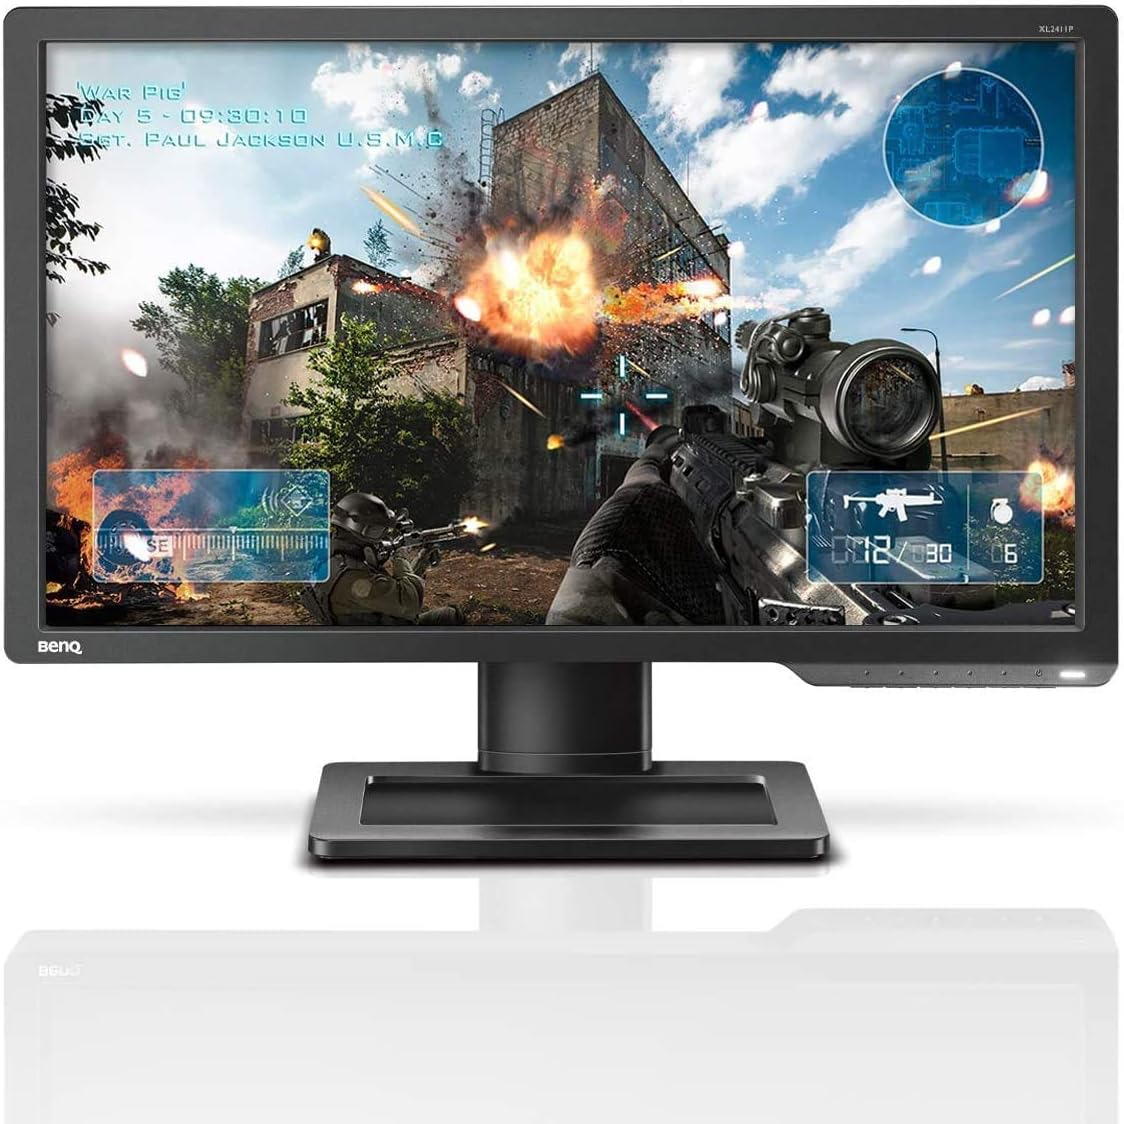
Figure 1.1: Front view of the BenQ ZOWIE XL2411P Gaming Monitor.
2. Safety Information
Observe the following safety precautions to prevent damage to the monitor and to ensure your personal safety:
- Do not expose the monitor to rain or moisture.
- Do not open the monitor casing. There are no user-serviceable parts inside. Refer all servicing to qualified service personnel.
- Place the monitor on a stable, flat surface to prevent it from falling.
- Ensure proper ventilation around the monitor. Do not block ventilation openings.
- Use only the power cord and adapter supplied with the monitor.
- Unplug the monitor from the power outlet before cleaning.
3. Package Contents
Verify that all items are present in the package:
- BenQ ZOWIE XL2411P Monitor
- Monitor Stand Base
- Monitor Stand Column
- Power Cord
- DisplayPort Cable (or DVI-DL cable, depending on region/package)
- Quick Start Guide
- Driver CD (if applicable)
4. Setup
4.1 Physical Assembly
- Carefully remove the monitor and stand components from the packaging.
- Attach the stand column to the monitor panel. Ensure it clicks securely into place.
- Attach the stand base to the stand column. Tighten the thumb screw located on the underside of the base.
- Place the assembled monitor on a stable, flat surface.

Figure 4.1: The monitor offers height adjustment for optimal viewing comfort.

Figure 4.2: The monitor can be tilted and swiveled to achieve the desired viewing angle.

Figure 4.3: Side view of the monitor, showing the VESA mount compatibility for alternative mounting solutions.
4.2 Connecting Cables
Connect the monitor to your computer using one of the following video cables:
- DisplayPort: For 144Hz refresh rate at 1080p resolution.
- DVI-DL (Dual Link DVI): For 144Hz refresh rate at 1080p resolution.
- HDMI 1.3: Supports up to 120Hz refresh rate at 1080p resolution. Note: HDMI only outputs 60Hz max for some devices; not compatible with PS5 / Xbox Series X/S @ 120Hz.
Connect the power cord to the monitor's power input and then to a power outlet.

Figure 4.4: Rear view of the monitor showing DisplayPort, DVI-DL, and HDMI input ports.
4.3 Power On
Press the power button located on the bottom right bezel of the monitor to turn it on. Ensure your computer is also powered on.
5. Operating
5.1 On-Screen Display (OSD) Navigation
The OSD menu allows you to adjust various monitor settings. Use the buttons on the bottom right bezel to navigate:
- Menu Button: Opens the OSD menu.
- Navigation Buttons: Used to move up/down or left/right through menu options.
- Enter Button: Confirms selection.
- Exit Button: Exits the current menu or OSD.
5.2 Key Features
The BenQ ZOWIE XL2411P is designed with features to enhance your gaming experience:
- 144Hz Refresh Rate: Provides extremely smooth motion, reducing motion blur and ghosting for a fluid gaming experience.
- 1ms Response Time (GtG): Minimizes input lag and ghosting, crucial for fast-paced competitive gaming.
- Black eQualizer: Brightens dark scenes without overexposing bright areas, allowing you to spot hidden enemies in dark corners.
- Color Vibrance: Adjusts color performance to enhance visual clarity and differentiate in-game targets from the background.

Figure 5.1: Visual representation of key features: 144Hz Refresh Rate, 1ms Response Time, Color Vibrance, Black eQualizer, and 1920x1080 Resolution.
5.3 Adjusting Settings
Access the OSD menu to customize your display settings:
- Picture Mode: Select from various preset modes (e.g., FPS1, FPS2, RTS, Movie, Standard) optimized for different content.
- Brightness/Contrast: Adjust the overall luminance and contrast of the display.
- Color Temperature: Choose between different color temperature presets (e.g., Normal, Reddish, Bluish, User Mode) to fine-tune color balance.
- Sharpness: Adjust the clarity of image details.
- AMA (Advanced Motion Accelerator): Overdrive setting for faster pixel response.
5.4 Input Selection
To switch between video inputs (DisplayPort, DVI-DL, HDMI), press the dedicated input select button or navigate to the "Input" section in the OSD menu.
6. Maintenance
Proper maintenance ensures the longevity and performance of your monitor:
- Cleaning the Screen: Gently wipe the screen with a soft, lint-free cloth. For stubborn marks, dampen the cloth slightly with water or a non-ammonia, non-alcohol based screen cleaner. Do not spray cleaner directly onto the screen.
- Cleaning the Casing: Use a soft, dry cloth to wipe the monitor casing. Avoid abrasive cleaners.
- Ventilation: Ensure the ventilation openings on the monitor are clear of dust and obstructions to prevent overheating.
- Storage: If storing the monitor for an extended period, unplug it and store it in a cool, dry place, preferably in its original packaging.
7. Troubleshooting
This section addresses common issues you might encounter with your monitor.
7.1 No Image or "No Signal" Message
- Ensure the power cord is securely connected to both the monitor and the power outlet.
- Verify that the video cable (DisplayPort, DVI-DL, HDMI) is firmly connected to both the monitor and your computer's graphics card.
- Check if the correct input source is selected on the monitor (use the input select button or OSD menu).
- Ensure your computer is powered on and not in sleep mode.
- Test the monitor with another video source or cable if possible.
7.2 Image is Blurry or Distorted
- Ensure the display resolution on your computer is set to the monitor's native resolution (1920x1080).
- Adjust the sharpness setting in the OSD menu.
- Check the video cable for damage or loose connections.
7.3 Monitor Stuck at 60Hz Refresh Rate
- Ensure you are using a DisplayPort or DVI-DL cable for 144Hz. HDMI 1.3 supports up to 120Hz, but some devices may limit it to 60Hz.
- Verify that your graphics card drivers are up to date.
- In your operating system's display settings (e.g., Windows Display Settings, NVIDIA Control Panel, AMD Radeon Settings), manually set the refresh rate to 144Hz.
7.4 Colors Appear Washed Out or Incorrect
- Adjust the Color Vibrance and Color Temperature settings in the OSD menu.
- Try different Picture Modes to see if a preset improves the color.
- Calibrate your monitor using your operating system's color calibration tools or third-party software.
8. Specifications

Figure 8.1: Dimensions of the BenQ ZOWIE XL2411P Monitor.
| Feature | Specification |
|---|---|
| Model Number | XL2411P |
| Screen Size | 24 Inches |
| Display Resolution | 1920 x 1080 Pixels (FHD 1080p) |
| Aspect Ratio | 16:9 |
| Refresh Rate | 144Hz (via DisplayPort/DVI-DL) |
| Response Time | 1ms (GtG) |
| Brightness | 350 cd/m² |
| Color | Black |
| Product Dimensions (L x W x H) | 5.99 x 53.85 x 34.54 cm (5.9 kg) |
| Power Source | AC |
| Voltage | 240 Volts |
| Manufacturer | BenQ |
| Date First Available | June 28, 2016 |
9. Warranty and Support
BenQ provides a limited warranty for its products. For specific warranty terms and conditions, please refer to the warranty card included with your product or visit the official BenQ website.
For technical support, driver downloads, or further assistance, please visit the BenQ support website or contact their customer service. Have your monitor's model number (XL2411P) and serial number ready when contacting support.
Official BenQ Support Website: www.benq.com/en-ca/support.html


