1. Introduction
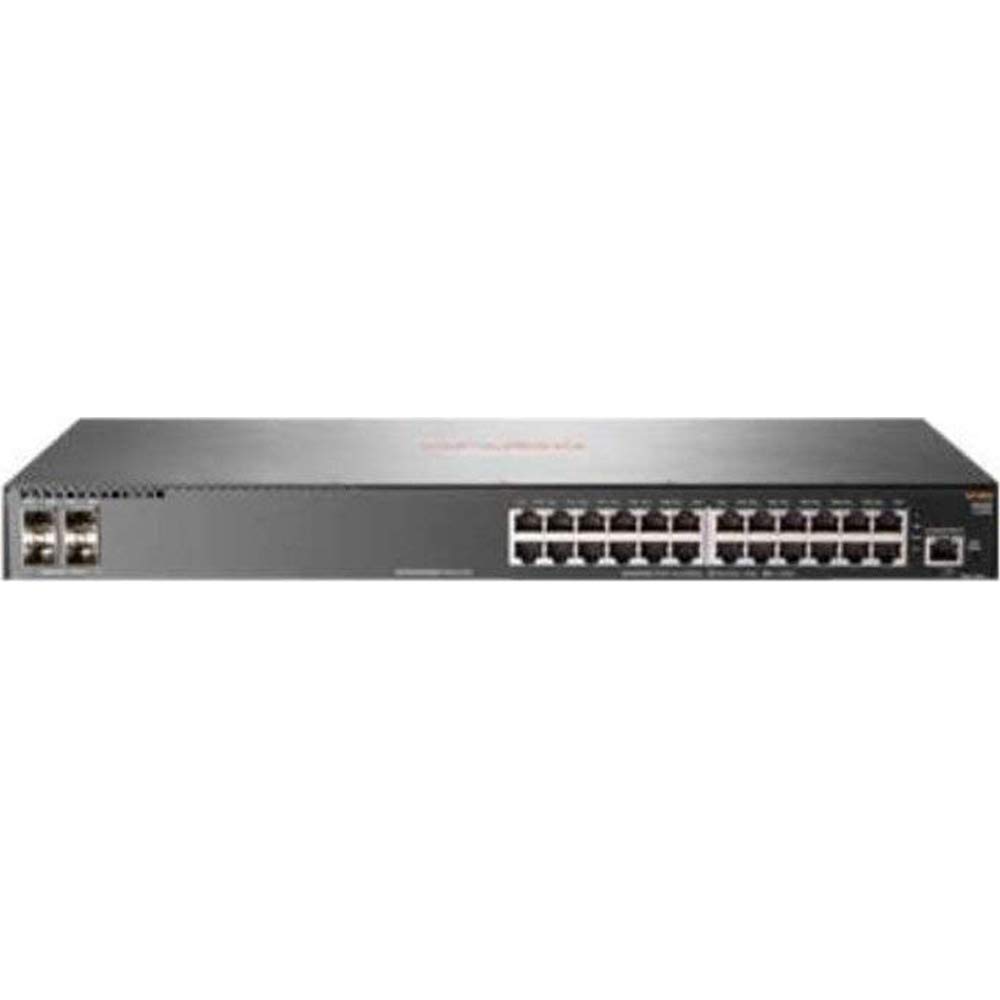
This manual provides comprehensive instructions for the installation, configuration, and operation of the HP 2930F-24G 4SFP Switch. This device is a high-performance network switch designed for reliable and secure network connectivity. It features 24 Gigabit Ethernet ports and 4 SFP uplink ports, supporting Layer 3 functionality for advanced network management.
2. Package Contents
Carefully unpack the box and verify that all items are present and undamaged. If any items are missing or damaged, contact your vendor immediately.
- 1 x HP 2930F-24G 4SFP Switch
- 1 x Power Cord
- 1 x Screw Kit
- 4 x Mounting Ears
- 4 x Bumper Feet
- 1 x Cable Tie
3. Setup
3.1. Site Preparation
Ensure the installation site is clean, dry, and has adequate ventilation. Maintain proper temperature and humidity levels as specified in the environmental requirements. Ensure a stable power source is available.
3.2. Mounting the Switch
The HP 2930F-24G 4SFP Switch supports both rack-mountable and desktop installations.
- Desktop Installation: Attach the four bumper feet to the bottom of the switch. Place the switch on a flat, stable surface.
- Rack-Mount Installation: Attach the mounting ears to the sides of the switch using the provided screws. Secure the switch into a standard 1U rack using appropriate rack screws (not included).
3.3. Connecting Power
- Connect the provided power cord to the power inlet on the rear panel of the switch.
- Plug the other end of the power cord into a grounded electrical outlet.
- Verify that the power LED on the front panel illuminates, indicating the switch is receiving power.
3.4. Connecting Network Cables
- Ethernet Ports: Connect standard RJ-45 Ethernet cables from your network devices (computers, servers, other switches) to the 24 Gigabit Ethernet ports on the front panel.
- SFP Uplink Ports: Insert compatible SFP transceivers (not included) into the 4 SFP slots. Connect fiber optic or copper SFP cables to these transceivers for uplink connections to other network devices or the core network.
4. Operating Instructions
4.1. Initial Power On
Once power is connected, the switch will automatically begin its boot sequence. This process may take a few minutes. Observe the system status LEDs for indications of successful startup.
4.2. LED Indicators
The front panel LEDs provide status information for the switch and its ports:
- Power LED: Indicates power status (On: Power OK, Off: No power).
- System LED: Indicates overall system health (Green: Normal, Amber: Warning, Red: Error).
- Port Link/Activity LEDs: Located next to each Ethernet and SFP port. (Green: Link established, Blinking Green: Activity, Off: No link).
4.3. Network Management
The HP 2930F-24G 4SFP Switch can be managed via a Command Line Interface (CLI) through a console port (if available) or Telnet/SSH, and typically through a web-based graphical user interface (GUI). Refer to the comprehensive HP ArubaOS-Switch Management and Configuration Guide for detailed instructions on initial configuration, VLAN setup, Layer 3 routing, and other advanced features.
5. Maintenance
5.1. Cleaning
Regularly clean the exterior of the switch with a soft, dry cloth. Do not use liquid or aerosol cleaners. Ensure ventilation openings are free from dust and obstructions to prevent overheating.
5.2. Firmware Updates
Periodically check the official HP support website for firmware updates. Keeping the switch firmware up-to-date ensures optimal performance, security, and access to new features. Follow the instructions provided with the firmware update package carefully.
5.3. Environmental Considerations
Ensure the switch operates within its specified temperature and humidity ranges. Avoid exposing the device to direct sunlight, excessive heat, or moisture.
6. Troubleshooting
This section provides solutions to common issues you might encounter.
- No Power:
- Check if the power cord is securely connected to both the switch and the power outlet.
- Verify that the power outlet is functional.
- Ensure the power supply unit (internal) is not faulty.
- No Link on Port:
- Ensure the Ethernet or SFP cable is properly connected at both ends.
- Verify that the connected device is powered on and functioning correctly.
- Check the cable for damage. Try a different cable.
- Confirm that the SFP transceiver is compatible and correctly seated (for SFP ports).
- Network Connectivity Issues:
- Verify IP address configuration on connected devices and the switch.
- Check VLAN configurations if applicable.
- Ensure no IP address conflicts exist on the network.
- Restart the switch and connected devices.
If problems persist, consult the detailed troubleshooting guides available on the official HP support website or contact HP technical support.
7. Specifications
| Feature | Specification |
|---|---|
| Model Number | JL259A#ABA |
| Total Network Ports | 24 x Gigabit Ethernet |
| Uplink Ports | 4 x SFP |
| Ethernet Technology | Gigabit Ethernet (10/100/1000Base-TX) |
| Network Technology | 1000Base-X |
| Layer Support | Layer 3 |
| Power Source | Power Supply |
| Form Factor | Rack-mountable, Desktop (1U) |
| Dimensions (H x D) | 1.7 inches x 7.9 inches |
| Weight | 5.31 lb (Approximate) |
| RAM | 1024 MB |
| Case Material | Metal |
| UPC | 190017006000 |
8. Warranty and Support
For detailed warranty information, product registration, and technical support, please visit the official HP support website. You can find resources such as knowledge bases, FAQs, driver downloads, and contact information for customer service.
HP Support Website: www.hp.com/support