
DIGITNOW 8541730152
Contents
DIGITNOW! 135 Film Negative Scanner Instruction Manual
Model: 8541730152
Brand: DIGITNOW
1. Introduction
The DIGITNOW! 135 Film Negative Scanner is a high-resolution device designed to convert your cherished 35mm film negatives and slides into digital JPEG images. This standalone scanner allows you to digitize your memories directly to an SD card without the need for a computer, offering convenience and ease of use. It features a 2.4-inch TFT LCD screen for previewing and adjusting images, and supports various operating systems for computer connectivity.

Image: The DIGITNOW! 135 Film Negative Scanner, showing its compact design and the extended slide feeder.
2. Setup
2.1 Unpacking and Components
Before beginning, ensure all components are present:
- DIGITNOW! 135 Film Negative Scanner
- Film Strip Feeder
- Slide Mount Feeder
- Cleaning Brush
- USB Cable
- Power Adapter
- Video Cable (for TV output)

Image: All components of the DIGITNOW! Film Scanner package, including the scanner unit, various film and slide holders, cables, and cleaning brush.
2.2 Power Connection
Connect the provided power adapter to the scanner's power input port and then to a wall outlet. The scanner will power on automatically or can be turned on using the power button.
2.3 SD Card Insertion
Insert a compatible SD card (up to 32GB SDHC) into the SD card slot on the side of the scanner. This card will store your digitized images.
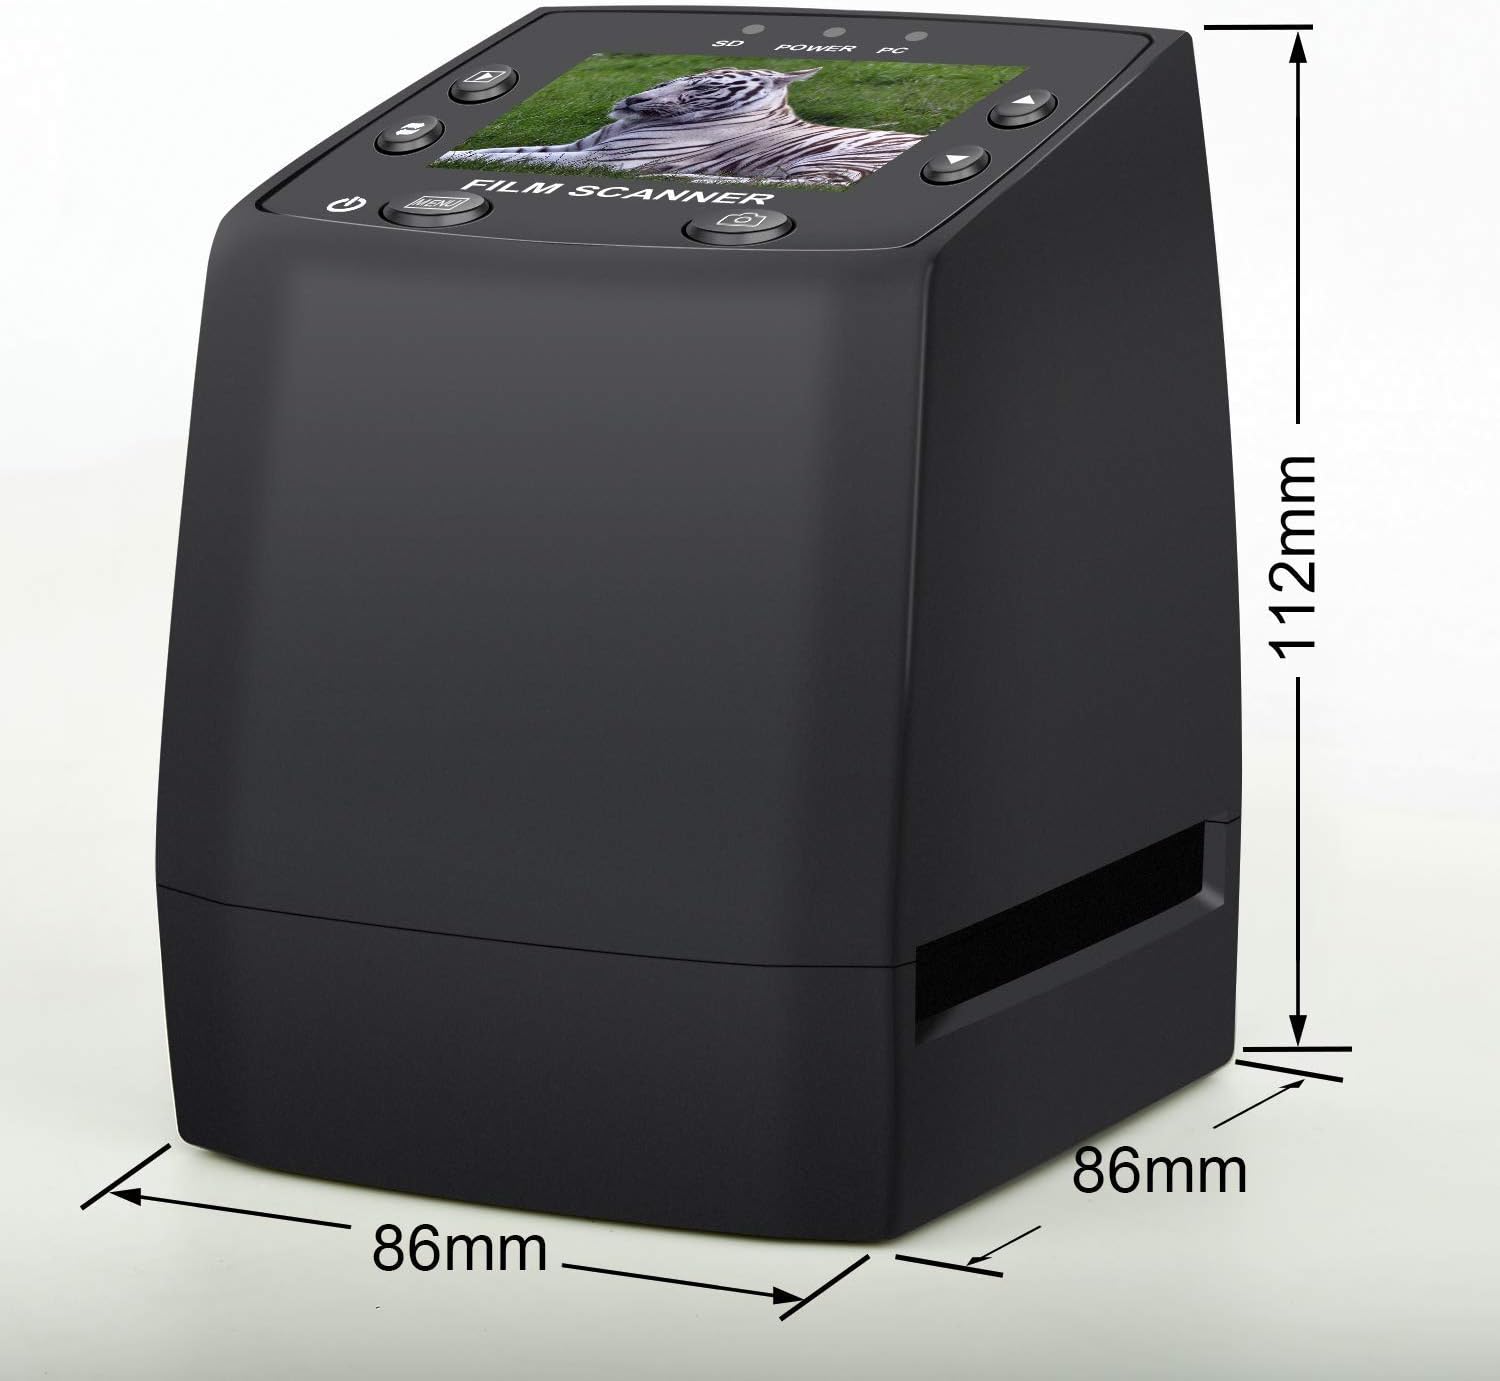
Image: Rear view of the scanner highlighting the SD card slot, USB output, and TV input ports.
2.4 Connecting to TV (Optional)
For a larger viewing experience, connect the scanner to a TV using the provided video cable. Ensure your TV is set to the correct input source (NTSC/PAL compatible).
2.5 Inserting Film or Slides
Select the appropriate feeder for your media type (film strip or slide mount). Carefully insert your film or slides into the feeder. The rapid slide feeder allows for continuous loading of multiple slides.

Image: The continuous loading feature of the slide feeder, designed for faster scanning of multiple slides.
Video: Official product demonstration showing the setup process, including connecting the device, inserting an SD card, and loading film/slides for scanning.
3. Operating Instructions
3.1 Navigating the Interface
The scanner features a 2.4-inch TFT LCD screen (480x234) for easy navigation and preview. Use the directional buttons and 'OK' button to select options from the menu.

Image: A detailed view of the scanner's screen and control buttons, showing the user interface.
3.2 Adjusting Settings
From the main menu, you can adjust various settings:
- Exposure (EV): Modify the brightness of the scanned image.
- Resolution: Choose between 5 Mega Pixel and 10 Mega Pixel (interpolated) scanning resolutions.
- Language: Select your preferred language for the interface.
- USB MSDC: Access the SD card content when connected to a computer.
Video: A demonstration of how to navigate the scanner's menu to adjust settings such as exposure, resolution, and language.
3.3 Scanning and Saving Images
Once your film or slide is correctly positioned and settings are adjusted, press the 'Capture' button (camera icon) to scan the image. The digitized JPEG file will be automatically saved to the inserted SD card. You can then connect the scanner to a computer via USB to transfer the files, or remove the SD card and insert it into a card reader.
4. Maintenance
4.1 Cleaning the Scanner
Regular cleaning ensures optimal scan quality. Use the provided cleaning brush to gently remove dust and debris from the film/slide slot and the scanner's lens. Avoid using liquid cleaners directly on the lens or internal components.
4.2 Storage
When not in use, store the DIGITNOW! Film Negative Scanner in a cool, dry place away from direct sunlight and excessive humidity. Keep it in its original packaging or a protective case to prevent dust accumulation and physical damage.
5. Troubleshooting
| Problem | Possible Cause | Solution |
|---|---|---|
| Scanner does not power on. | Loose power connection, faulty adapter. | Ensure power adapter is securely connected to the scanner and a working power outlet. Try a different outlet. |
| Poor image quality (blurry, dark, discolored). | Dust on film/slides or lens, incorrect exposure/resolution settings. | Clean film/slides and scanner lens with the provided brush. Adjust EV (Exposure Value) and Resolution settings in the menu. |
| SD card not recognized. | Improperly inserted card, incompatible card, corrupted card. | Reinsert the SD card correctly. Ensure it is a compatible SDHC card (up to 32GB). Try formatting the card (this will erase all data) or use a different SD card. |
| Device freezes or becomes unresponsive. | Temporary software glitch. | Disconnect the power adapter, wait a few seconds, then reconnect to restart the device. |
| Scanned image is upside down or sideways. | Original film/slide orientation, or incorrect setting. | Use the image rotation feature on the scanner's interface to correct the orientation before saving. |
6. Specifications
| Product Dimensions | 3.35 x 3.35 x 4.37 inches (8.5 x 8.5 x 11.1 cm) |
| Item Weight | 1.5 pounds (0.68 kg) |
| Model Number | 8541730152 |
| Media Type | Negatives, Slides (35mm film) |
| Scanner Type | Film Scanner |
| Resolution | 1800 DPI (5 Mega Pixel), 10 Mega Pixel (interpolated) |
| Display | 2.4 inch TFT LCD screen (480x234) |
| Connectivity Technology | USB 2.0 |
| Operating System Compatibility | Windows XP, VISTA, 7, 8, 10, Mac OS |
| Power Source | Power Adapter (included) |
7. Warranty and Support
For warranty information, technical support, or service inquiries, please contact DIGITNOW! customer support. Refer to the contact details provided in your product packaging or visit the official DIGITNOW! website.
Ask a question about this manual
Ask about setup, troubleshooting, compatibility, parts, safety, or missing instructions. Manuals+ will review the question and use this page’s manual context to help answer it.