1. Introduction
The ELCO Lighting RP-1B Insulation Sensor is a safety device designed for use with 120V incandescent lighting fixtures, particularly pendant types. Its primary function is to detect excessive heat buildup within the fixture's housing. If the temperature exceeds a safe operating limit, the sensor automatically interrupts the electrical circuit, preventing potential overheating and fire hazards. This ensures the safe operation and longevity of your lighting system.
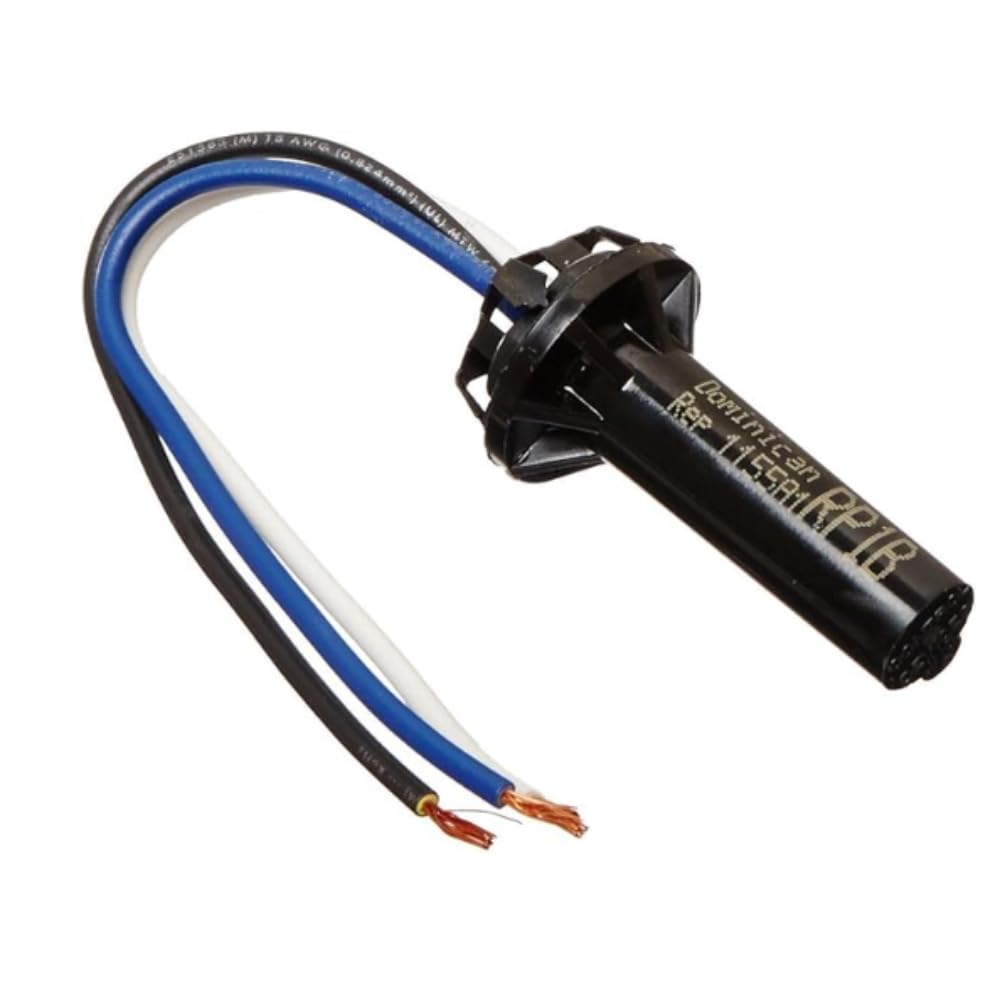
Figure 1: ELCO Lighting RP-1B Insulation Sensor. This image displays the compact design of the insulation sensor, highlighting its small form factor and integrated wiring.
2. Components
The RP-1B Insulation Sensor package typically includes the following:
- One (1) ELCO Lighting RP-1B Insulation Sensor with pre-attached 3-wire leads.

Figure 2: Package Contents. This image shows the ELCO Lighting RP-1B Insulation Sensor with its three electrical wires, illustrating what is included in the product package.
3. Installation
WARNING: Ensure power is disconnected at the circuit breaker before beginning installation to prevent electrical shock.
- Prepare the Fixture: Access the wiring compartment of your 120V incandescent pendant fixture. If replacing an existing sensor, carefully remove the old unit and disconnect its wires.
- Connect Wiring: The RP-1B sensor features three wires. Connect these wires to the corresponding wires in your fixture's electrical box according to local electrical codes. Typically, this involves connecting the sensor's input to the power source, and its output to the fixture's lamp holder, with a common neutral connection. Ensure all connections are secure using appropriate wire connectors.
- Mount the Sensor: The sensor is designed to snap into a designated opening within the fixture's electrical box or housing. Ensure it is firmly seated and positioned to accurately monitor the internal temperature.
- Secure and Test: Close the fixture's wiring compartment. Restore power at the circuit breaker. Test the fixture to ensure proper operation.
This sensor is specifically designed for 120V incandescent fixtures. Do not use with other voltage types or bulb technologies unless explicitly stated by the manufacturer.
4. Operation
The ELCO Lighting RP-1B Insulation Sensor operates automatically. Once installed and power is supplied to the fixture, the sensor continuously monitors the internal temperature. If the temperature within the fixture's housing rises above 50 degrees Celsius (122 degrees Fahrenheit) due to factors such as improper insulation, incorrect bulb wattage, or poor ventilation, the sensor will trip, interrupting the power supply to the bulb. This action prevents the fixture from overheating, thereby protecting the fixture, surrounding materials, and reducing fire risk. The sensor will reset once the temperature returns to a safe level, allowing the light to function again.
The RP-1B sensor is compatible with dimmable incandescent fixtures, ensuring safety without interfering with dimming functionality.
5. Maintenance
The ELCO Lighting RP-1B Insulation Sensor is a sealed unit and requires no routine maintenance. For optimal performance and safety, it is recommended to:
- Periodically inspect the fixture and sensor for any visible damage or loose connections.
- Ensure that the fixture's ventilation is not obstructed.
- Use only incandescent bulbs within the wattage range specified for your fixture.
Do not attempt to open or repair the sensor. If the sensor is damaged or malfunctioning, it should be replaced by a qualified electrician.
6. Troubleshooting
| Problem | Possible Cause | Solution |
|---|---|---|
| Light flickers or turns on/off intermittently. | Sensor is tripping due to overheating. | Check bulb wattage (ensure it's within fixture limits). Verify proper insulation clearance around the fixture. Ensure adequate ventilation. |
| Light does not turn on. | Faulty sensor, loose wiring, or power issue. | 1. Ensure power is supplied to the fixture. 2. Check all wire connections for tightness. 3. If comfortable and safe to do so (with power off), temporarily bypass the sensor to confirm if the light turns on. If it does, the sensor may be faulty and require replacement. |
| Sensor does not fit into fixture. | Incompatible fixture or incorrect sensor model. | Verify that the RP-1B is the correct sensor for your specific ELCO Lighting fixture model. Consult your fixture's manual or ELCO Lighting support. |
7. Specifications
- Model: RP-1B
- Brand: ELCO Lighting
- Voltage: 120 Volts
- Material: Copper
- Item Weight: Approximately 0.01 Ounces (0.28 grams)
- Product Dimensions (L x W x H): 0.31 x 3.07 x 5.67 inches
- Upper Temperature Rating: 50 Degrees Celsius (122 Degrees Fahrenheit)
- Output Type: Push-Pull
- Compatible Bulb Type: Incandescent
- Special Features: Dimmable (compatibility with dimmable fixtures)
- UPC: 633999506347
8. Warranty and Support
For information regarding product warranty, technical support, or replacement parts, please contact ELCO Lighting directly. You can typically find their contact information on their official website or through your product retailer.
ELCO Lighting Contact: Visit the ELCO Lighting Store on Amazon


