
1. Introduction
The Hikvision DS-7104HGHI-F1 is a 4-channel Turbo HD Digital Video Recorder (DVR) designed for surveillance systems. This DVR supports 720P (1MP) resolution and offers versatile connectivity for both HD-TVI/analog and AHD cameras with adaptive access. It features H.264 video compression and dual-stream capabilities, ensuring efficient storage and transmission.
This manual provides essential information for the proper installation, operation, and maintenance of your Hikvision DS-7104HGHI-F1 DVR. Please read it thoroughly before using the device.
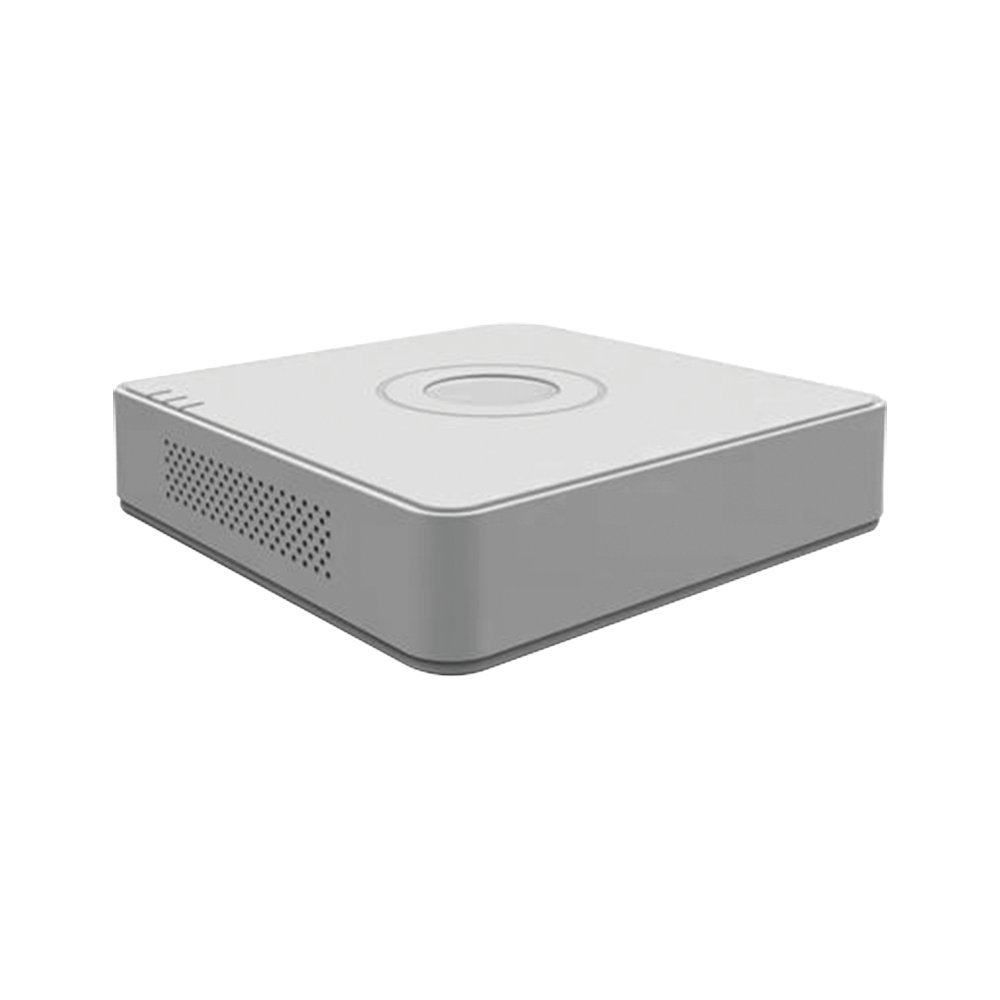
Figure 1: Hikvision DS-7104HGHI-F1 Turbo HD DVR
Key Features:
- 4-channel 720P (1MP) Turbo HD DVR.
- Full channel@720P resolution non-real-time recording.
- HDMI and VGA output at up to 1920x1080P resolution.
- H.264 & Dual-stream video compression.
- Support for HD-TVI /analog and AHD cameras with adaptive access.
- Long transmission distance over coax cable.
- Support for 4-ch synchronous playback at 720P resolution.
- RJ45 Ethernet port and 2 USB ports.
- Supports up to 4TB HDD (Hard Disk Drive not included).
- In-built Free DDNS for mobile viewing (Android and Windows Phone compatible).
2. Setup and Installation
2.1 Package Contents
Before proceeding with installation, verify that all items are present in the package:
- Hikvision DS-7104HGHI-F1 DVR Unit
- Power Adapter
- USB Mouse
- Screws for HDD installation
- Quick Start Guide
Note: Hard Disk Drive (HDD) and cameras are not included and must be purchased separately.
2.2 Hardware Installation
- Install Hard Disk Drive (HDD):
- Unscrew and remove the top cover of the DVR.
- Connect the SATA power and data cables from the DVR to the HDD.
- Secure the HDD to the DVR chassis using the provided screws.
- Replace the top cover and secure it with screws.
- Connect Cameras:
- Connect your HD-TVI, AHD, or analog cameras to the BNC video input ports on the rear panel of the DVR.
- Connect Monitor:
- Connect a monitor to the HDMI or VGA output port on the DVR using an appropriate cable.
- Connect Mouse:
- Plug the USB mouse into one of the USB ports on the DVR.
- Connect Network (Optional):
- For remote viewing and network access, connect an Ethernet cable from the RJ45 port on the DVR to your router or network switch.
- Connect Power:
- Connect the power adapter to the DVR's power input and then plug it into a power outlet. The DVR will power on automatically.
2.3 Initial Configuration
Upon first boot, the DVR will guide you through an initial setup wizard. Follow the on-screen prompts to:
- Set up a strong password for the administrator account.
- Configure date and time settings.
- Format the installed HDD for recording.
- Configure network settings (DHCP recommended for most home users).
3. Operating Instructions
3.1 Live View
After initial setup, the DVR will display the live view from connected cameras on the monitor. You can switch between single-camera view and multi-camera grid view using the on-screen controls or mouse.
3.2 Recording
The DVR is typically configured for continuous recording by default after HDD formatting. You can access the recording schedule settings via the main menu to configure motion-detection recording, scheduled recording, or alarm-triggered recording for individual channels.
3.3 Playback
To review recorded footage:
- Right-click on the live view screen to open the main menu.
- Select "Playback".
- Choose the desired camera channel(s) and date/time range.
- Use the playback controls (play, pause, fast forward, rewind) to navigate through the footage.

Figure 2: Video Resolution Comparison
3.4 Mobile Viewing (Hik-Connect / DDNS)
The DVR supports remote viewing via Hik-Connect P2P service or DDNS.
- Ensure the DVR is connected to the internet.
- Enable the Hik-Connect service or configure DDNS settings in the DVR's network menu.
- Download the Hik-Connect app on your Android or Windows Phone device.
- Register an account and add your DVR by scanning the QR code or entering the serial number.
- You can now view live footage and playback recordings remotely.

Figure 3: Hik-Connect P2P Service
4. Maintenance
4.1 Regular Cleaning
- Keep the DVR unit clean and free from dust. Use a soft, dry cloth for cleaning.
- Ensure ventilation openings are not blocked to prevent overheating.
- Do not use liquid or aerosol cleaners directly on the unit.
4.2 Firmware Updates
Periodically check the official Hikvision website for firmware updates. Firmware updates can improve performance, add new features, and address security vulnerabilities. Follow the instructions provided by Hikvision carefully when performing firmware updates.
4.3 Data Backup
Regularly back up important recorded footage to an external USB drive or network storage. This ensures data retention in case of HDD failure or other unforeseen issues.
5. Troubleshooting
| Problem | Possible Cause | Solution |
|---|---|---|
| No video output on monitor |
|
|
| No camera image |
|
|
| Cannot access DVR remotely |
|
|
| No recording |
|
|
6. Specifications
| Feature | Detail |
|---|---|
| Model Number | DS-7104HGHI-F1 |
| Video Compression | H.264 |
| Video Input | 4-ch BNC (HD-TVI, AHD, Analog adaptive access) |
| Audio Input | 1-ch RCA |
| HDMI/VGA Output | 1-ch, 1920 × 1080P/60Hz, 1280 × 1024/60Hz, 1280 × 720/60Hz, 1024 × 768/60Hz |
| Recording Resolution | 720P (1MP) non-real-time |
| Synchronous Playback | 4-ch at 720P |
| HDD Support | 1 SATA interface, up to 4 TB capacity |
| Network Interface | 1 RJ45 10M/100M self-adaptive Ethernet interface |
| USB Interface | 2 USB 2.0 interfaces |
| Dimensions (L x W x H) | 12 x 3.5 x 10 cm |
| Weight | 1.06 kg (approx. 2.34 lbs) |

Figure 4: Turbo HD Technology Support
7. Warranty Information
This Hikvision DS-7104HGHI-F1 DVR typically comes with a 2-year warranty from the date of purchase.
Please note that the warranty generally covers manufacturing defects. It does not cover physical damage or damage caused by burning. For specific terms and conditions, please refer to the warranty card included with your product or contact Hikvision customer support.
8. Support and Contact
For technical assistance, product inquiries, or warranty claims, please contact Hikvision customer support.
- Official Website: Visit the official Hikvision website for support resources, FAQs, and contact information.
- Online Resources: Check for updated manuals, firmware, and software tools on the Hikvision support portal.
Always refer to the latest documentation available from the manufacturer for the most accurate and up-to-date information.