1. Introduction
This manual provides detailed instructions for the installation, operation, maintenance, and troubleshooting of your Lexicon LP-1618-K Quartz Kitchen Sink. Please read this manual thoroughly before beginning installation or use to ensure proper function and longevity of your product. Keep this manual for future reference.

Image 1.1: Top view of the Lexicon LP-1618-K Galaxy Black Quartz Kitchen Sink. This image shows the single bowl design with the drain opening centered.
2. Safety Information
Observe the following safety precautions during installation and use:
- Always wear appropriate personal protective equipment (PPE) such as safety glasses and gloves during installation.
- Ensure the installation area is well-lit and free of obstructions.
- Turn off water supply before beginning any plumbing work.
- Handle the sink with care to prevent chipping or damage.
- If you are unsure about any installation steps, consult a qualified professional.
3. Package Contents
Verify that all components are present and undamaged before proceeding with installation.
- Lexicon LP-1618-K Quartz Kitchen Sink
- Color-Matched Strainer Basket
- 304 Stainless Steel Sink Grid
- Mounting Clips (for drop-in installation)
- Cutout Template

Image 3.1: The Lexicon LP-1618-K sink shown with its included stainless steel grid and color-matched strainer.
4. Specifications
| Feature | Detail |
|---|---|
| Model Number | LP-1618-K |
| Material | 80% Quartz, Granite Composite |
| Color | Galaxy Black |
| Overall Dimensions (L x W x H) | 16.5" x 18" x 8.75" |
| Bowl Depth | 8 inches |
| Minimum Cabinet Size | 19.5 inches |
| Drain Diameter | 3.5 inches (Standard) |
| Installation Type | Drop-in or Undermount |
| Item Weight | 31.3 lbs |

Image 4.1: Detailed dimensions of the Lexicon LP-1618-K Quartz Kitchen Sink, including length, width, and depth.
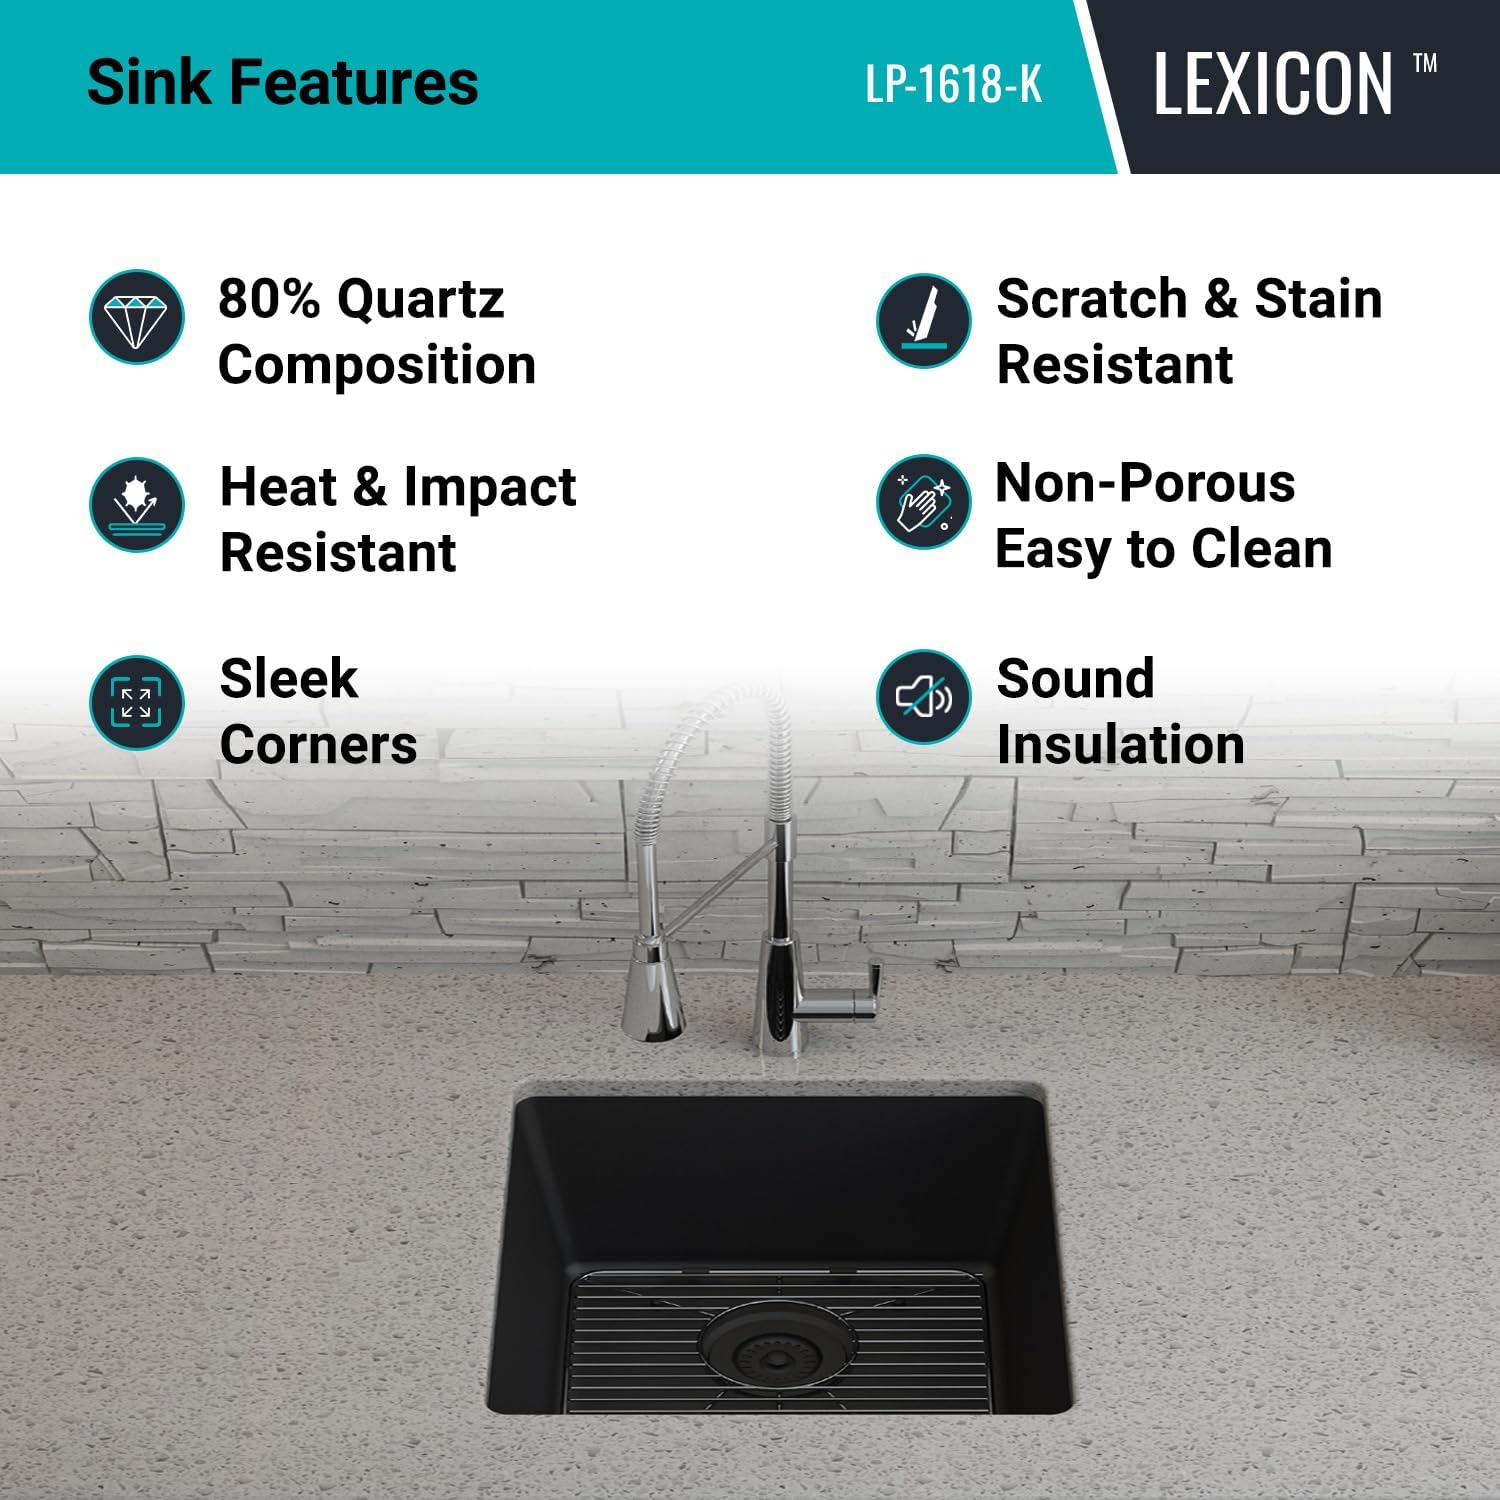
Image 4.2: Technical drawing showing overall and bowl dimensions, and drain diameter.
5. Installation
The Lexicon LP-1618-K sink can be installed as either a drop-in (top mount) or undermount sink. Follow the instructions carefully for your chosen installation method.
5.1. Pre-Installation Steps (Common to both methods)
- Inspect Sink: Carefully inspect the sink for any damage before installation. Do not install a damaged sink.
- Gather Tools: Ensure you have all necessary tools, including a jigsaw, drill, silicone sealant, measuring tape, and safety equipment.
- Prepare Countertop: Clean the countertop surface where the sink will be installed.
- Use Template: Use the provided cutout template to mark the opening on your countertop. Double-check measurements before cutting.
5.2. Undermount Installation
- Cut Countertop Opening: Cut the countertop opening according to the template for undermount installation. The opening should be slightly smaller than the sink rim to allow for proper support.
- Prepare Sink Rim: Apply a continuous bead of silicone sealant around the top edge of the sink rim.
- Position Sink: Carefully lift the sink and position it underneath the countertop opening. Ensure it is centered and aligned.
- Secure Sink: Use appropriate undermount clips (not included, typically supplied with countertop installation) to secure the sink to the underside of the countertop. Tighten evenly.
- Wipe Excess Sealant: Remove any excess silicone sealant immediately.

Image 5.1: The Lexicon LP-1618-K sink shown installed as an undermount unit, integrated seamlessly into a kitchen countertop.
5.3. Drop-in (Top Mount) Installation
- Cut Countertop Opening: Cut the countertop opening according to the template for drop-in installation. The opening should allow the sink to rest on its rim.
- Prepare Sink Rim: Apply a continuous bead of silicone sealant around the underside of the sink rim.
- Position Sink: Carefully lower the sink into the countertop opening. Ensure it is centered and aligned.
- Secure Sink: Attach the provided mounting clips to the underside of the sink rim and tighten them against the countertop. Work your way around the sink, tightening clips evenly.
- Wipe Excess Sealant: Remove any excess silicone sealant immediately.
5.4. Drain and Faucet Installation
- Install Strainer: Install the included color-matched strainer basket into the sink drain opening according to its specific instructions. Use plumber's putty or silicone sealant as required to ensure a watertight seal.
- Install Faucet: Install your chosen faucet (not included) into the pre-drilled faucet hole(s) on your countertop or directly onto the sink if applicable. Follow the faucet manufacturer's instructions.
- Connect Plumbing: Connect the water supply lines to the faucet and the drain assembly to the household plumbing. Ensure all connections are tight and leak-free.
- Test for Leaks: Turn on the water supply and check all connections for leaks.
6. Operation
The Lexicon LP-1618-K Quartz Kitchen Sink is designed for daily kitchen tasks. Its single bowl configuration and 8-inch depth accommodate large pots and pans, facilitating washing and rinsing.
- Daily Use: Use the sink for washing dishes, preparing food, and other general kitchen activities.
- Strainer Function: The included strainer basket helps to trap food debris, preventing clogs in your plumbing. Empty the strainer regularly.
- Sink Grid: The stainless steel sink grid protects the bottom of the sink from scratches and allows water to drain freely underneath dishes.
7. Maintenance and Care
Proper care will ensure the longevity and appearance of your Lexicon Quartz Kitchen Sink.
- Regular Cleaning: Clean your quartz sink regularly using a non-abrasive sponge or cloth and mild dishwashing soap.
- Rinsing and Drying: After cleaning, rinse the sink thoroughly with water and dry completely with a clean, soft cloth to prevent water spots and mineral buildup.
- Avoid Harsh Chemicals: Do not use abrasive cleaners, steel wool, strong acids, or alkaline solutions, as these can damage the sink's surface.
- Stain Removal: For stubborn stains, a diluted solution of vinegar and water or a specialized quartz sink cleaner can be used. Always test on an inconspicuous area first.
- Heat Resistance: While quartz is heat-resistant, it is recommended to use a trivet or the sink grid for extremely hot pots and pans to prevent thermal shock or discoloration over time.

Image 7.1: Key features of the Lexicon Quartz Sink, highlighting its durability and ease of maintenance.
8. Troubleshooting
This section addresses common issues you might encounter with your Lexicon Quartz Kitchen Sink.
| Problem | Possible Cause | Solution |
|---|---|---|
| Water spots/Mineral buildup | Hard water, not drying the sink after use. | Wipe the sink dry after each use. Use a diluted vinegar solution to remove existing buildup. |
| Stains on sink surface | Food residue, coffee, tea, or other colored liquids left for extended periods. | Clean immediately with mild soap and water. For stubborn stains, use a specialized quartz cleaner or a baking soda paste. |
| Slow drainage | Strainer basket clogged, drain pipe obstruction. | Empty and clean the strainer basket. If the problem persists, check the drain pipe for blockages. |
| Leaking around sink rim or drain | Improperly sealed connections during installation. | Check and re-seal connections with silicone sealant or plumber's putty. Ensure mounting clips are tightened evenly. |
9. Warranty and Support
The Lexicon LP-1618-K Quartz Kitchen Sink comes with a Limited Lifetime Warranty. This warranty covers manufacturing defects under normal use and service. For specific terms and conditions, please refer to the warranty documentation included with your purchase or contact Lexicon customer support.
For technical assistance, replacement parts, or warranty claims, please contact Lexicon customer support through the following channels:
- Website: Visit the official Lexicon website for support resources.
- Email: Refer to your purchase documentation for customer service email.
- Phone: Refer to your purchase documentation for customer service phone number.
When contacting support, please have your model number (LP-1618-K) and proof of purchase readily available.


